
Completed March 1, 2025
Starting Fresh - Demo, Framing & Wiring
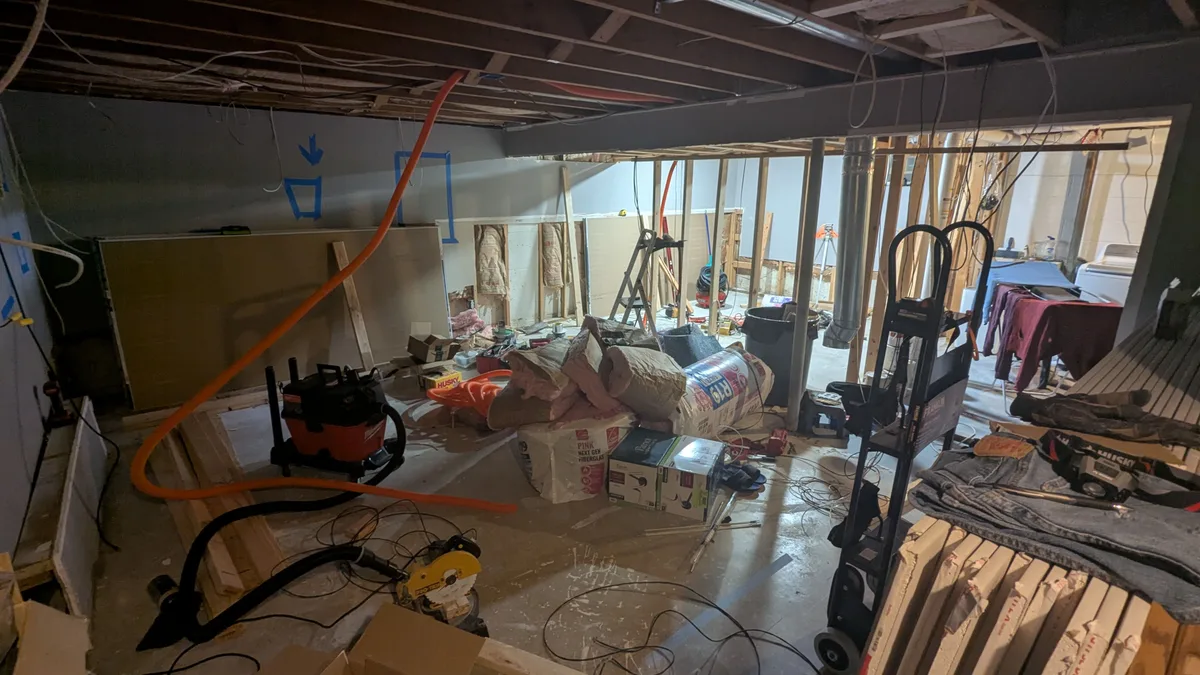
Starting Fresh
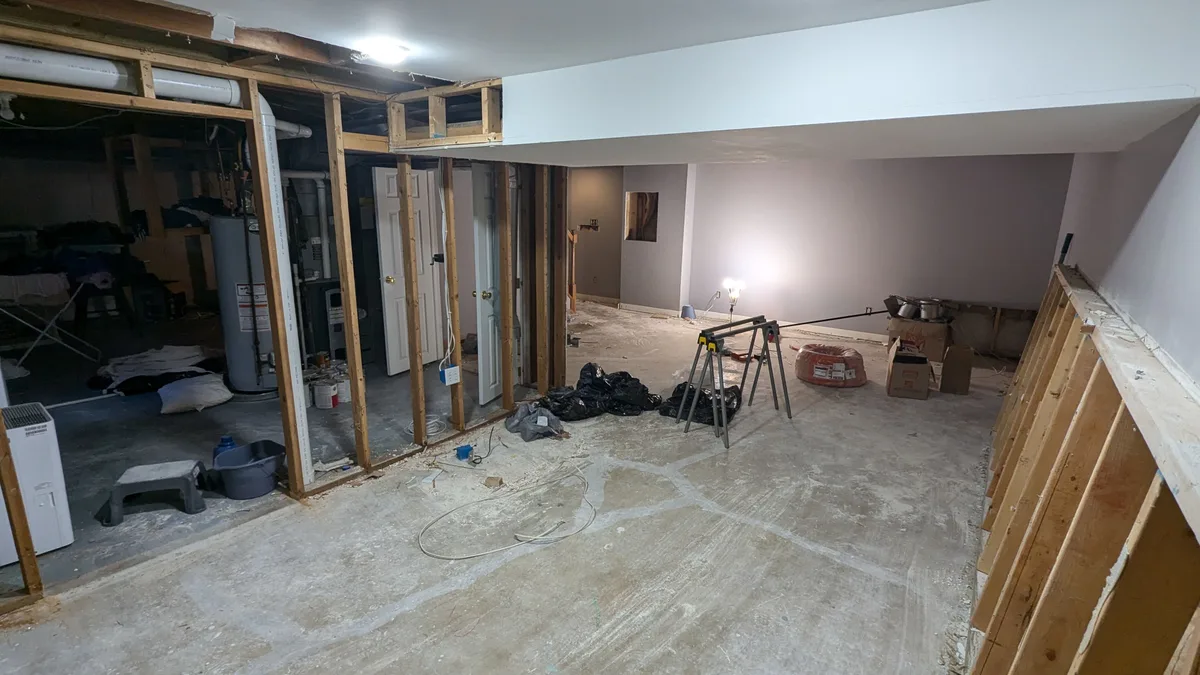
When we bought the house the finished basement room was an "L" shape. One year and three months after buying the house I started with demolition. I had never done this kind of work, and I was heck'n nervous, so I asked my brother-in-law to help me out. He came over for the weekend, and got me a good start on the project.
In this first picture you can see how the room was L shaped.
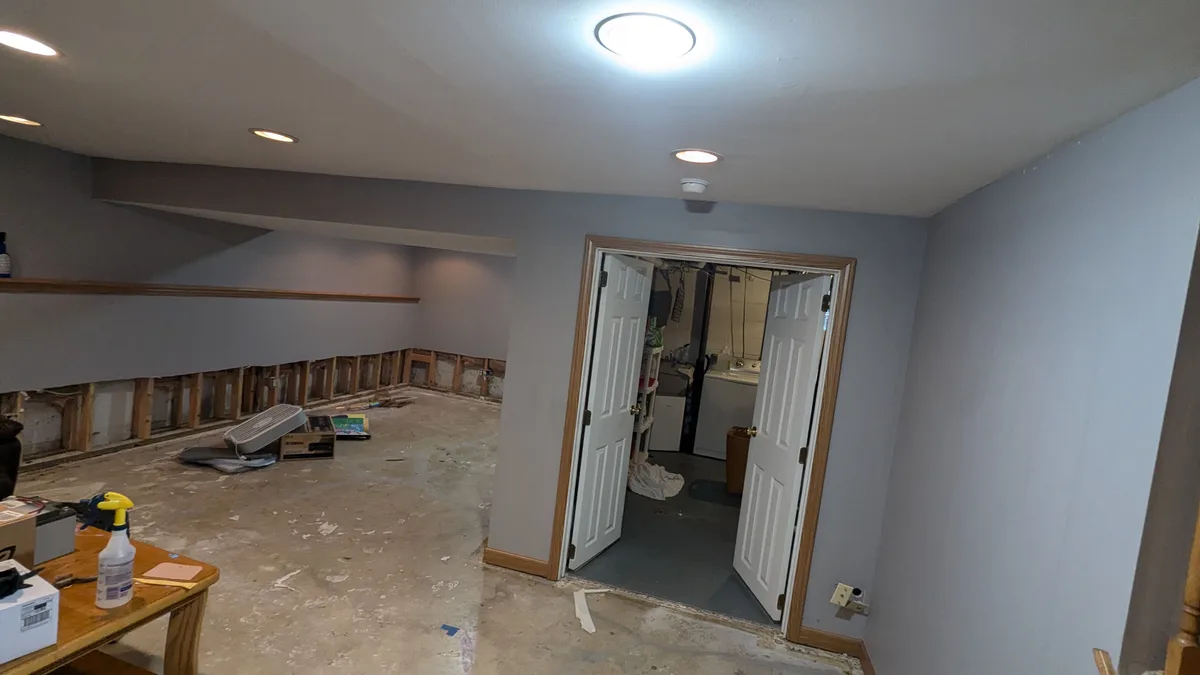
I wanted to put insulation in the ceiling and tear out the can lights, so the ceiling had to come down too.
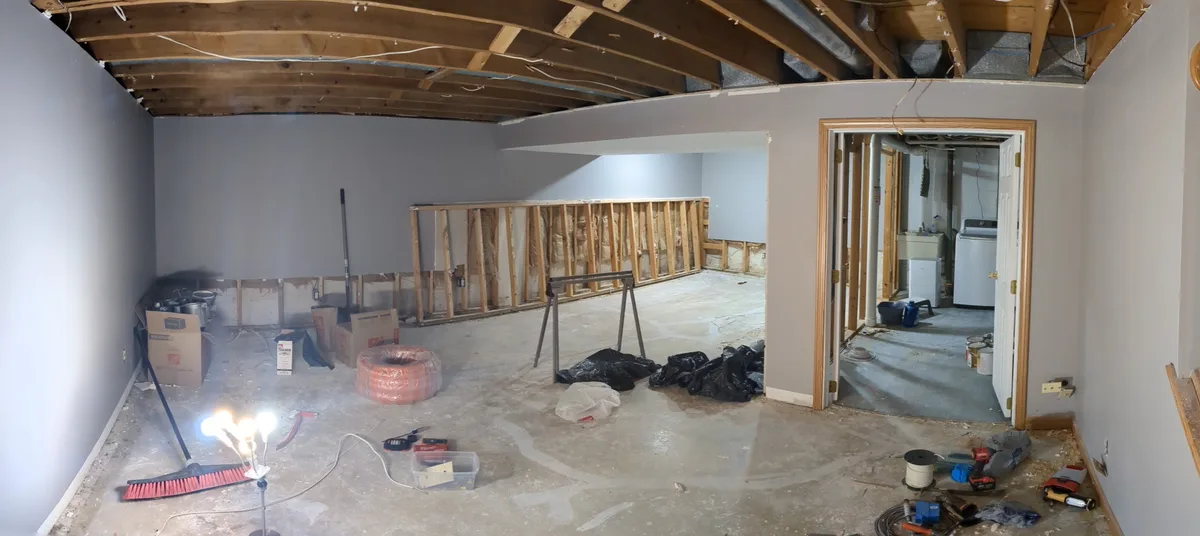
This wall, with the washer and dryer behind it, had plywood behind the drywall. It had water damage, so that had be ripped out as well.
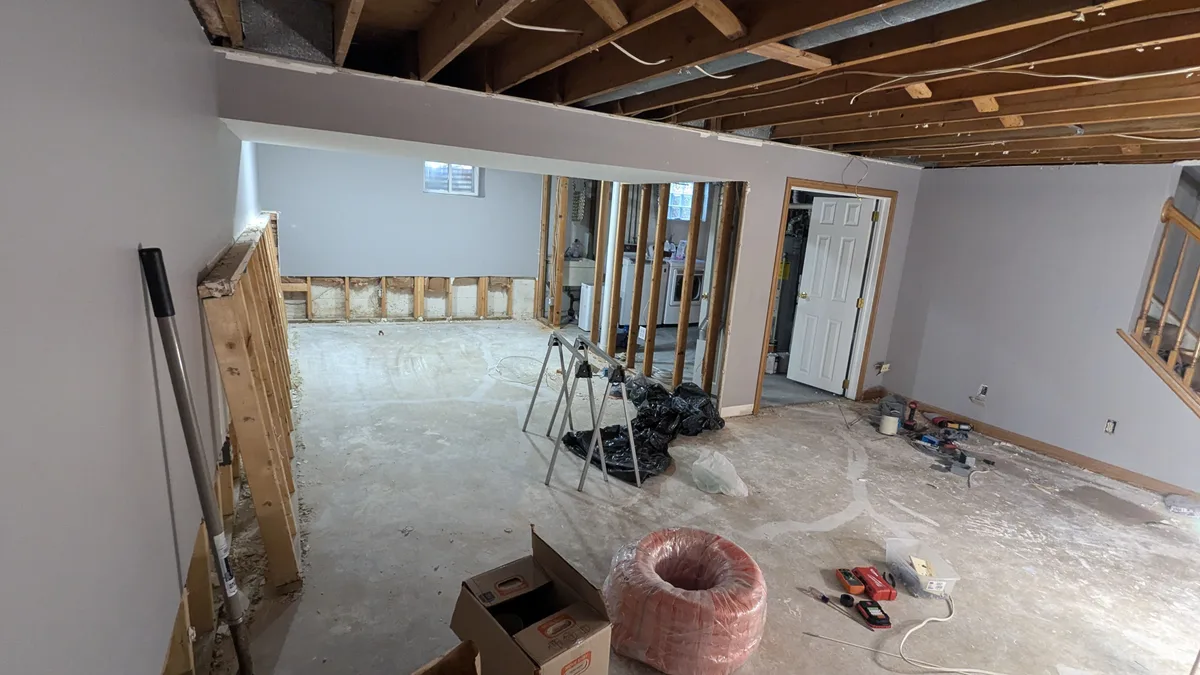
Here you can see the bump down from the ceiling, to make space for the HVAC. This made planning the room challenging. I'm taller than the lowest part of the bump down, so before changing the shape of the room, I used to hit my head on it from time-to-time. Which was very annoying. I knew I did not want to deal with that once the room was in use.
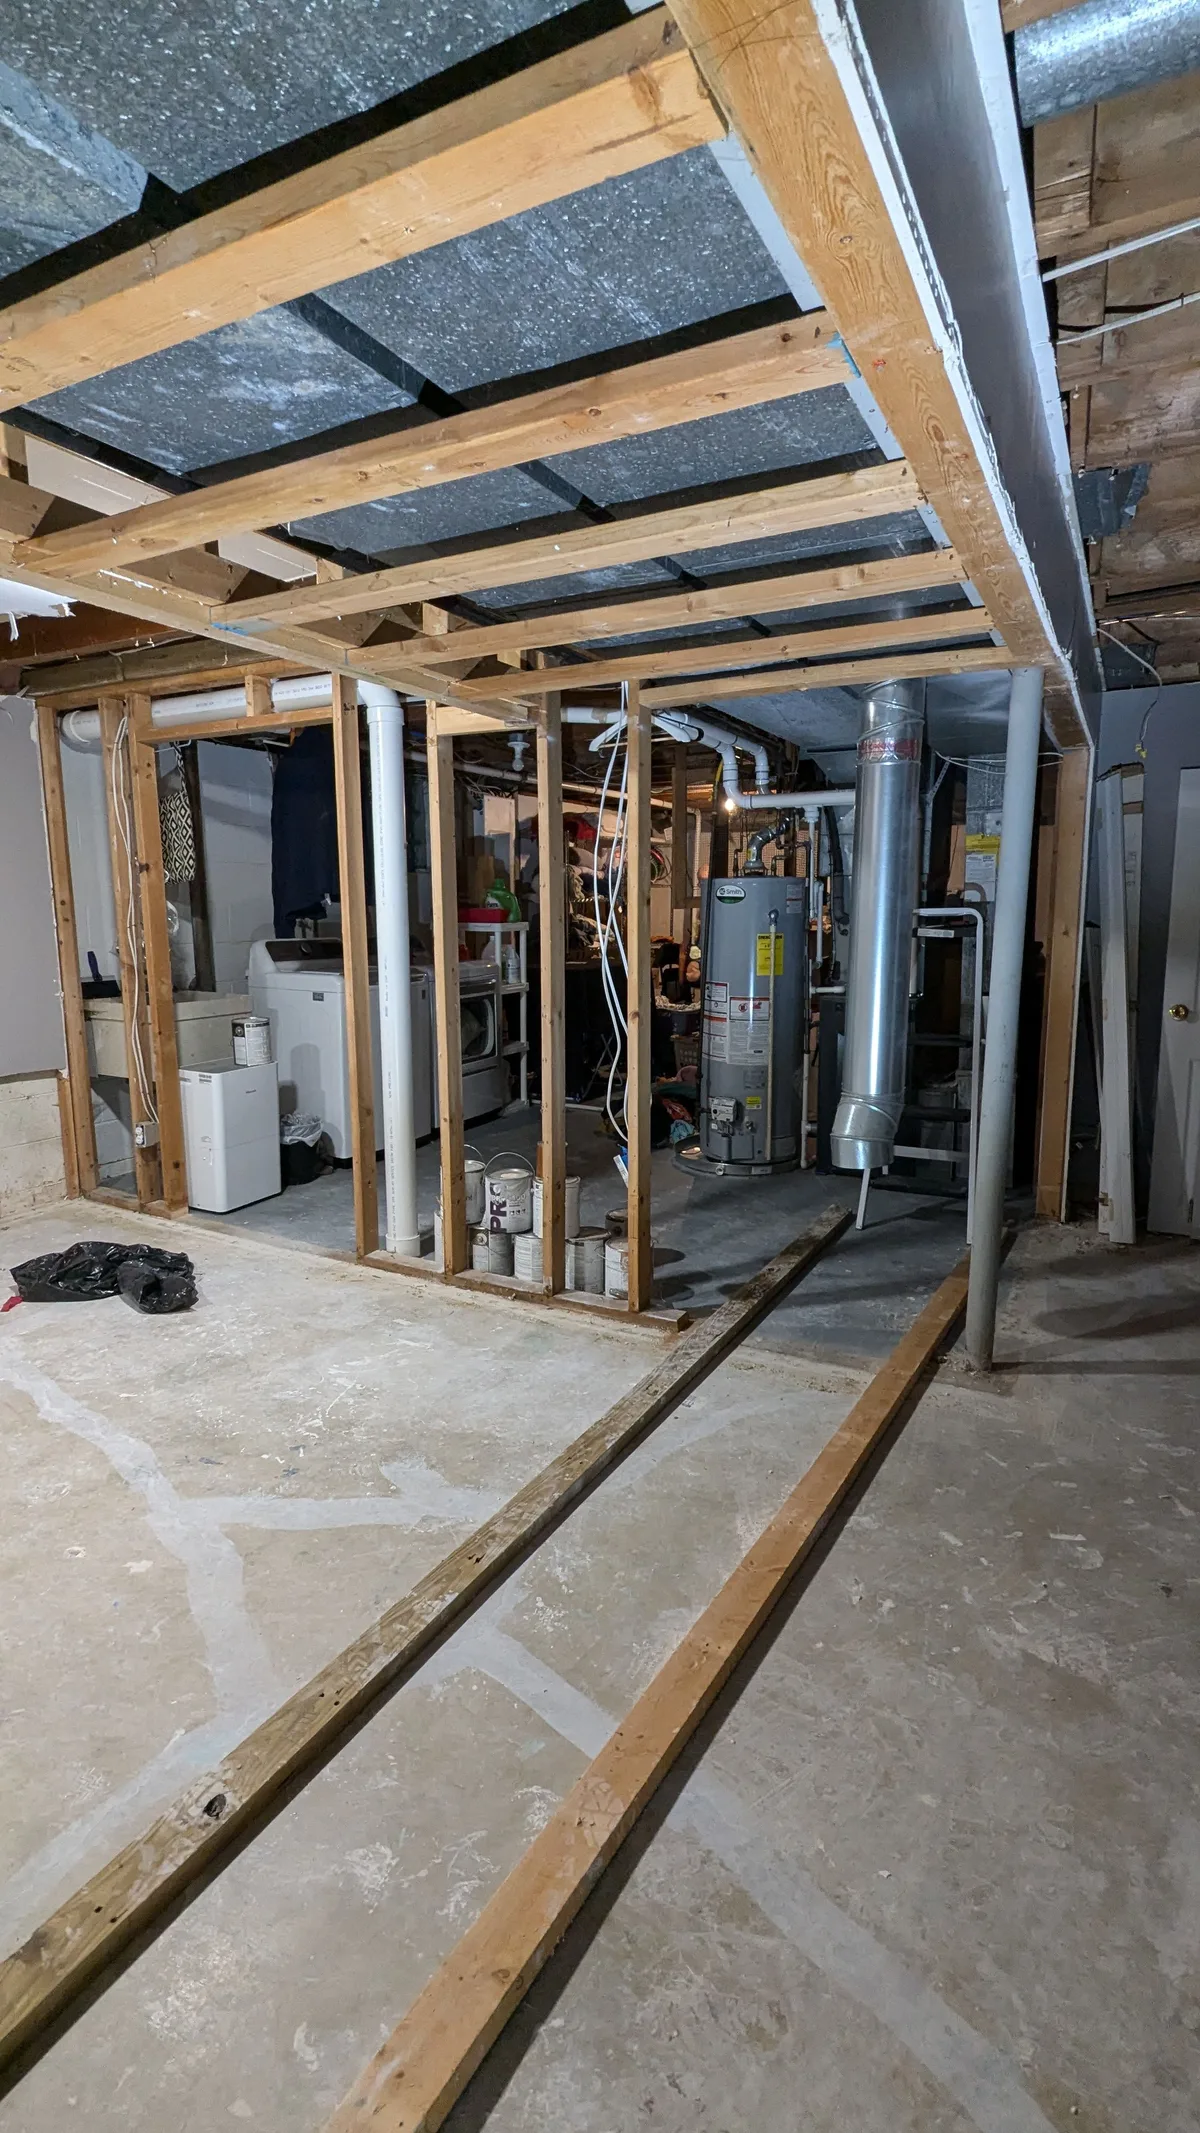
At this point the demolition is mostly done, and we're getting ready to build the new wall separating the theater from what will become my wife's workshop. The darker colored board is the baseplate, and the lighter colored board will be the header.
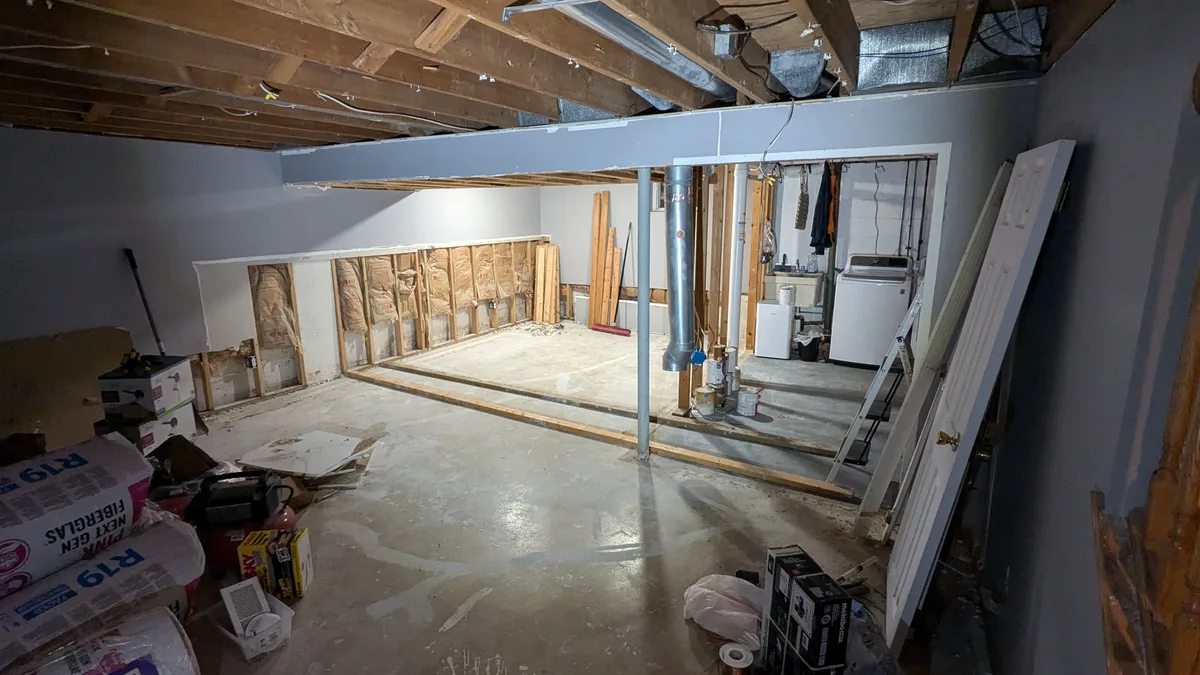
Another look at the baseplate placement. And you can see a cold air return which I removed.
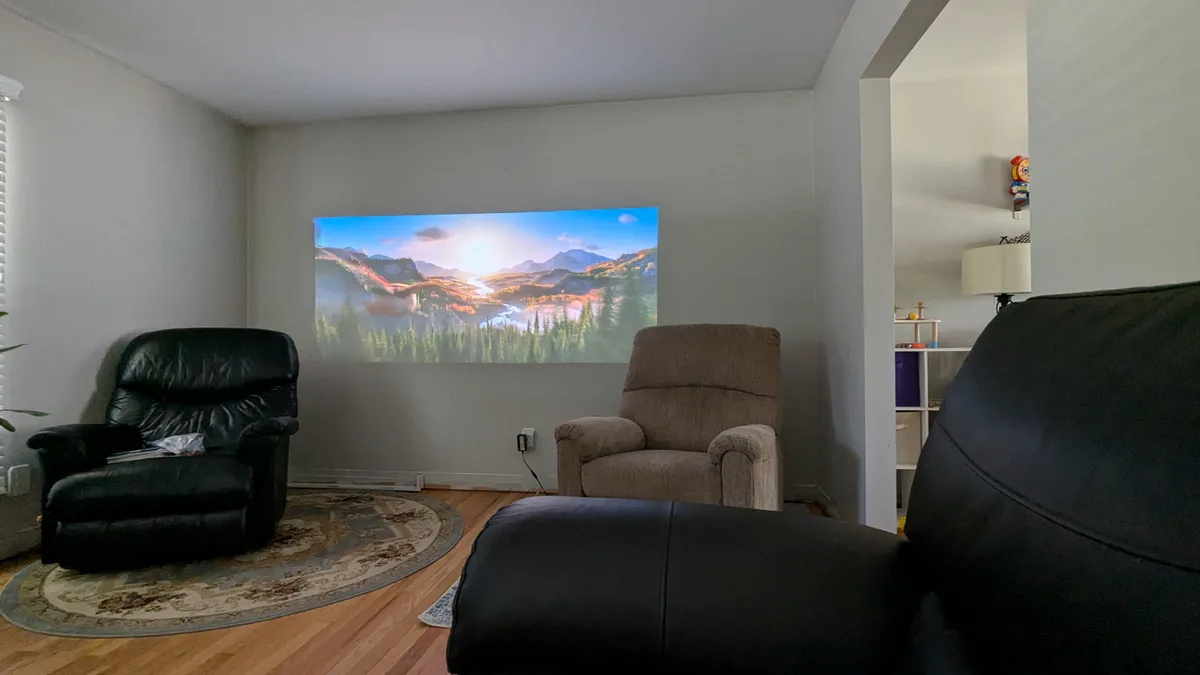
While building I started to accumulate the gear. There were so many items I was looking for, it felt like I'd never find everything on the used market -- but you just have to be willing to play the long game, and take what you can get.
Here I'm testing a used JVC projector I had bought off the classifieds. Spoiler: it's still running great as of this writing.
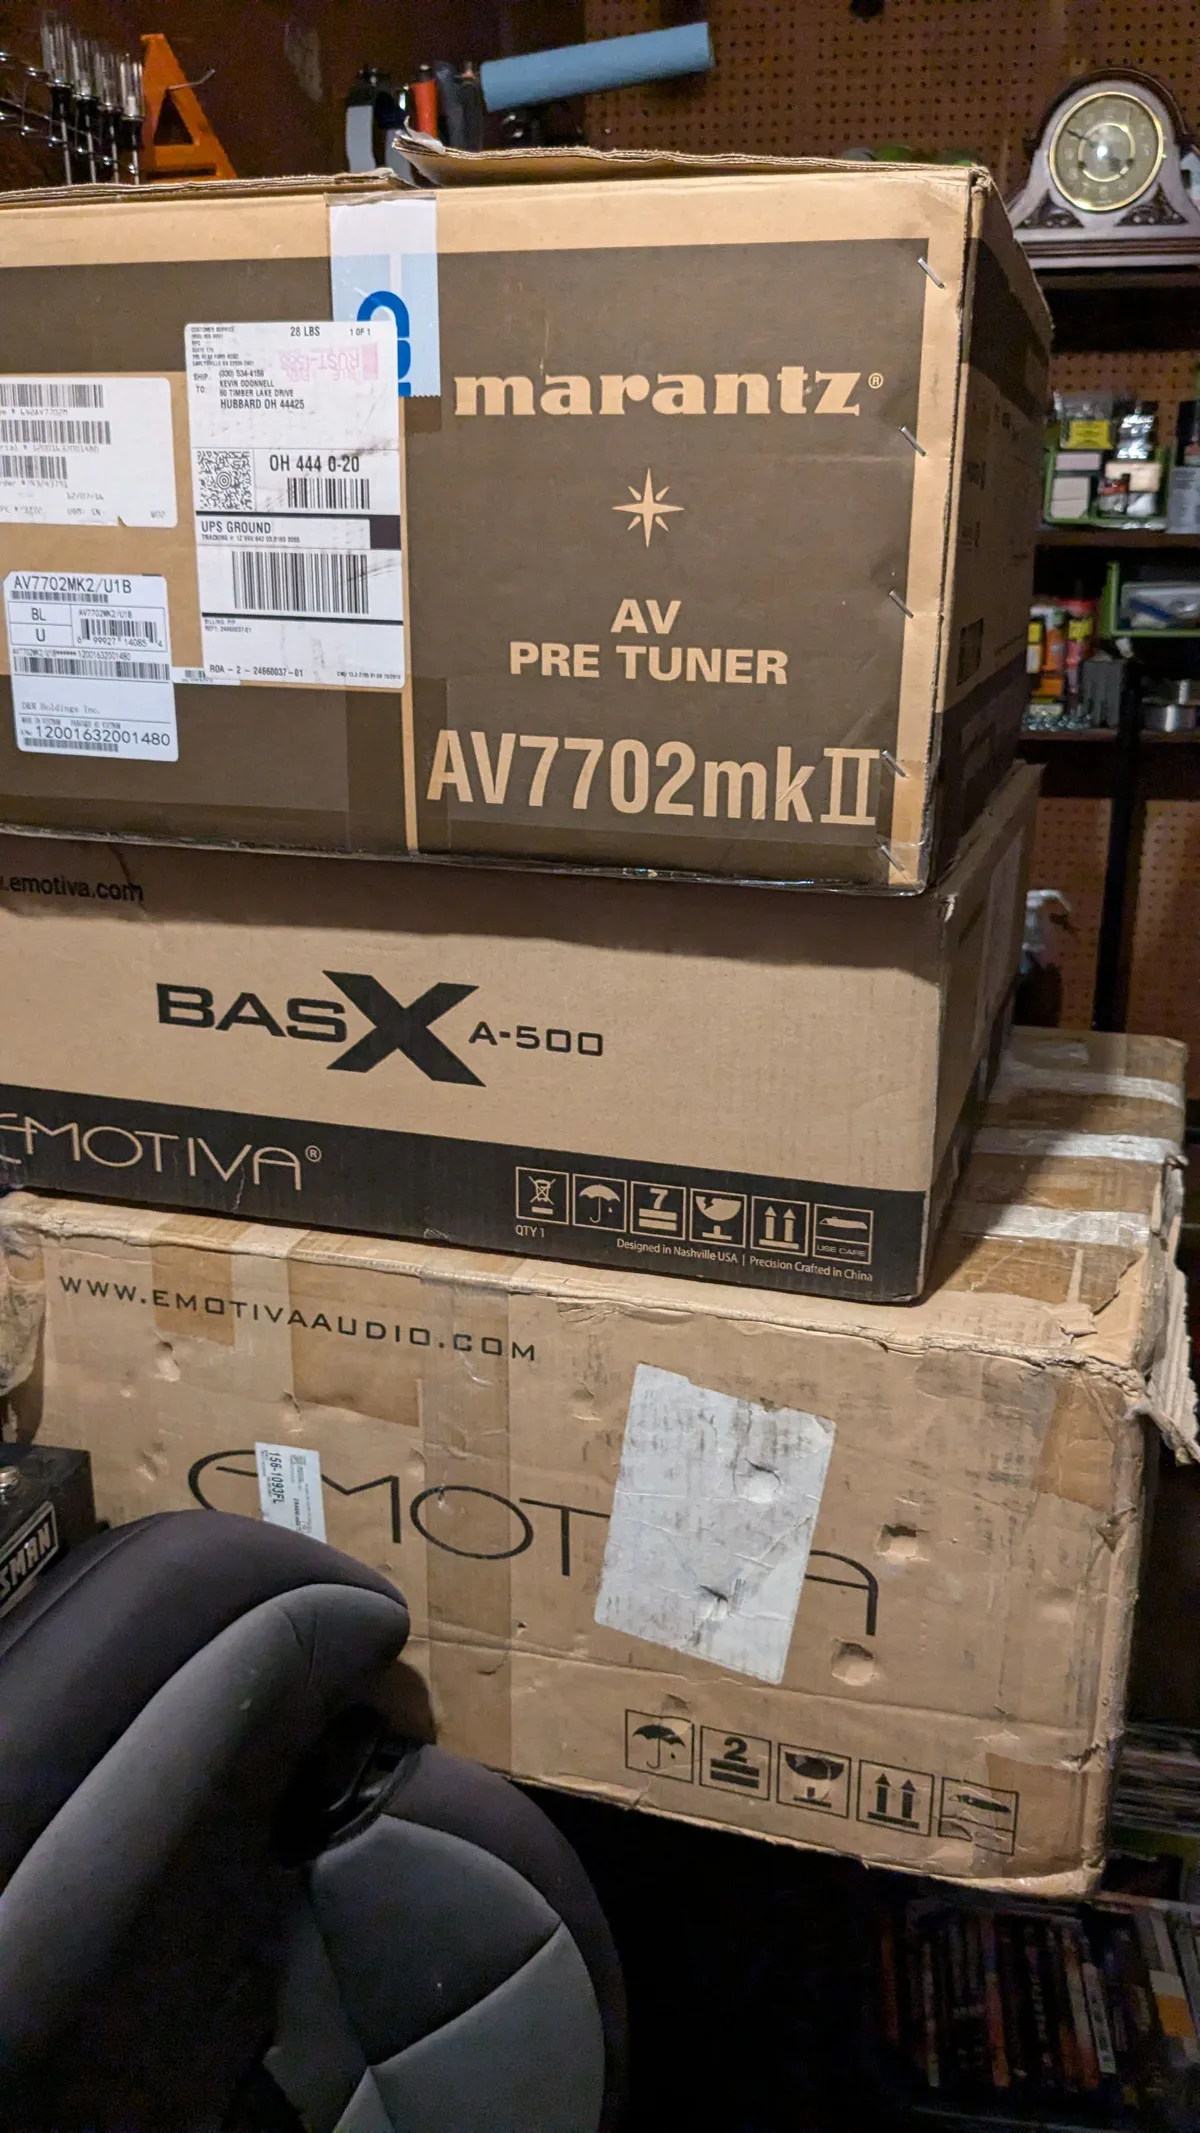
I had to drive 4 hours round trip to get Marantz receiver and Emotiva amplifiers, but I felt like I got a good deal, and I was super excited to run separates and have a receiver capable of Atmos. I did not think I would get to do that so soon.
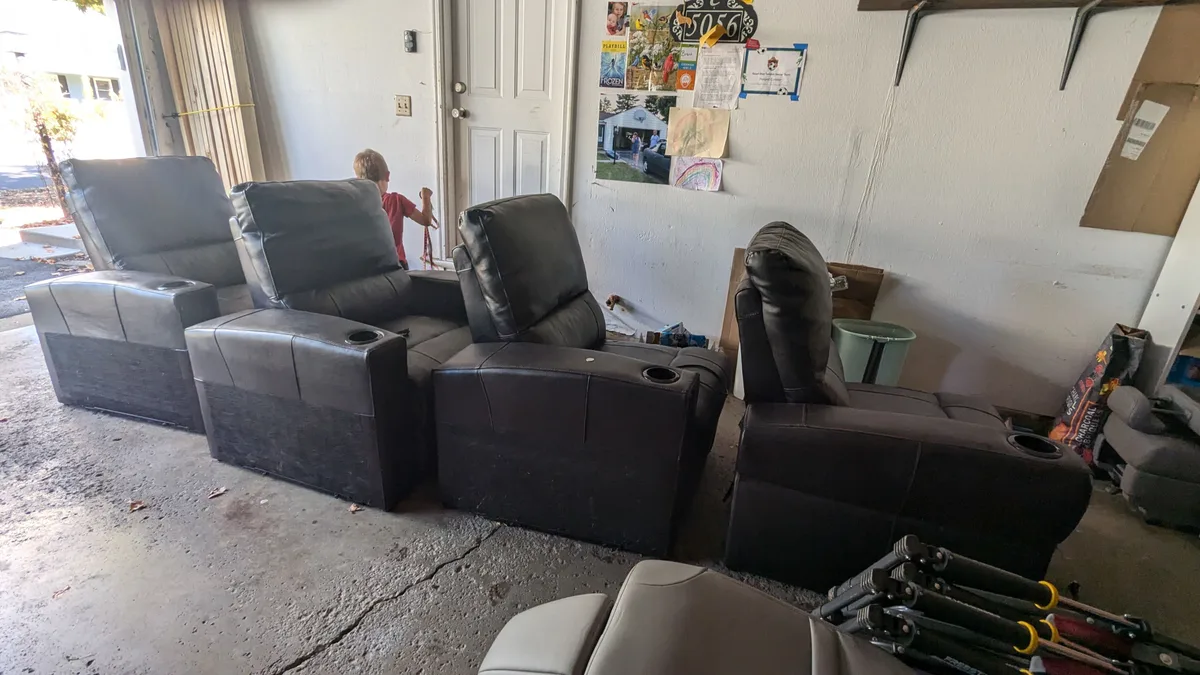
I had to drive 3 hours round trip and rent a U-haul trailer (which I towed behind my minivan) for this 4 seat couch.
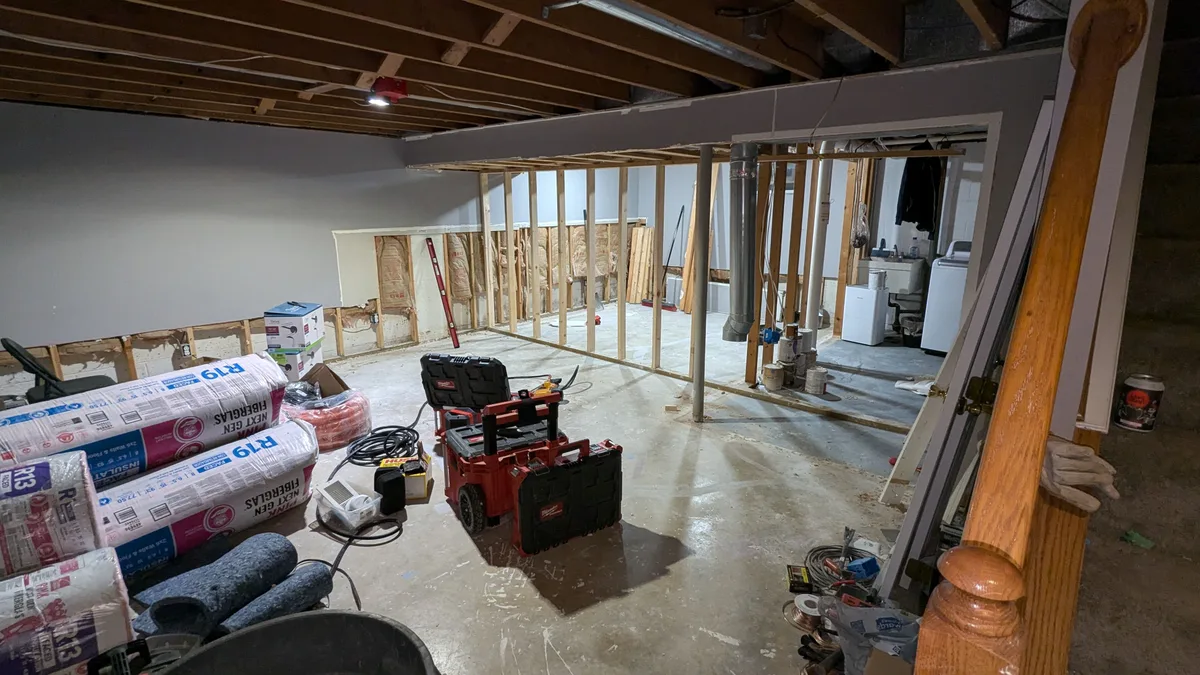
Here the separating wall is framed, but a design change will make me tear down the framing to the left, where I'll put in a closet for the gear rack.
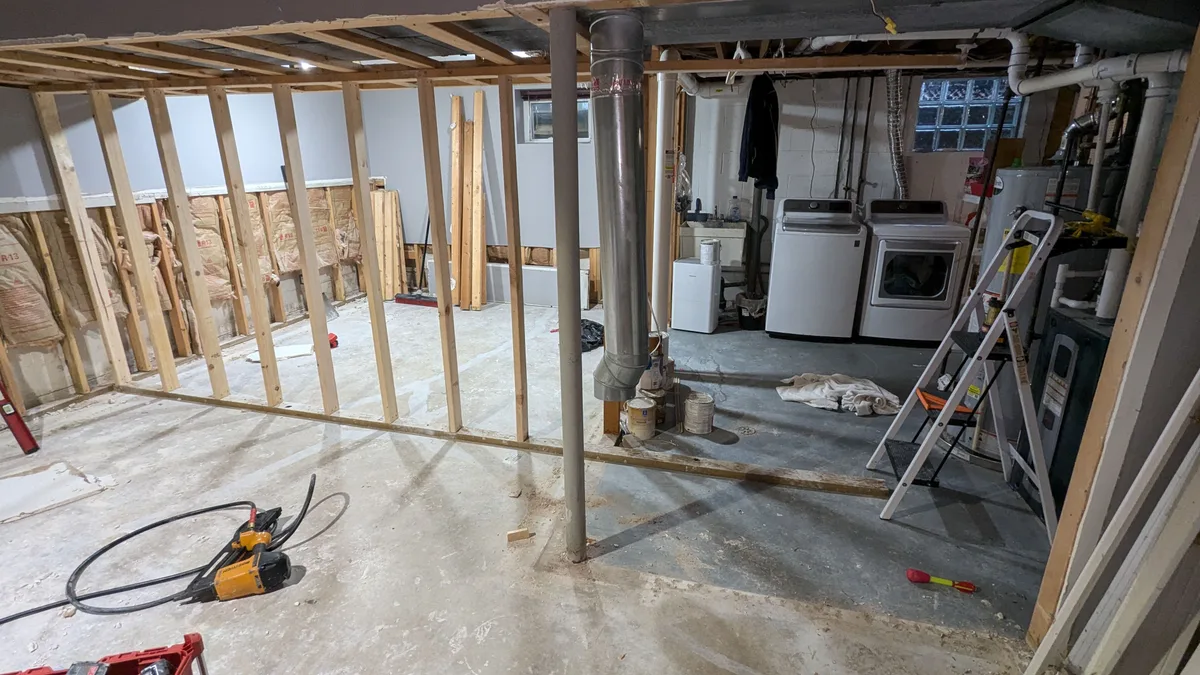
Here, in front of the washer and dryer is where this new separating wall makes a ~ 30 degree angle toward the interior of the theater room. This is necessary to maintain access to the HVAC unit from the non-finished side of the basement.
The Seatcraft couch had a problem with a couple of the recliners, so I had to do some troubleshooting -- this is the frustrating part about buying used equipment.
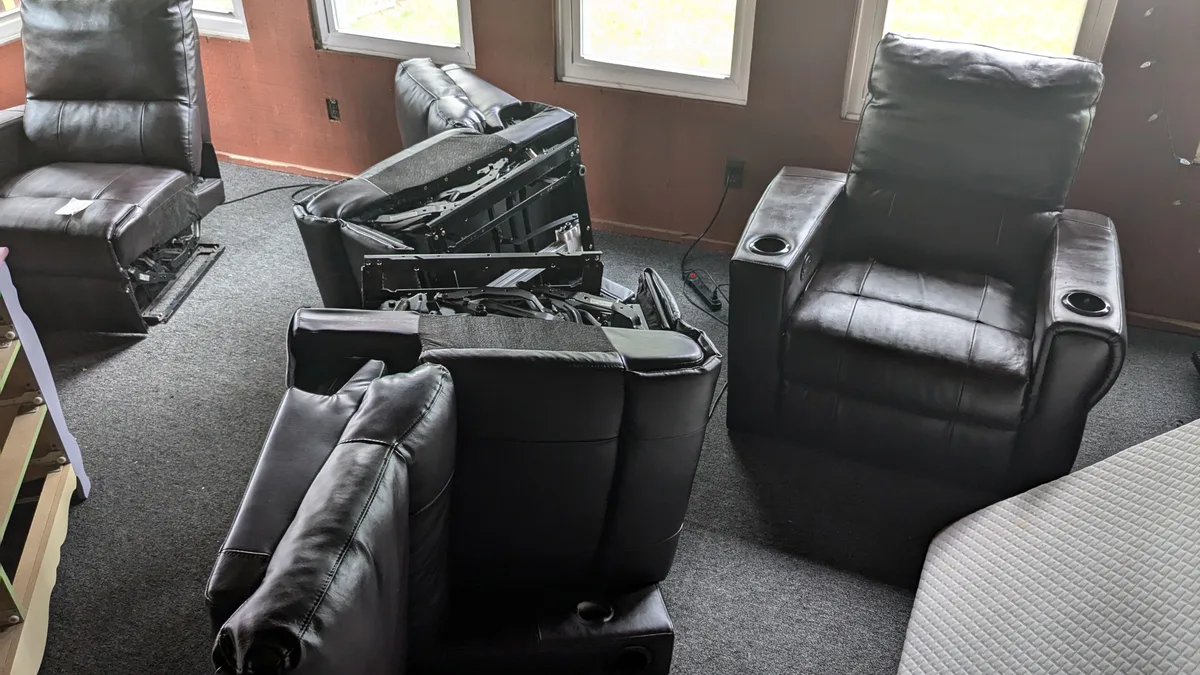
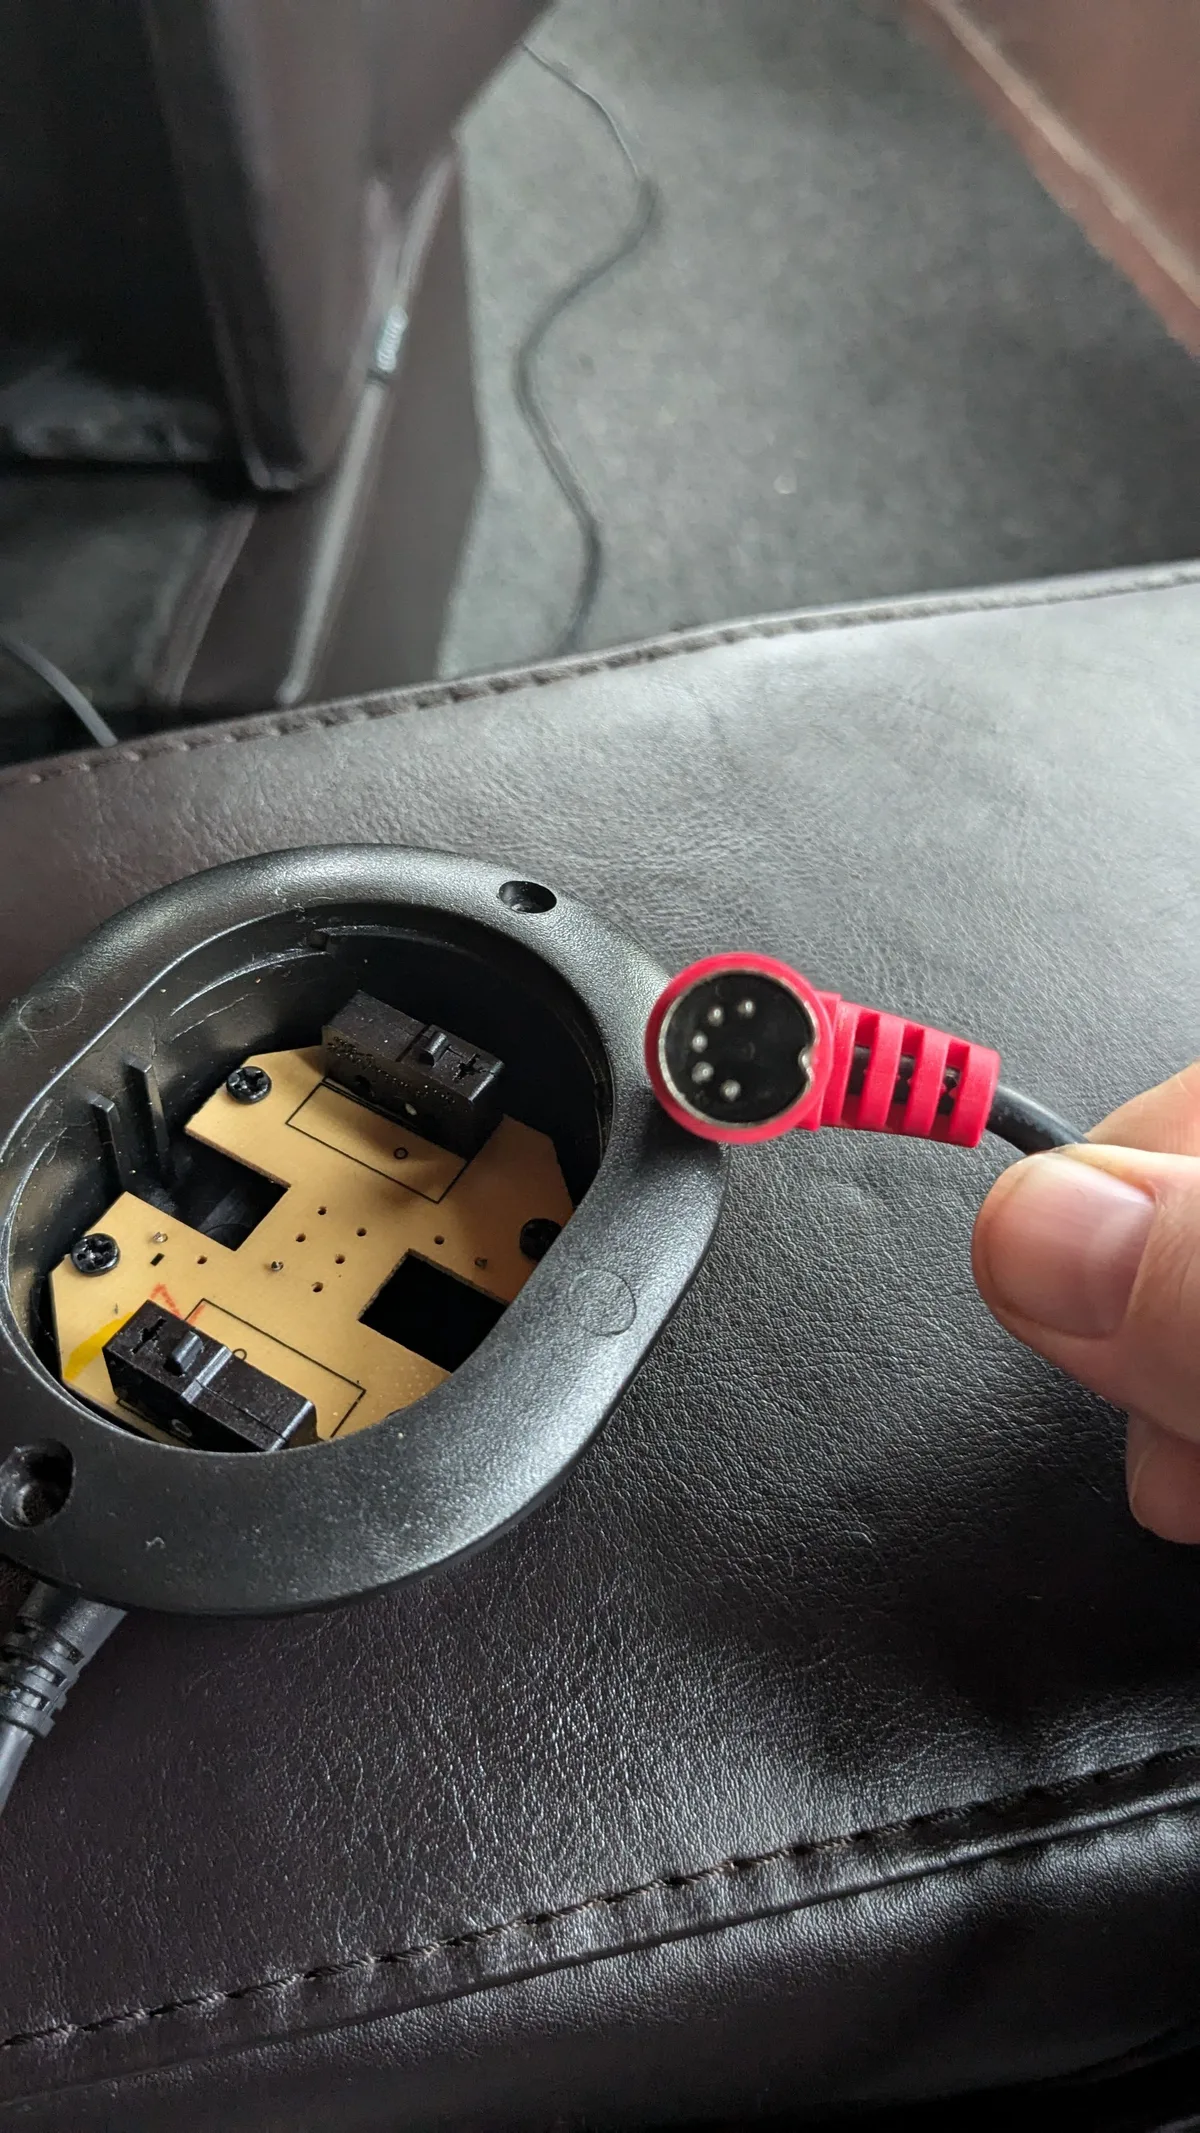
The fix ended up being the button switch which is embedded in the sides of the armrest. Thankfully, with some searching, replacements were available. The first replacement I bought wasn't the right fit.
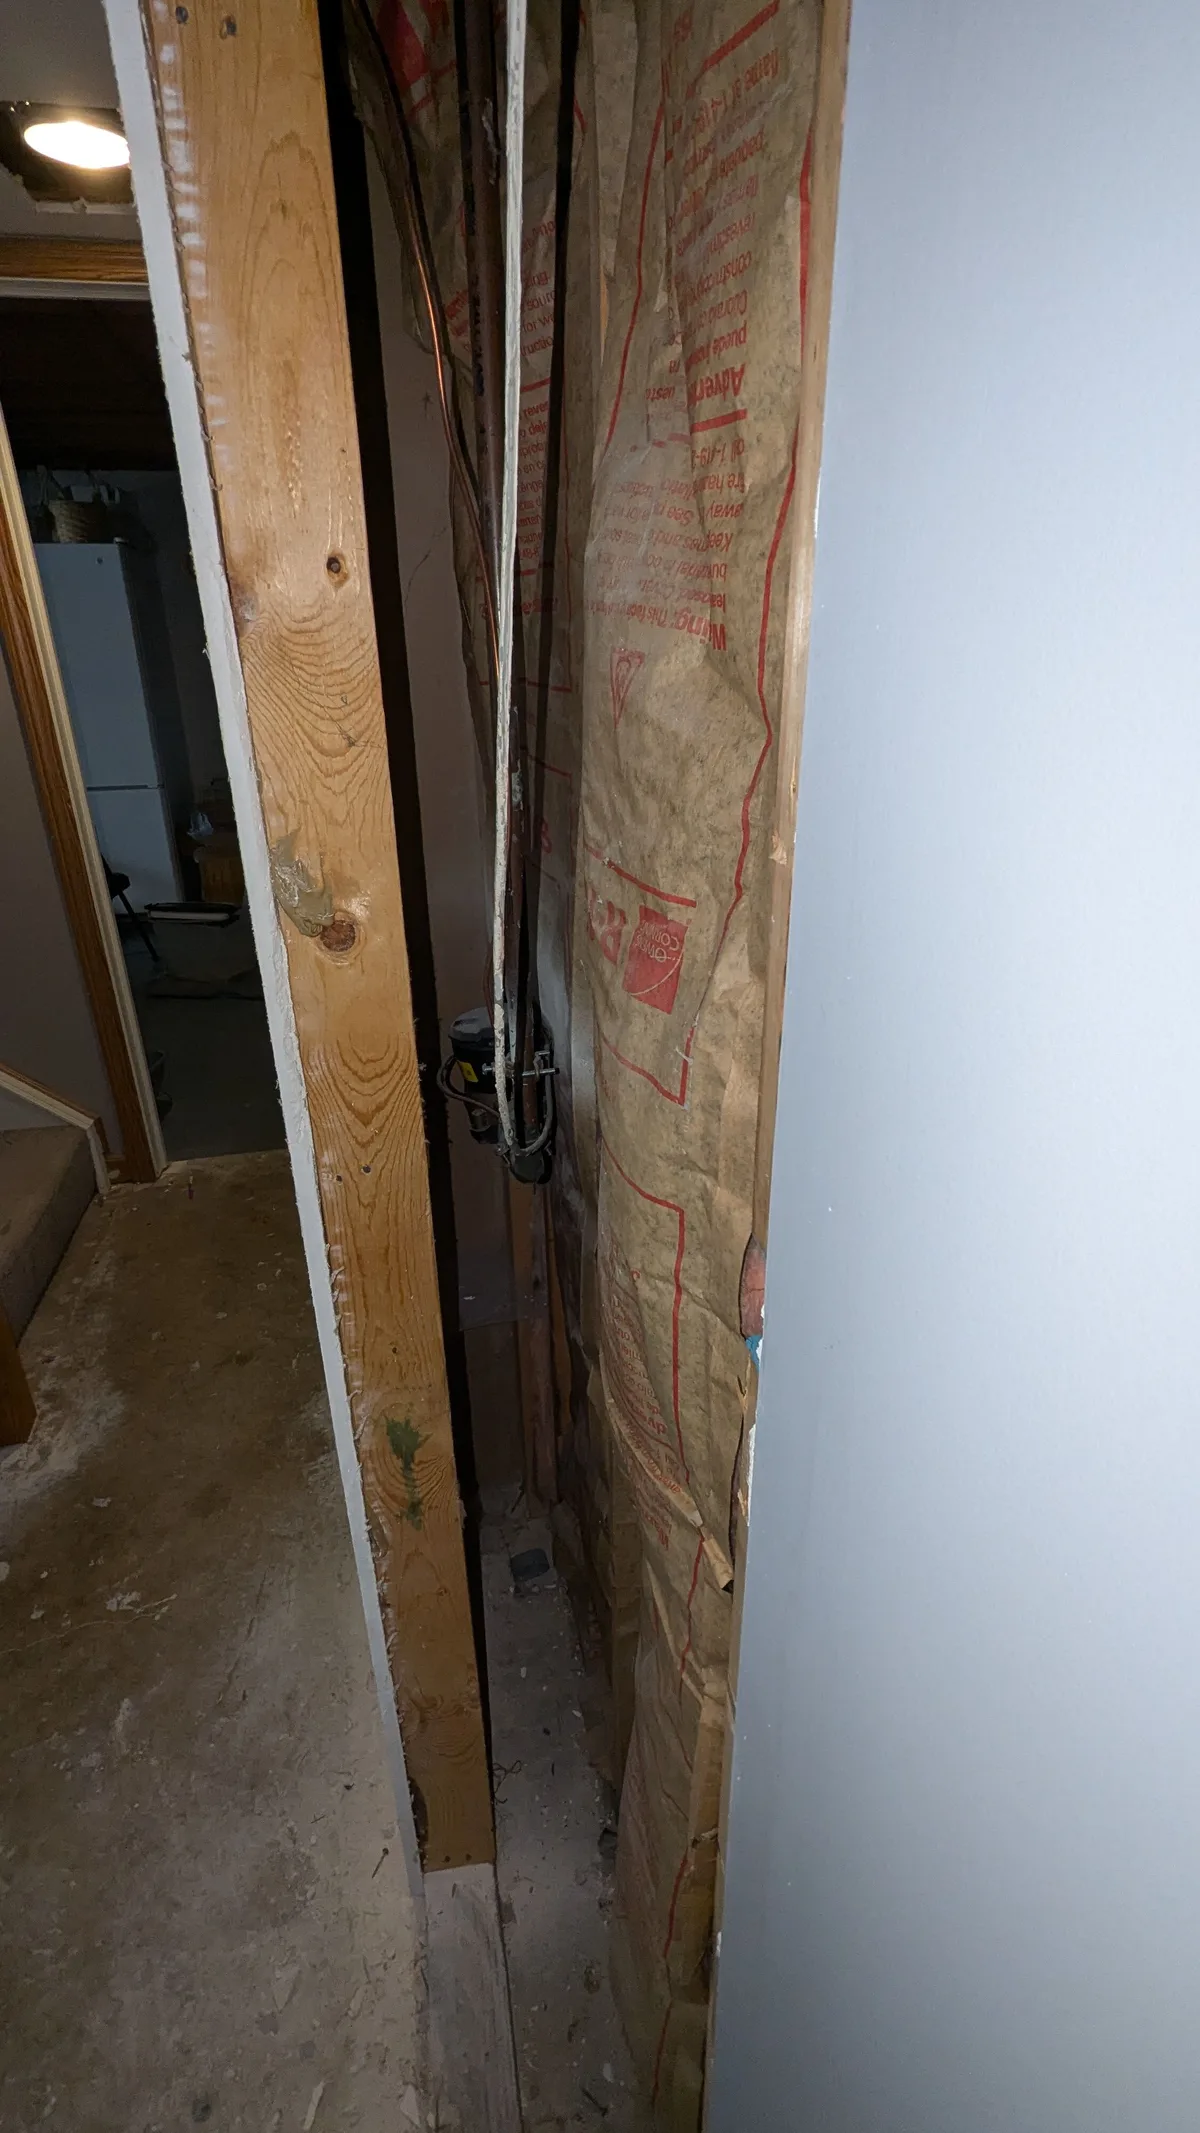
So, the water main comes into the house right where you'd enter the theater room. The previous owner decided to build the wall around it, which I did not like.
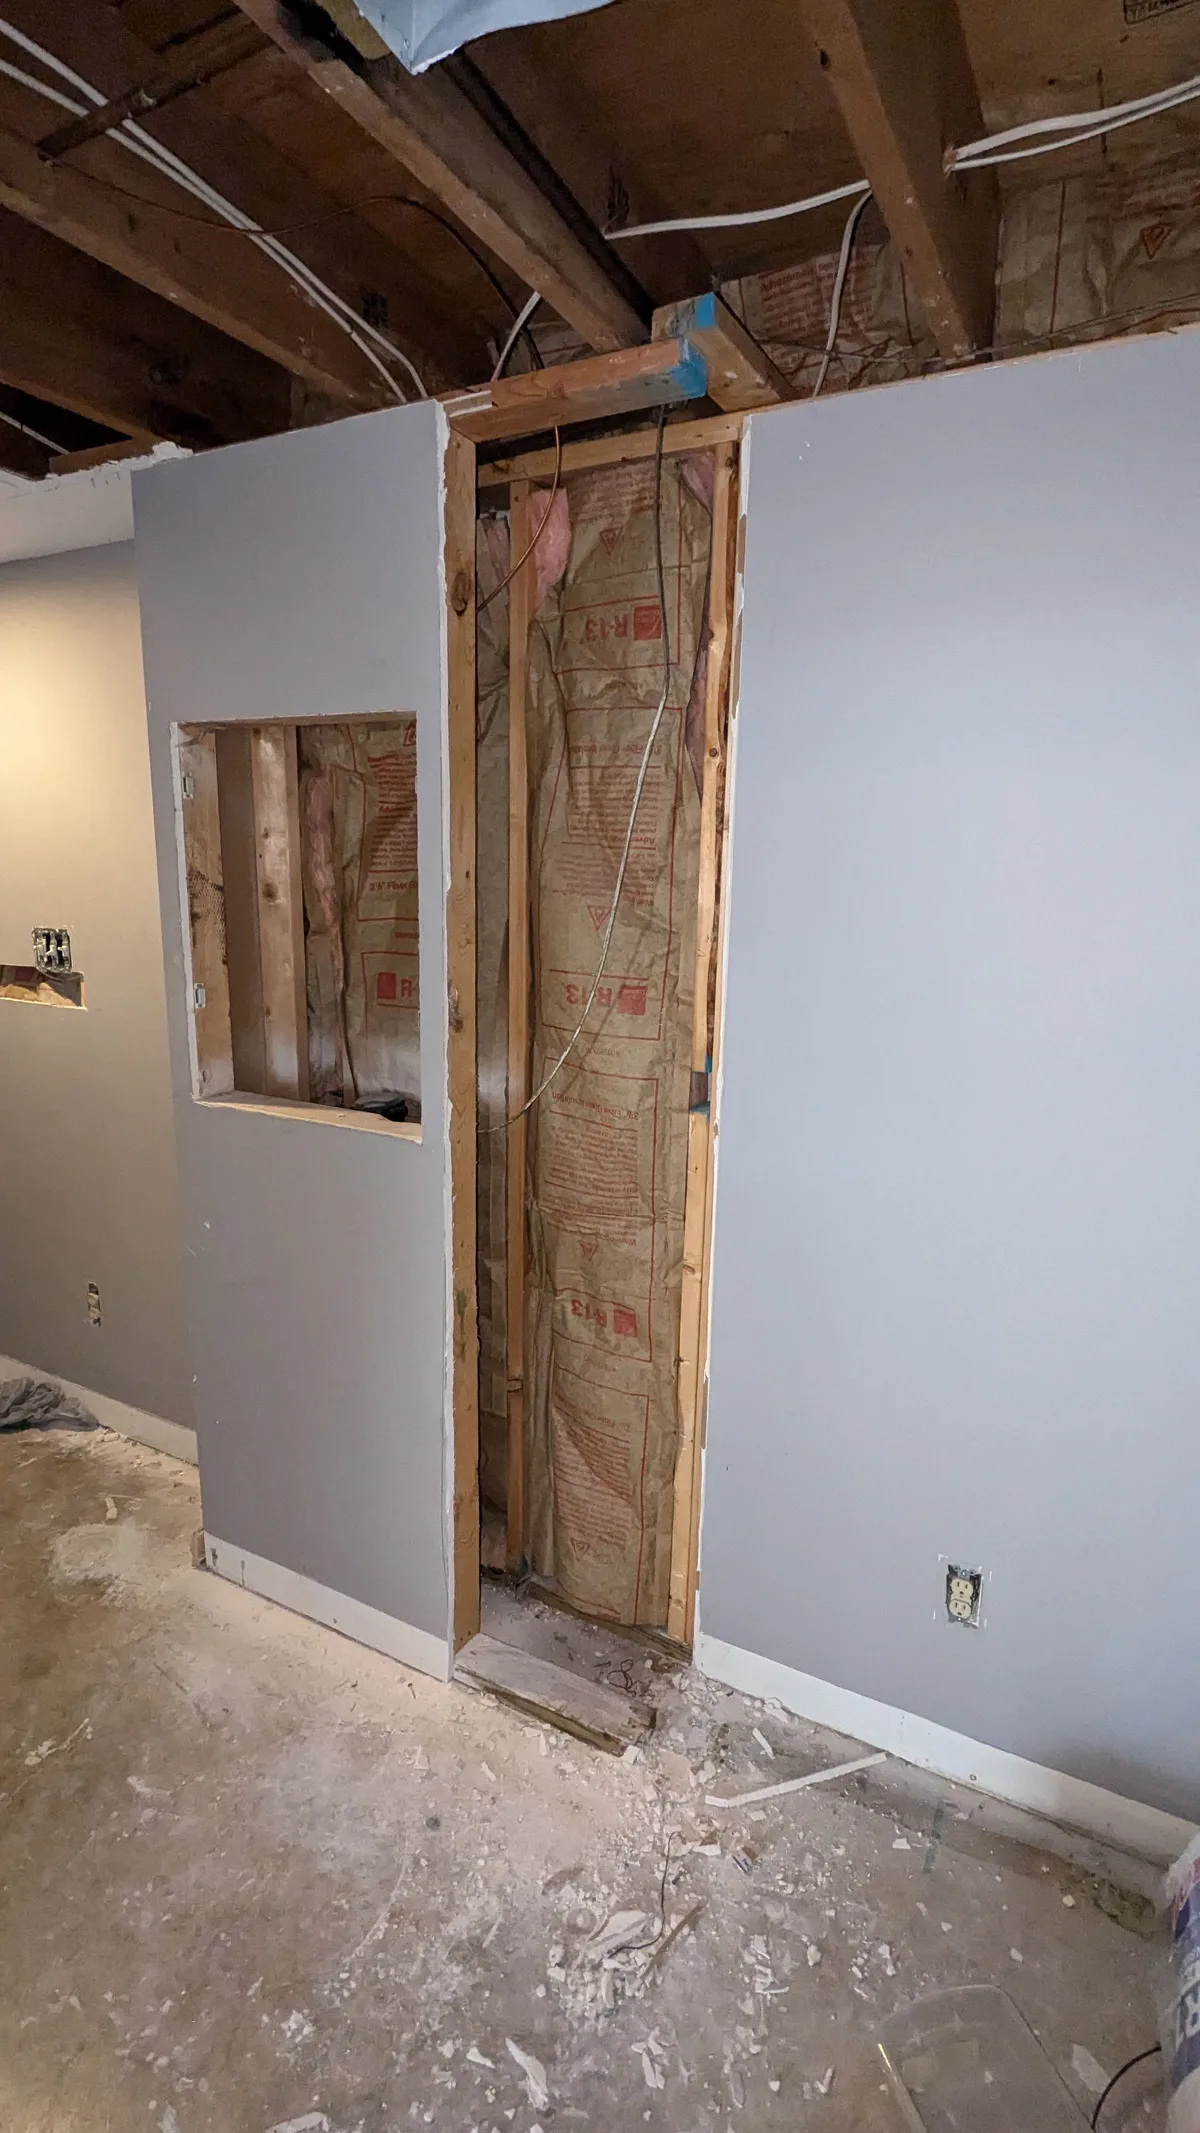
So much wasted space. It will have to be changed.
This is where the build started to feel overwhelming. So much planning had to be done, it felt like playing 3D chess. There was so much to do, and I was not looking forward to most of it.
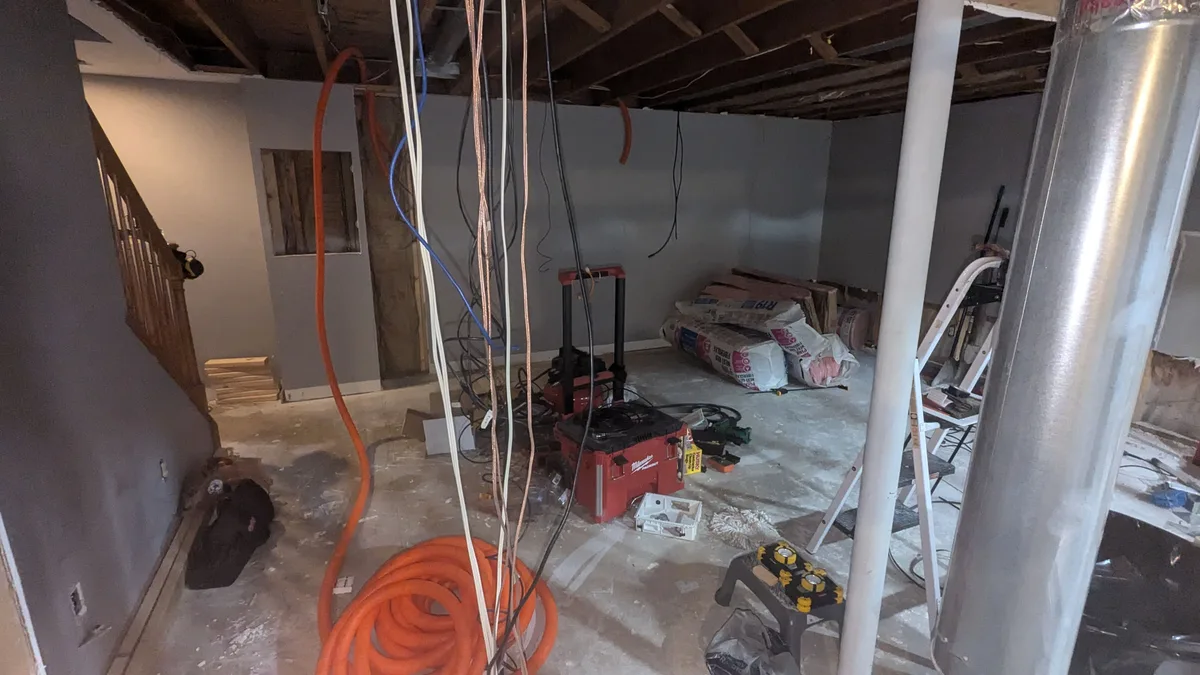
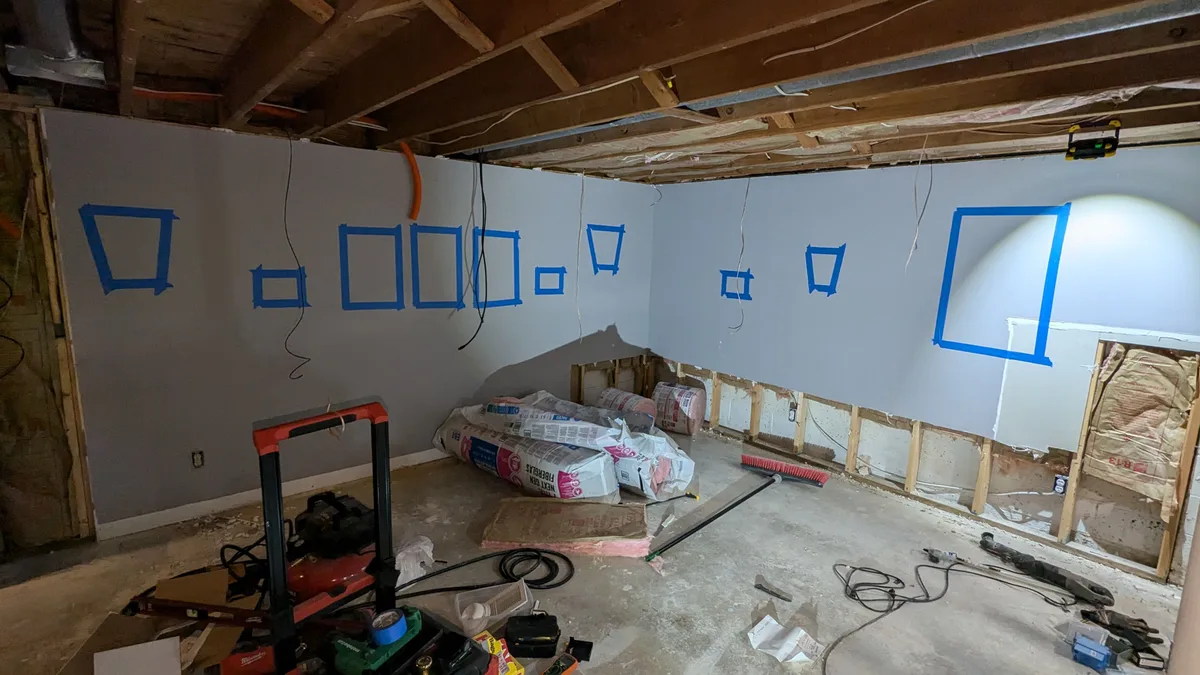
I used painters tape to help me visualize placement while I was running the wiring. I would soon realize this placement was not quite right.
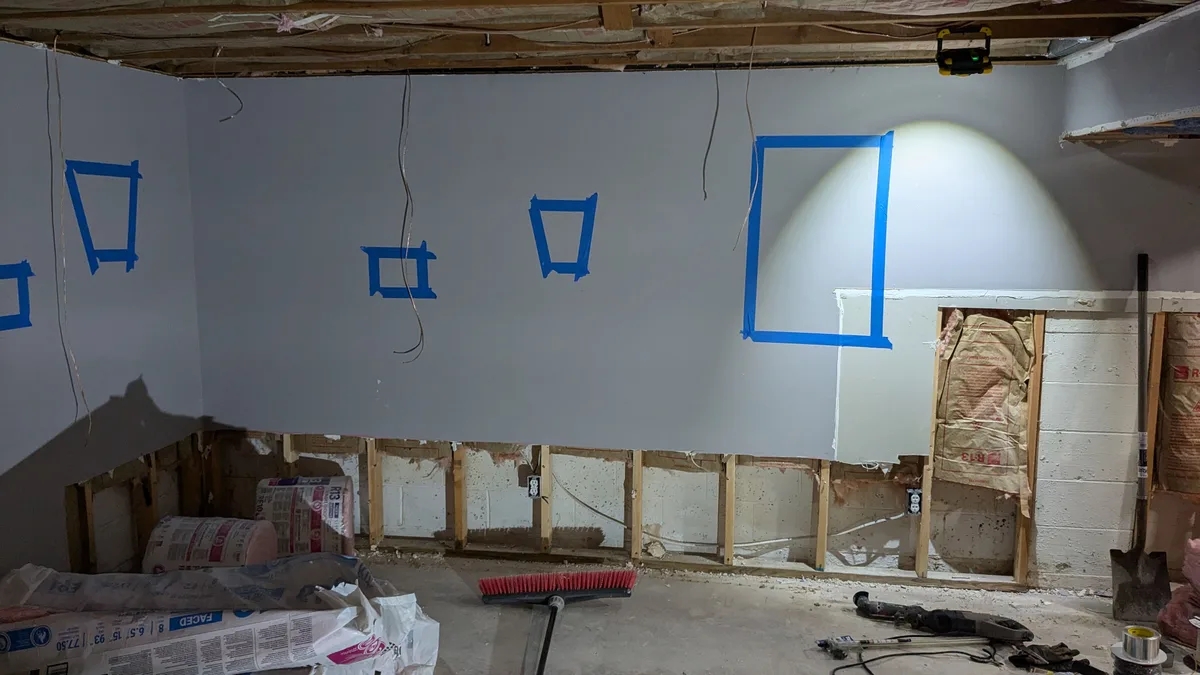
The smallest tape boxes are meant to represent the surround speakers. They would eventually be placed under the sconces, which freed up space visually and physically.
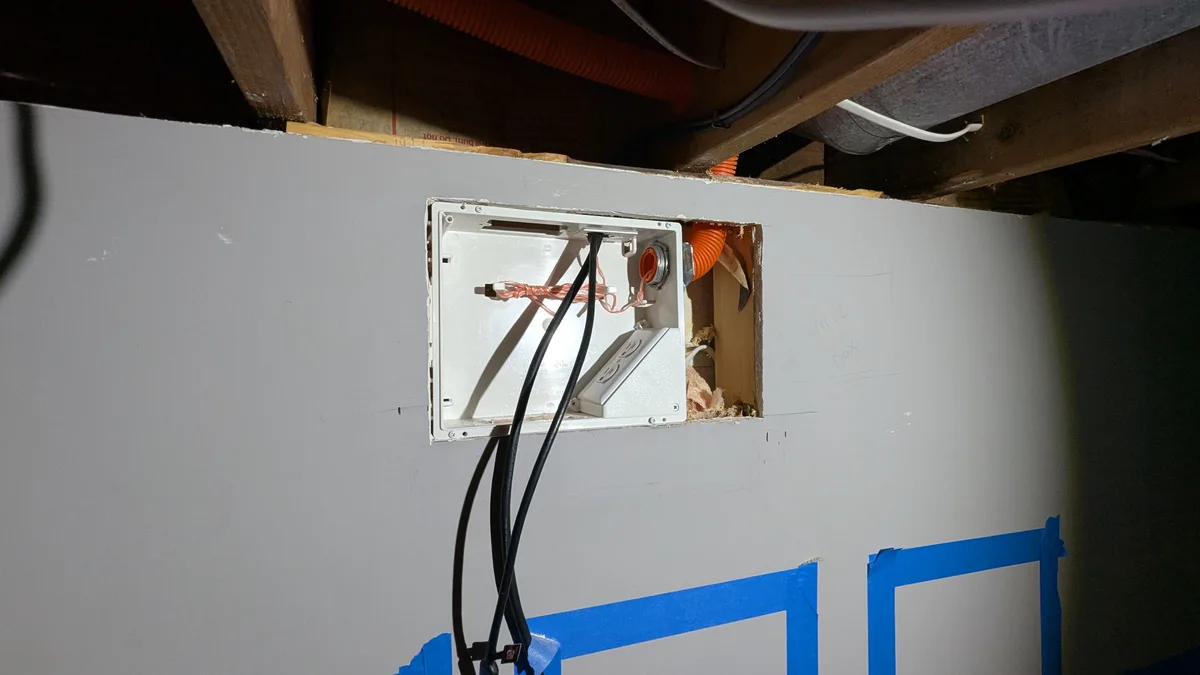
Installing this wall box was kind of a pain in the butt, and I should have painted it before I installed it -- there were so many small mistakes like that.
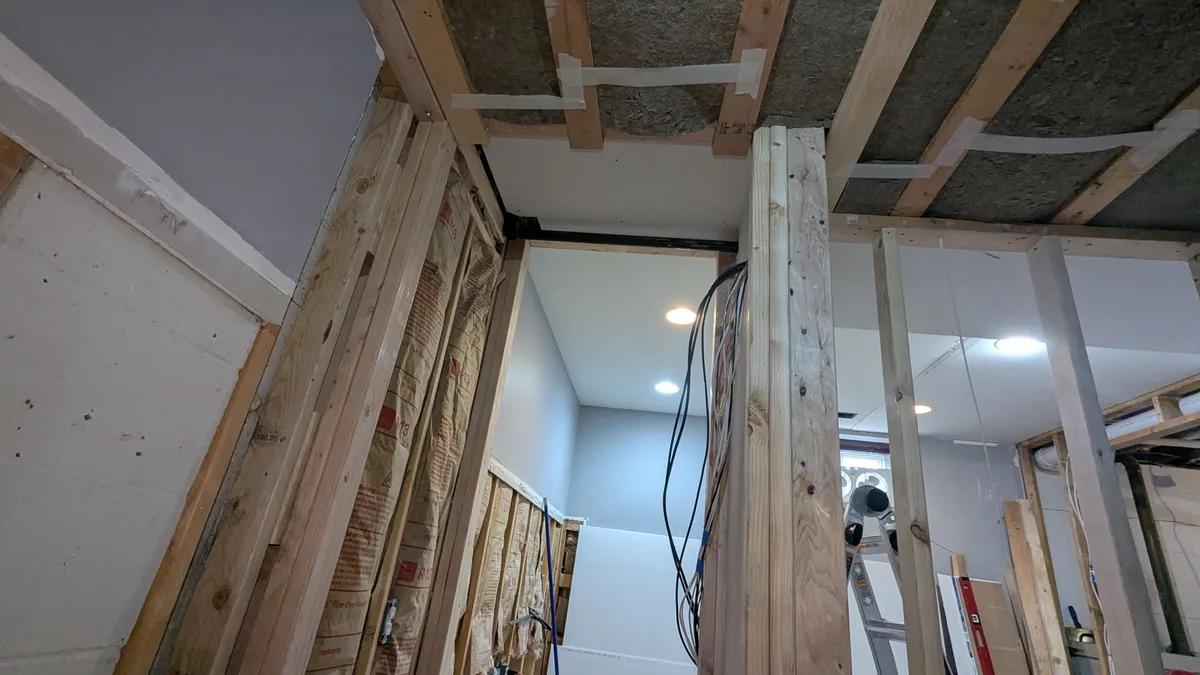
This bundle of wires was so annoying for so long, and running into them a couple dozen times was a constant reminder of how much work I still had to do.
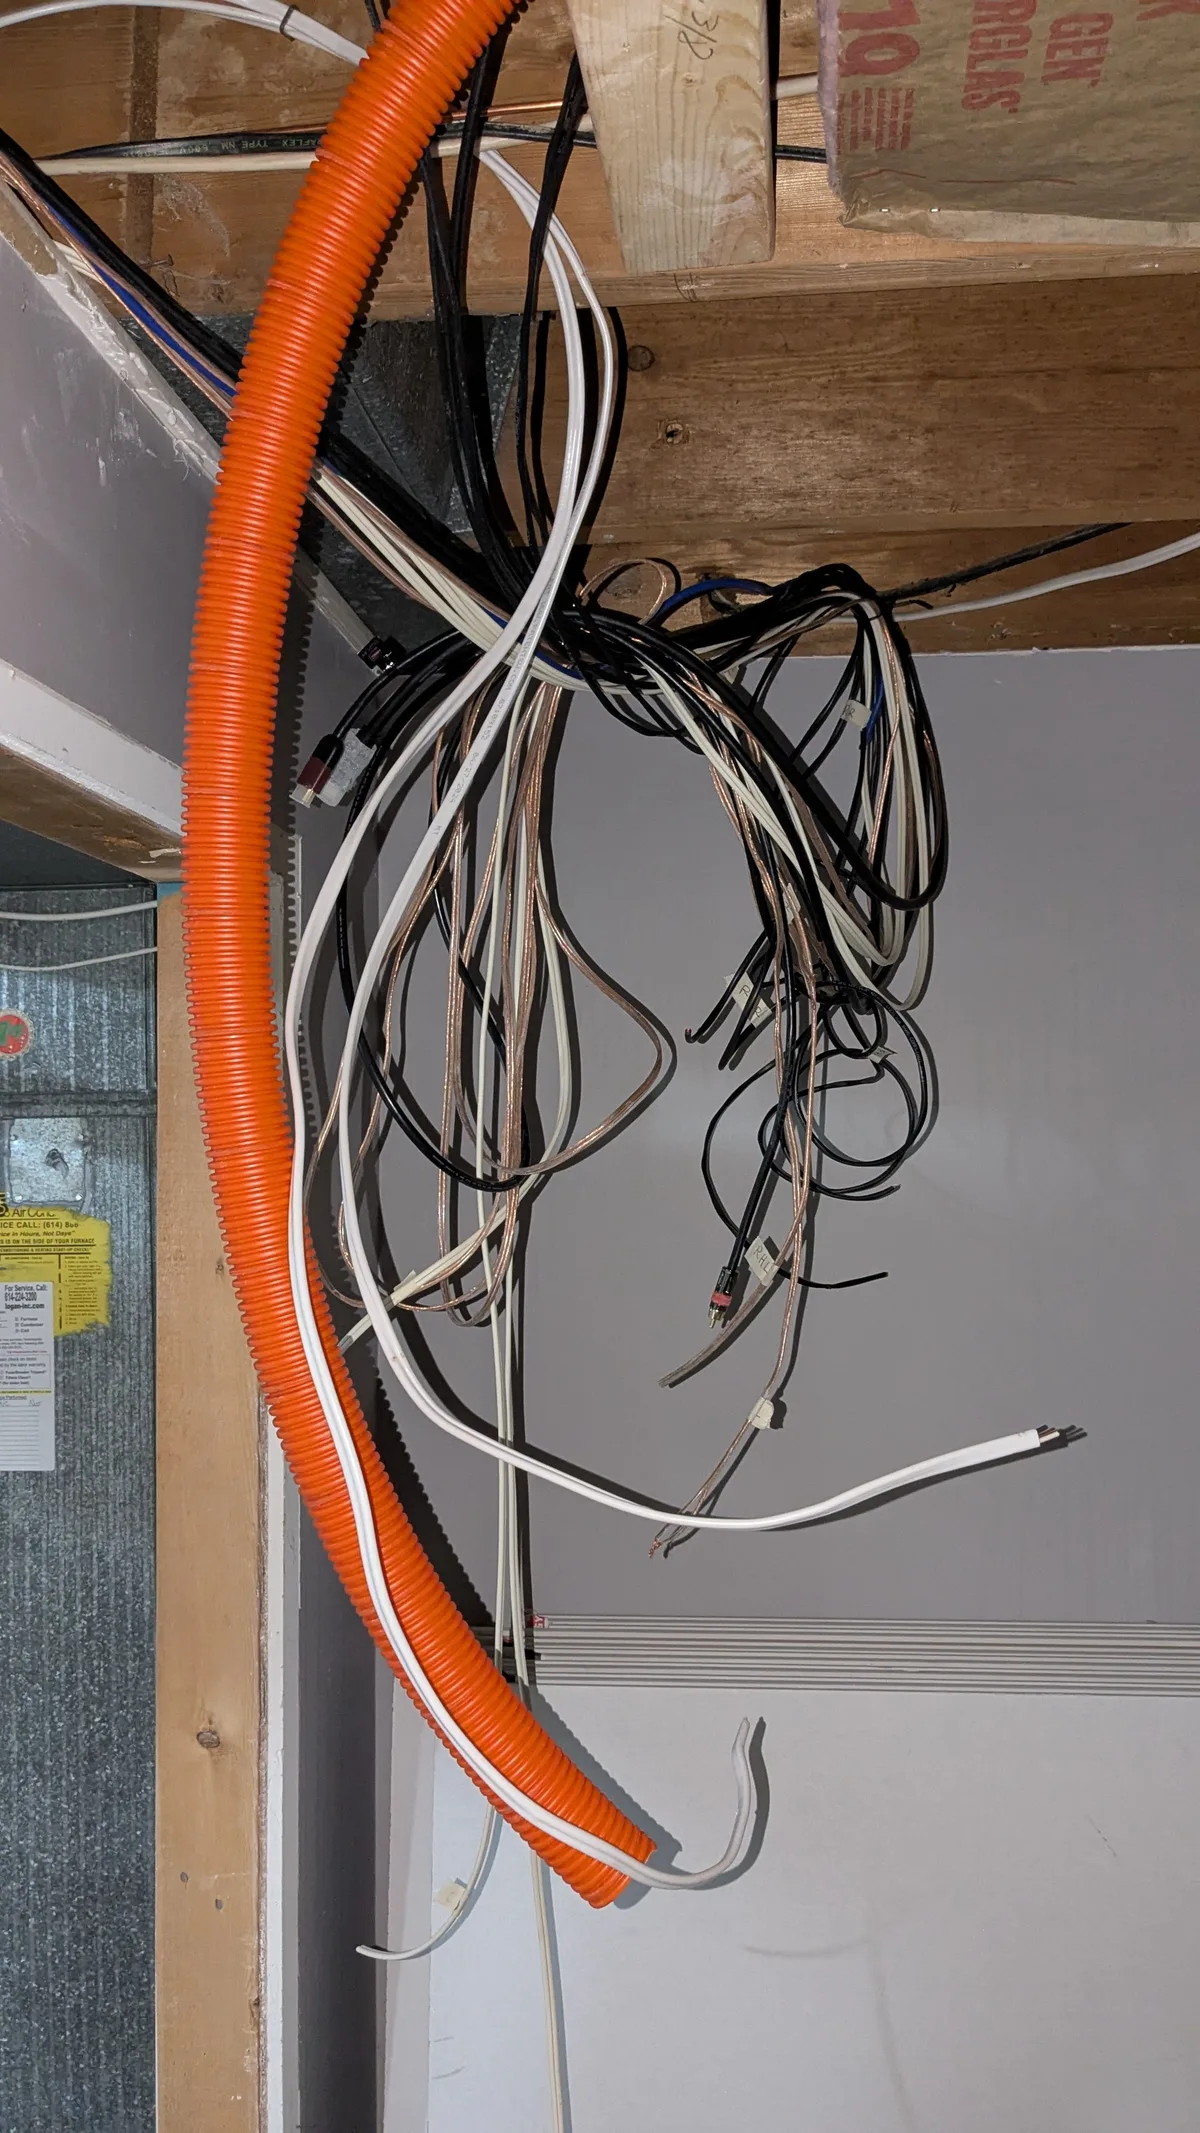
The next picture is the height of the chaos. The project really felt off the rails here. This picture is very representative of my mental state at this point.
But hey, I got that wall plate painted black. Take it one step at a time. You will get through it.
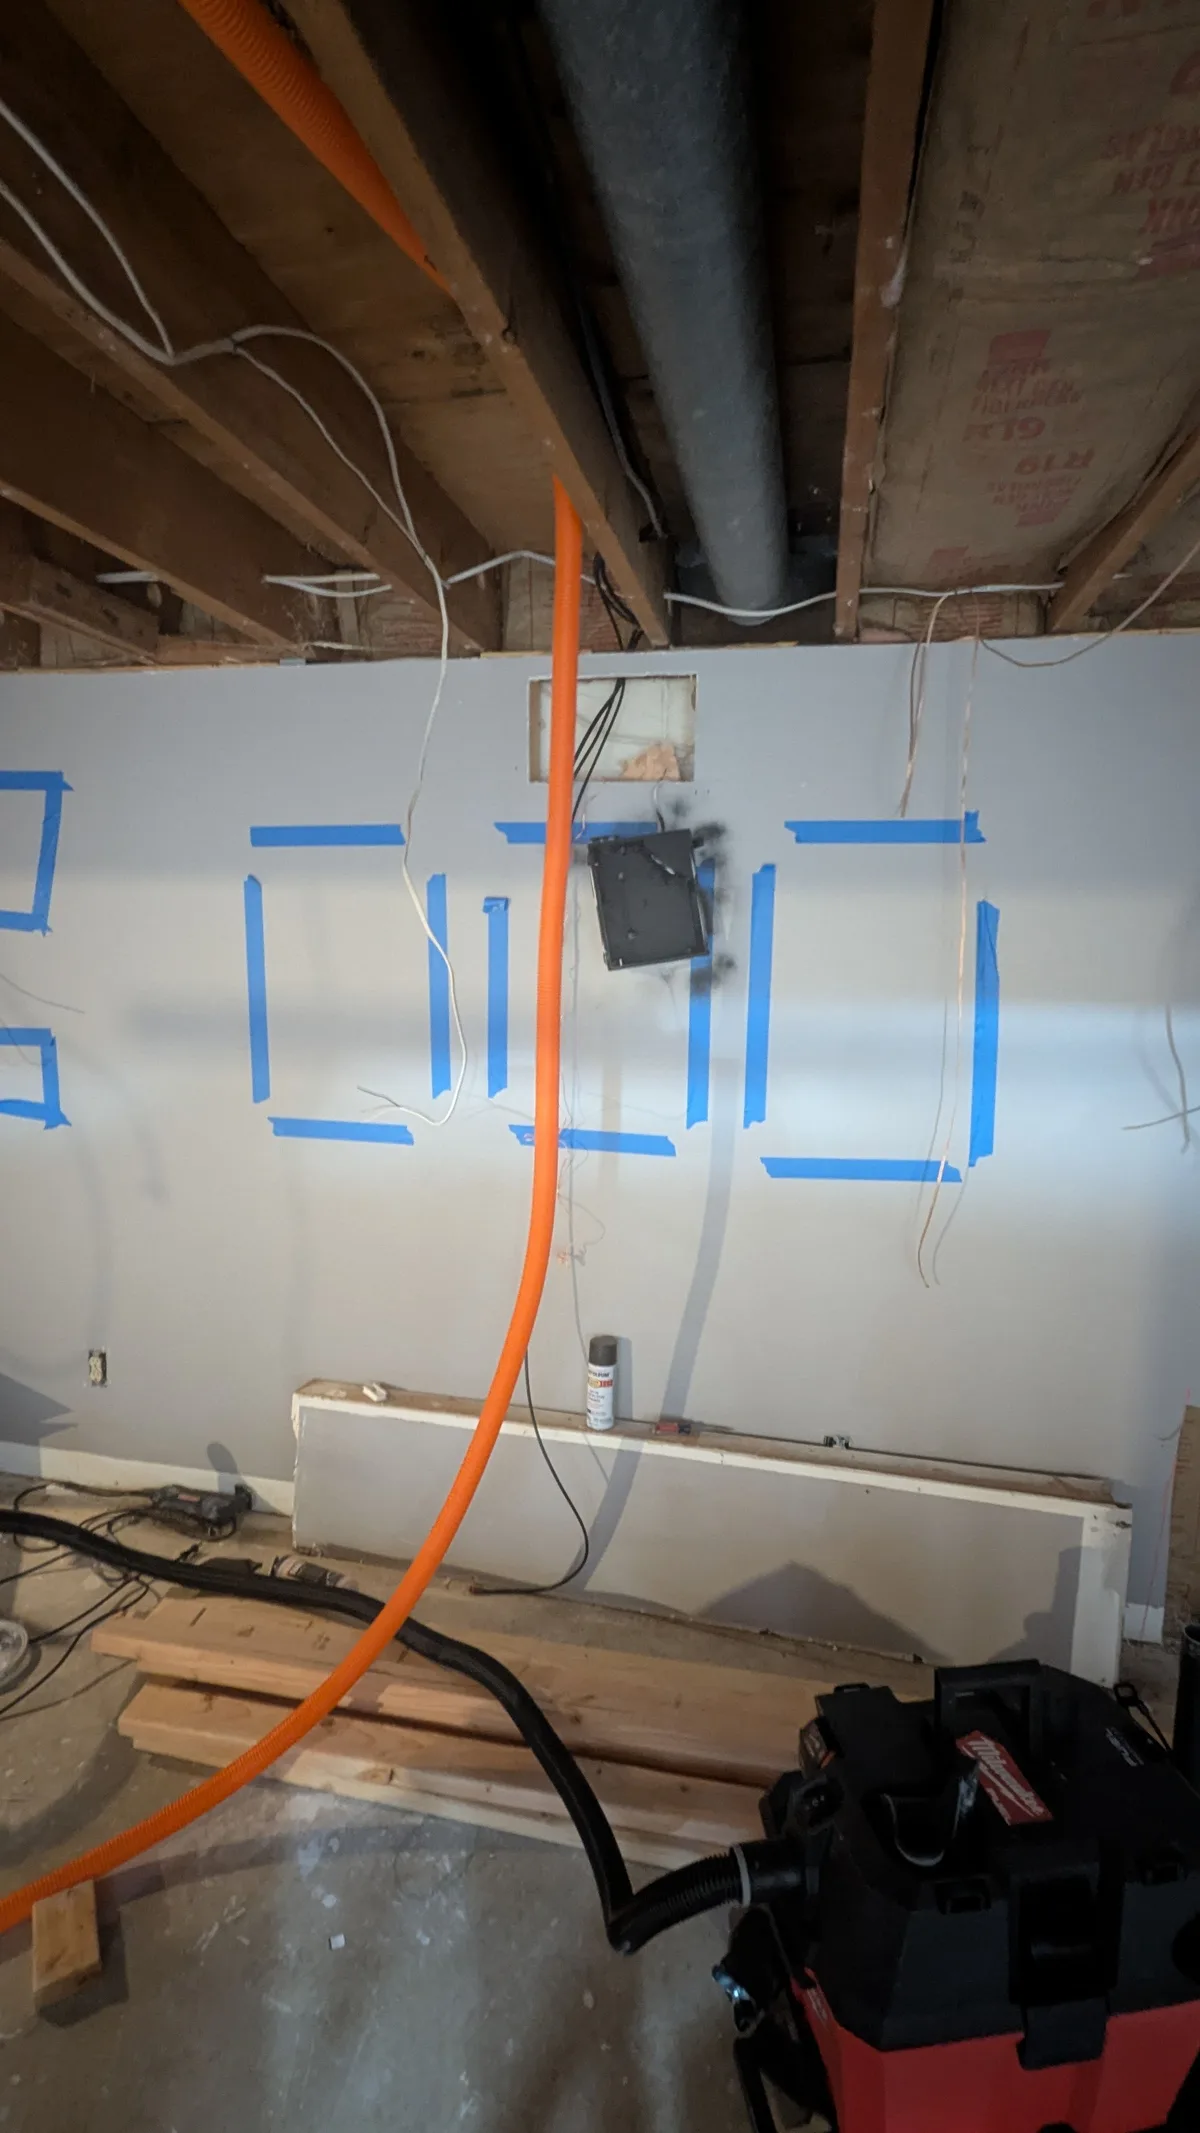
After tearing out some of the studs we had installed, this is where I am planning to build the gear closet. A lot of thinking happened in this little square. It was also starting to get exciting.
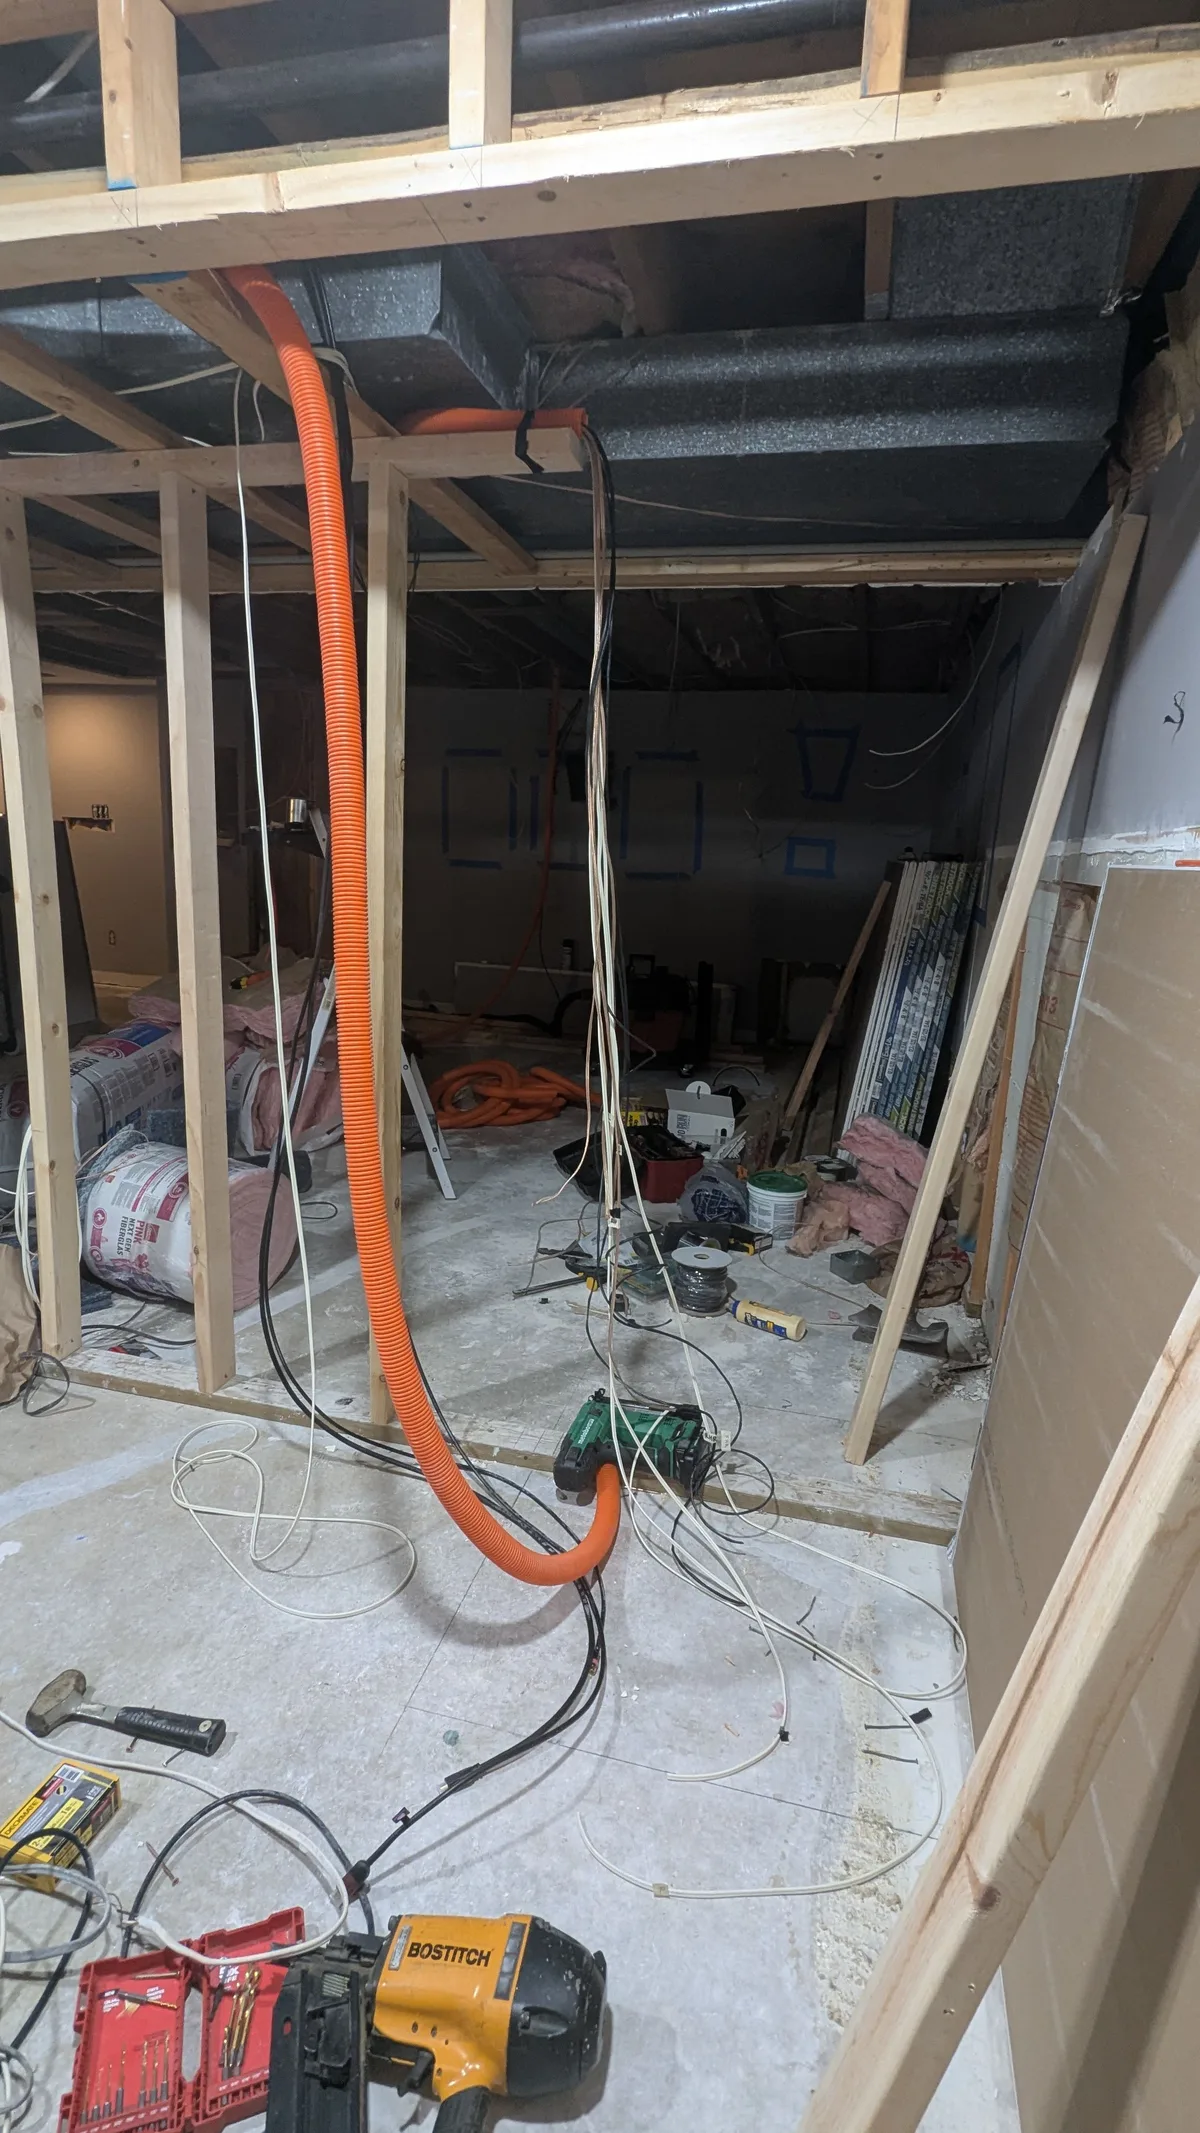
Hah! I had been planning to build a wall here. Man, that would have been stupid. Thank the gods there are people on the internet that will tell you when you're about to do something stupid. IDK what I was thinking...
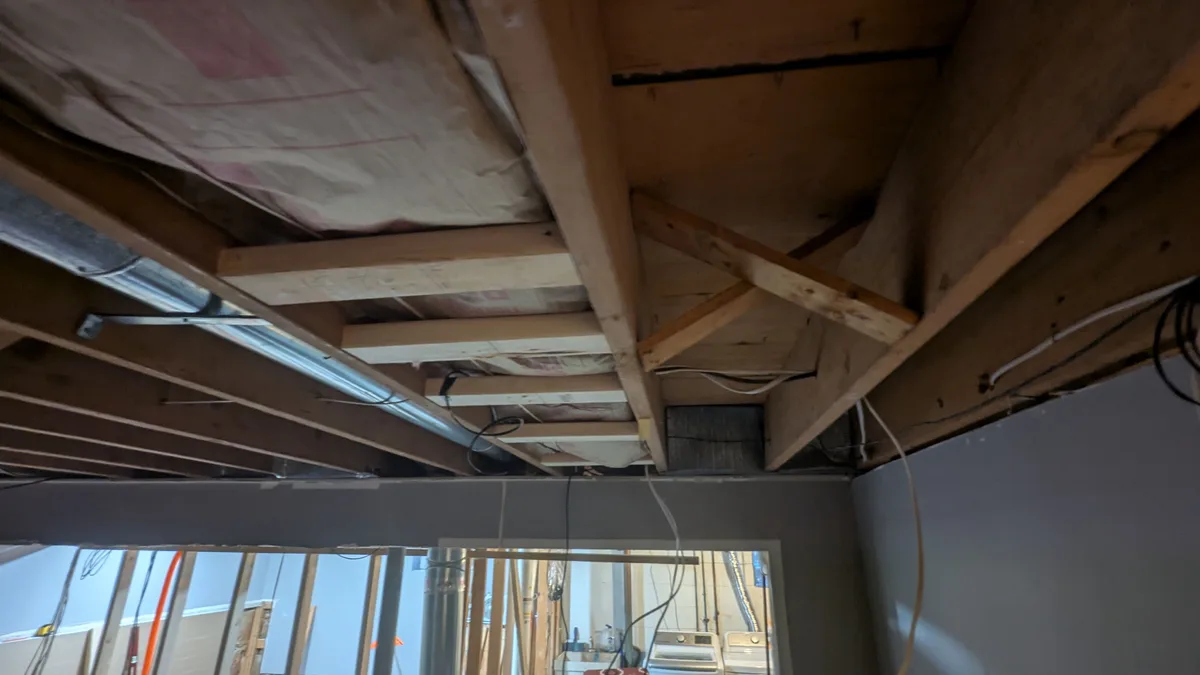
Gear closet framed. You have no idea how excited I was to start putting up drywall, and I'm only being 20% sarcastic.
Phase 1 complete. At nearly a year and a half this phase took the longest.