
Completed October 18, 2026
Enhancements - Atmos, Storage, Lights
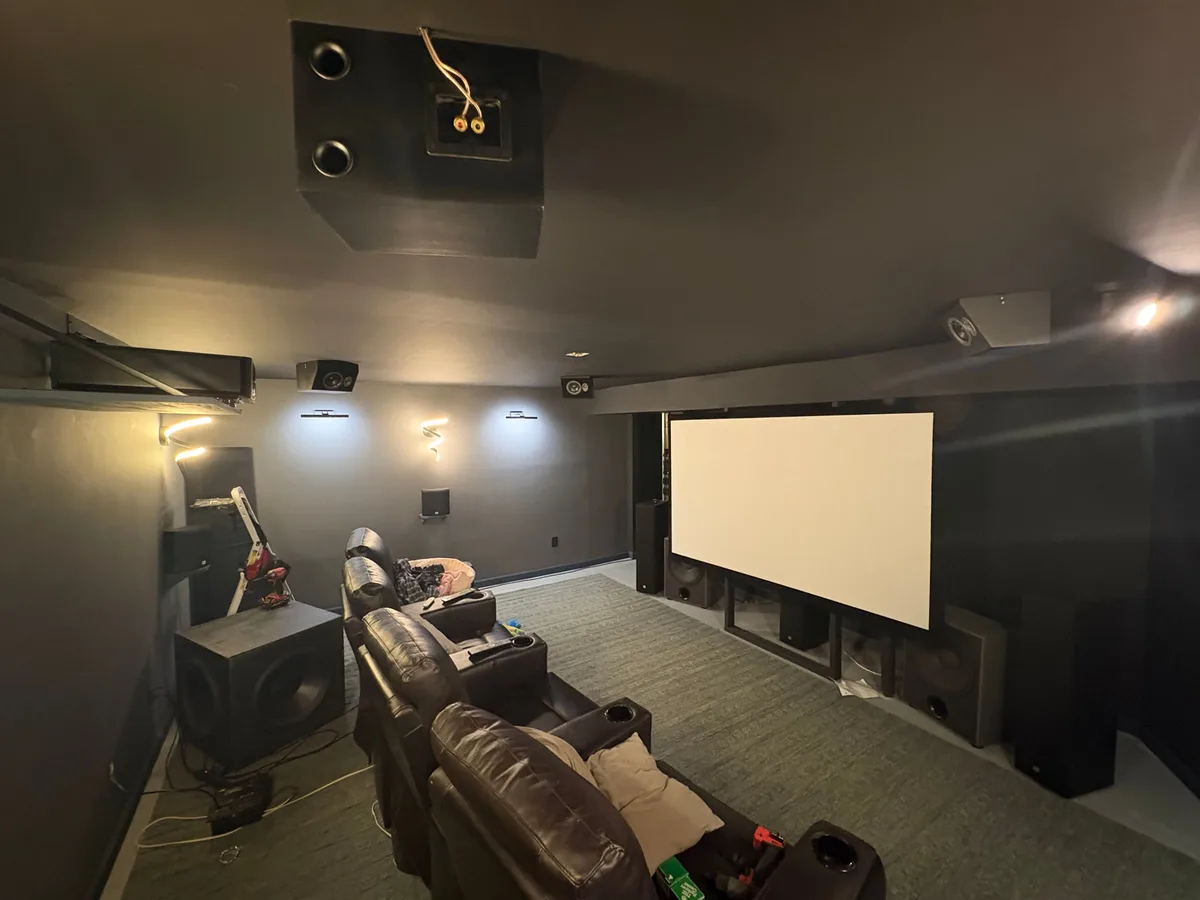
Flexing the Benefits of a Dedicated Theater Room
Looking back I can't believe I made this mistake -- I didn't do any investigation or discovery about where to put my subwoofer. Really, I was in a tough spot. I couldn't determine it's best location before I had walls, and I couldn't put walls in without running the wiring. So I just placed the speaker where I wanted it aesthetically -- behind the screen. After months of dealing with meh bass response I finally did the subwoofer crawl and placed the speaker properly.
The subwoofer crawl is when you put the speaker in the main listening position, and then crawl around on the floor to see where it sounds the best. It's like an inverse thing. IDK. It's a neat little trick that worked pretty well.
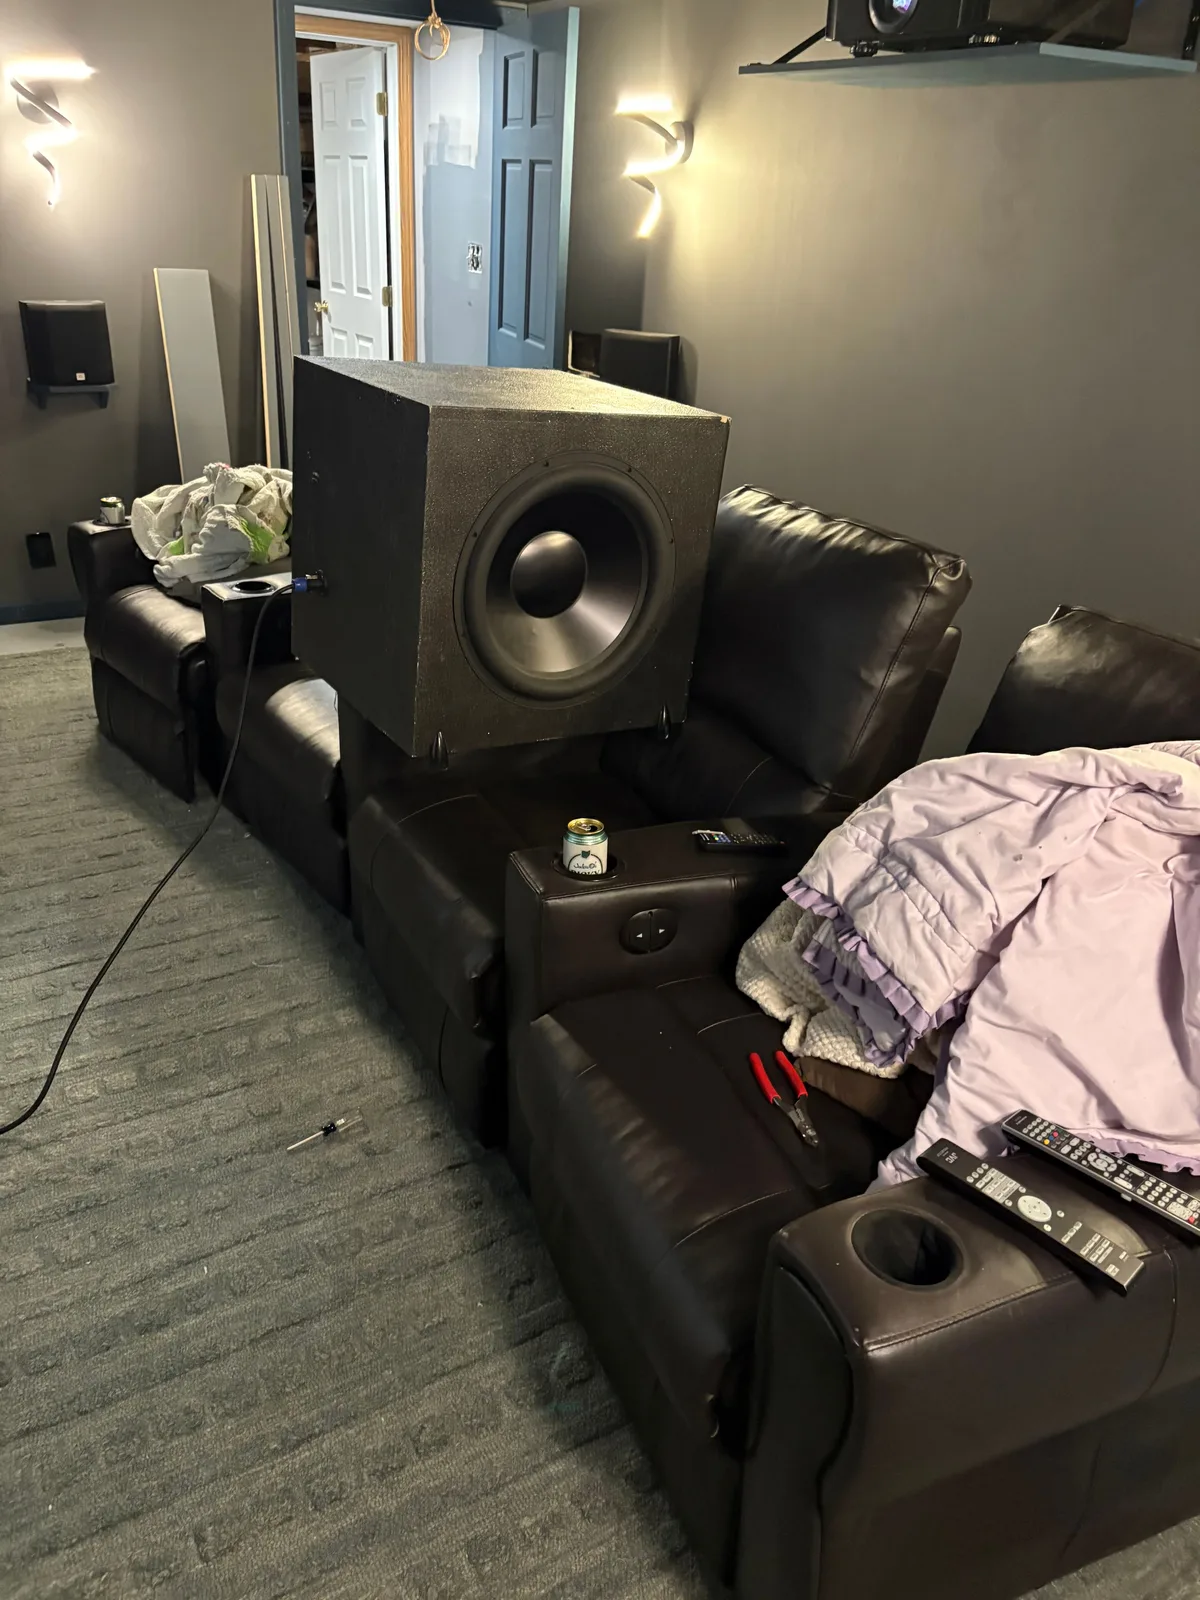
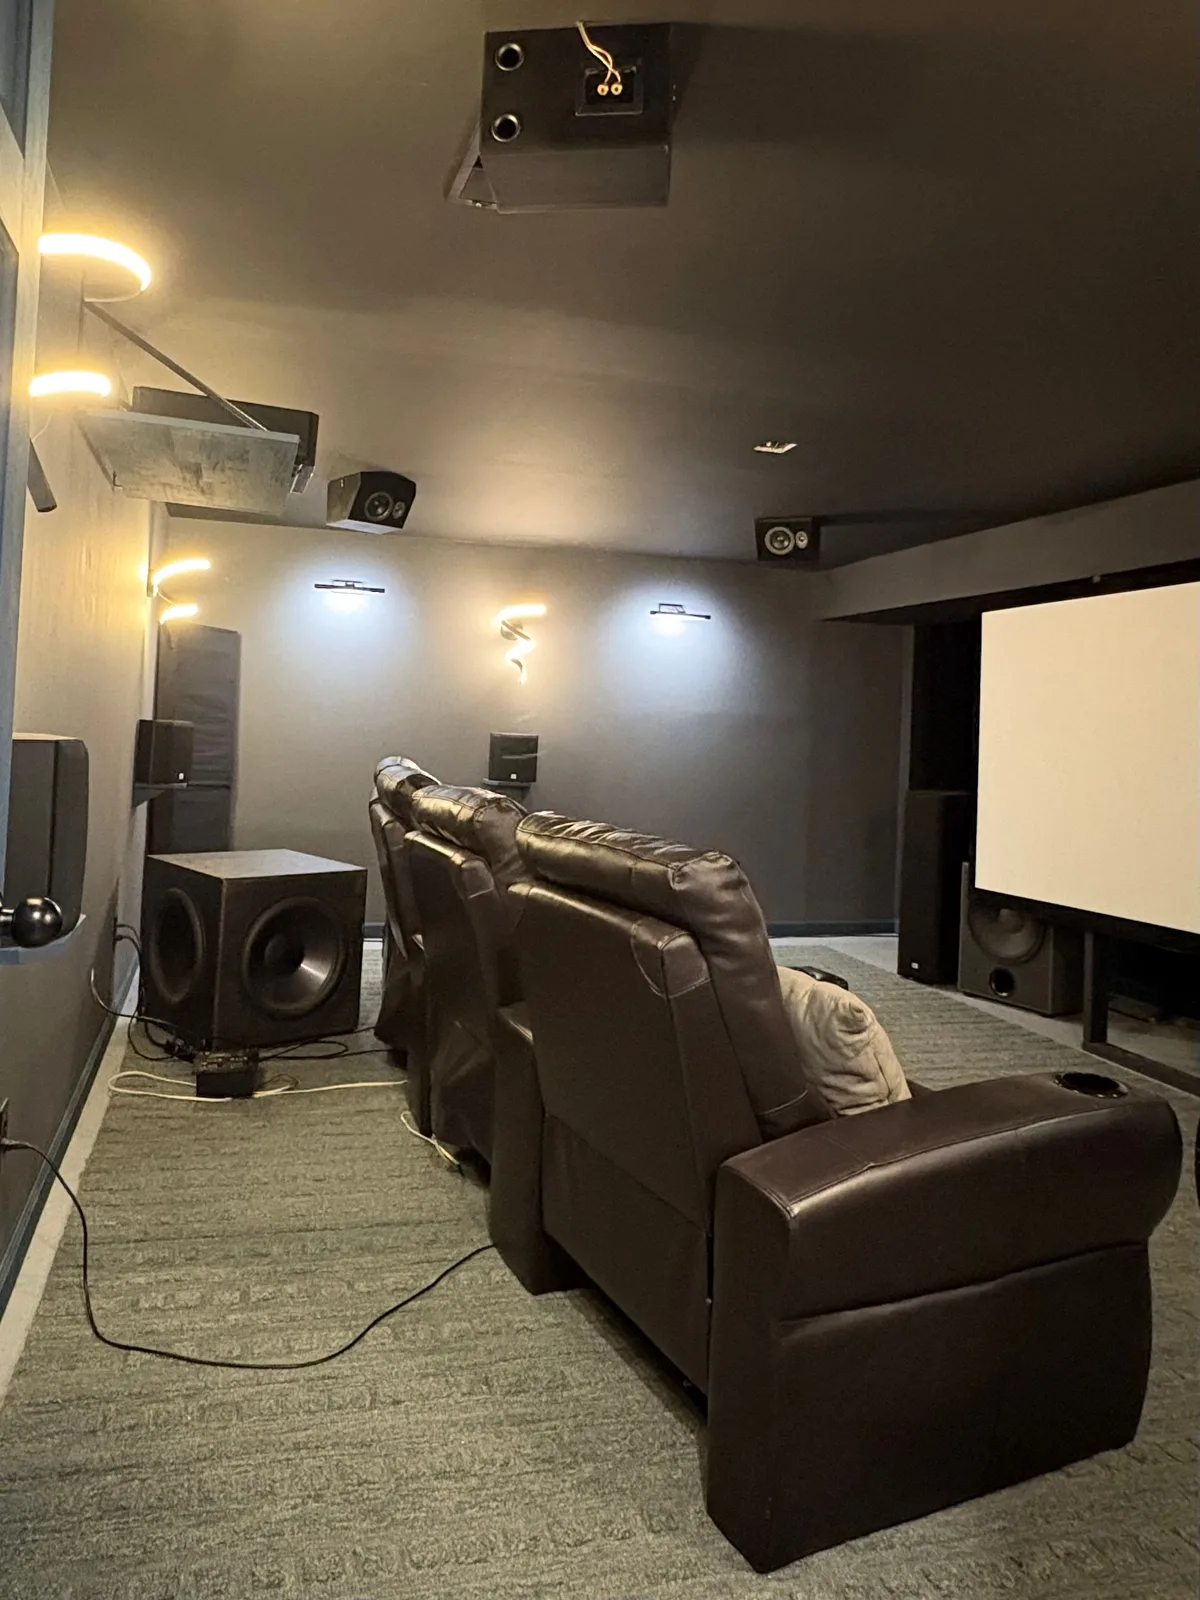
The speaker ended up behind the far seat. Now 3/4 seats have good bass response.
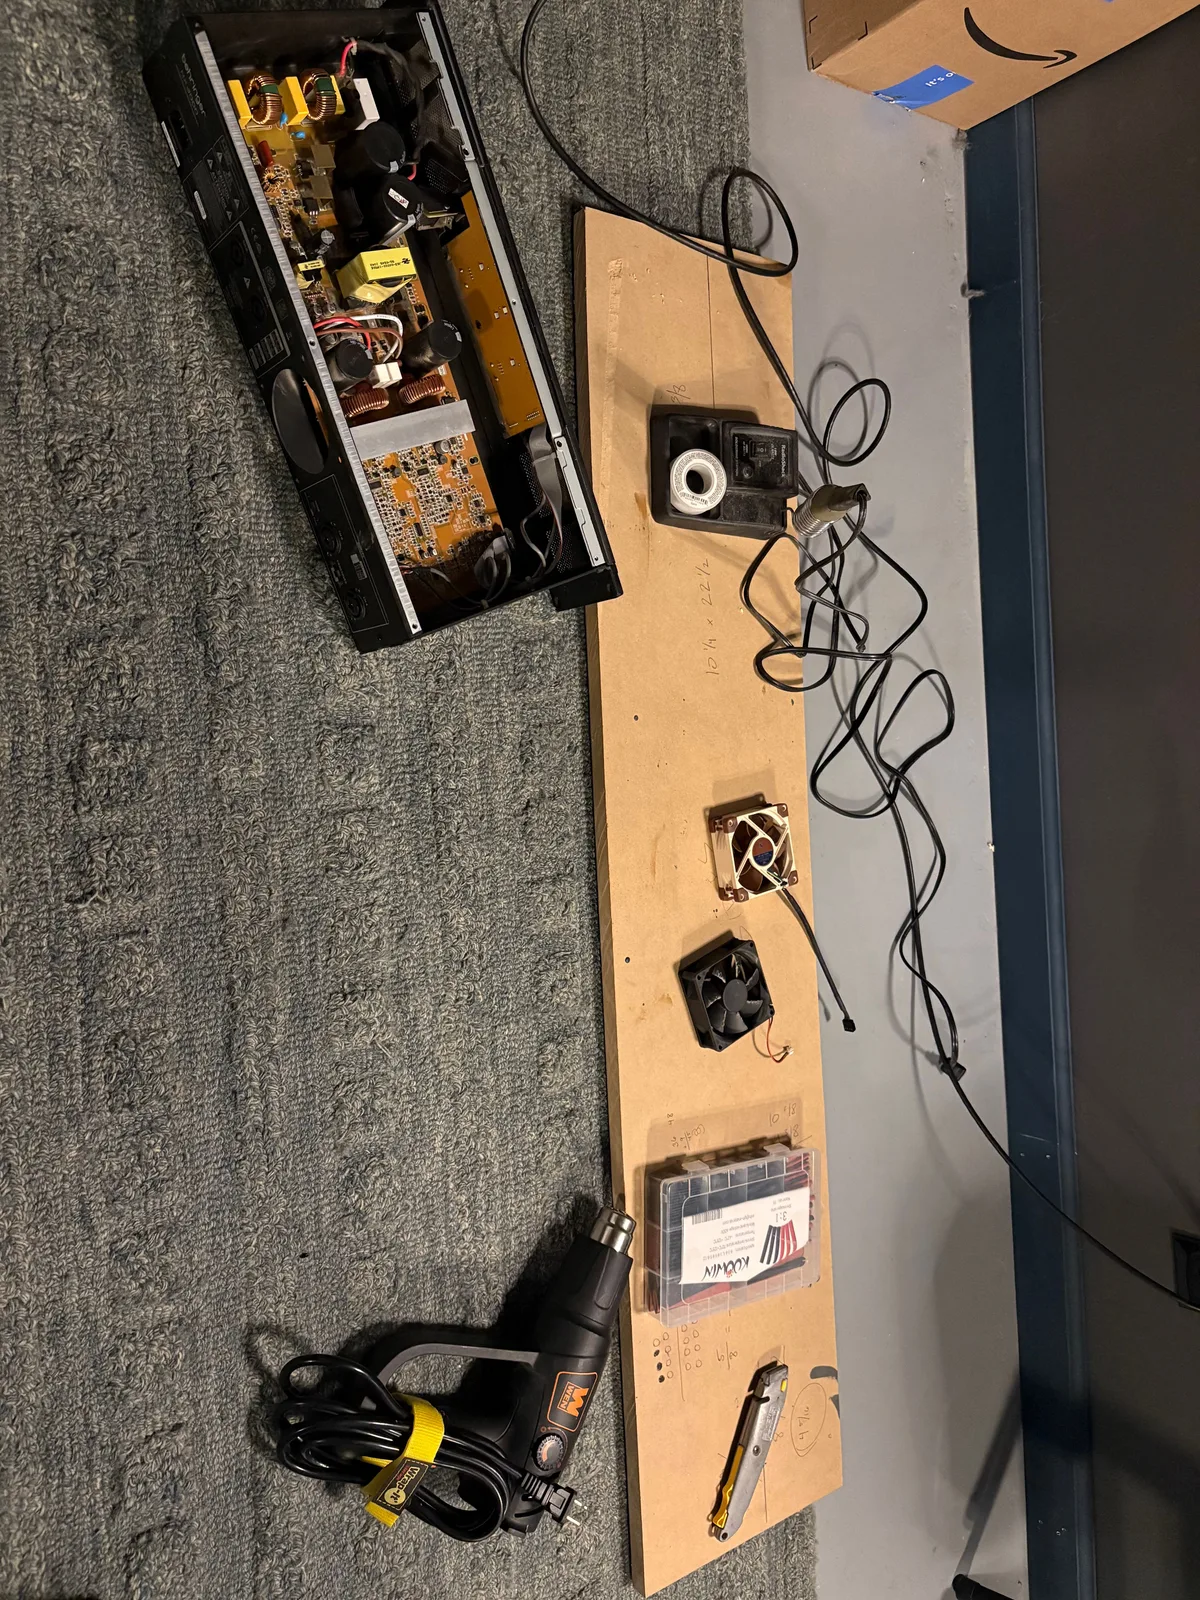
Something else that had been driving us nuts was the Behringer NX3000 was so loud. The previous owner of the NX6000 had already done the fan upgrade, so I could hear the difference.
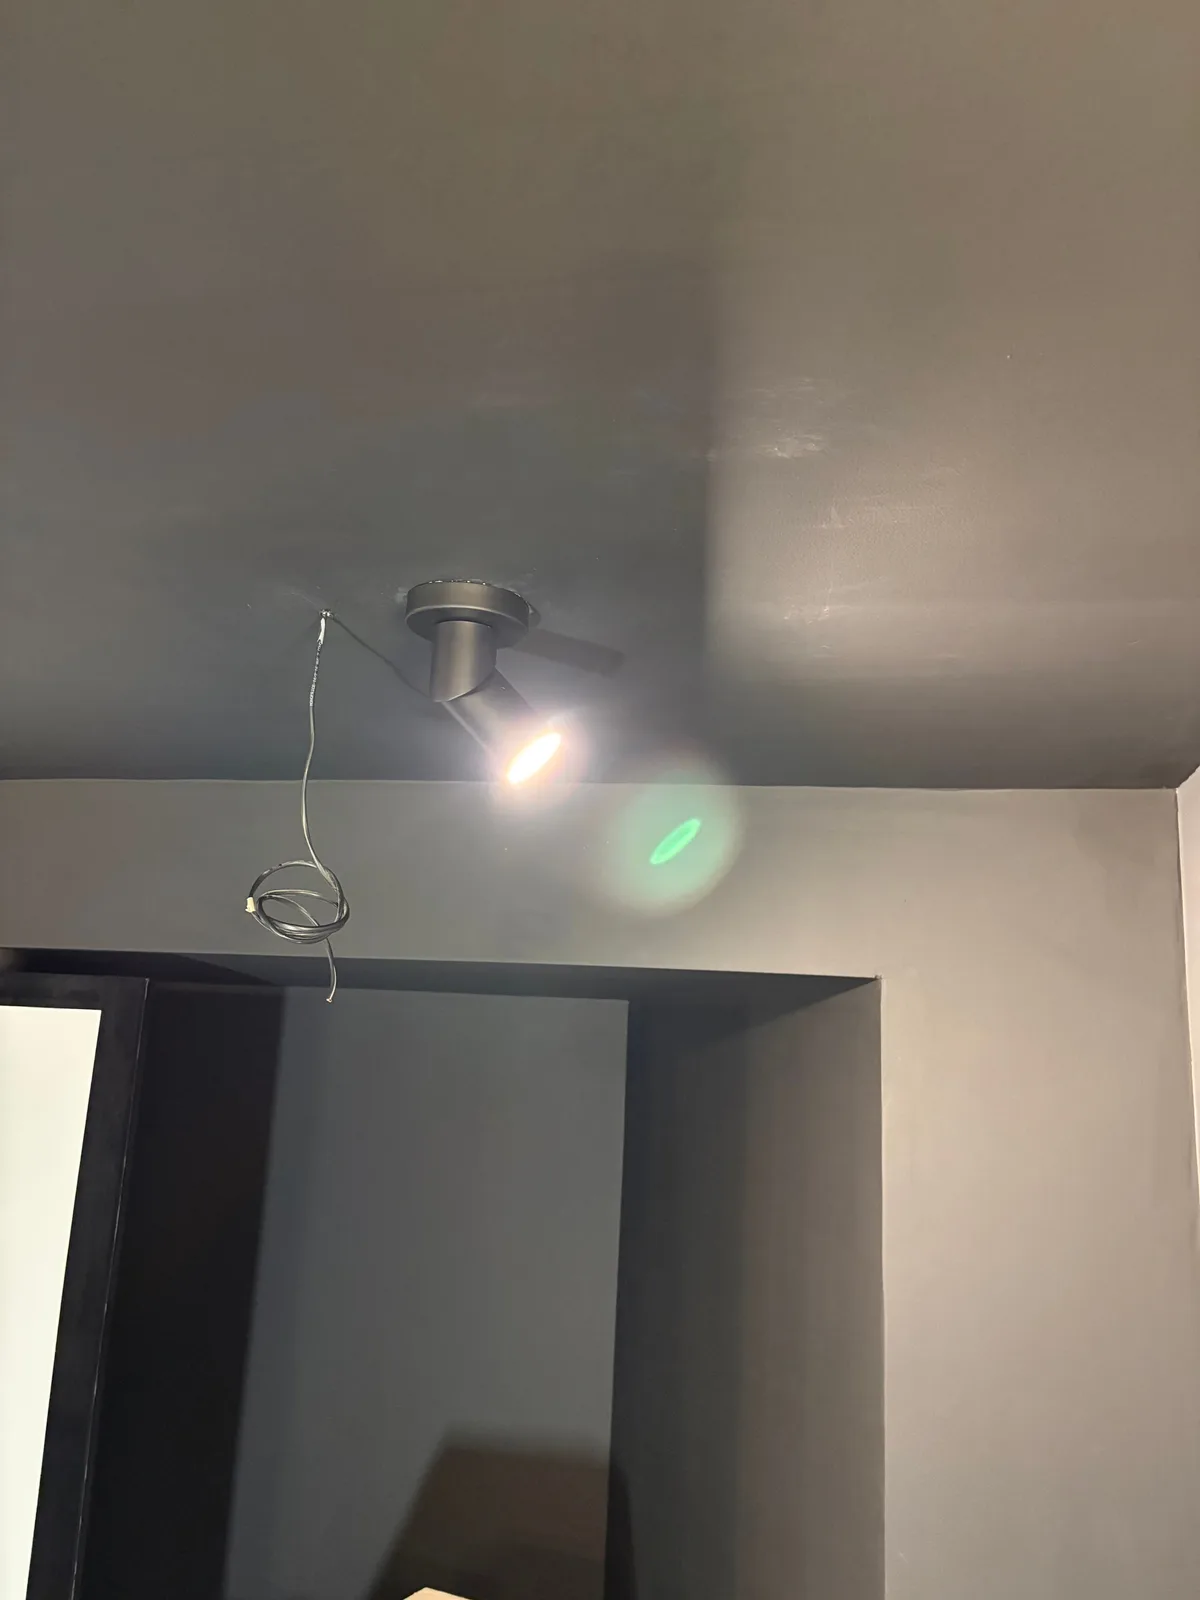
While I had started the shelves by this point, I couldn't hang them until I got the electric figured out, and part of that was installing this ceiling light. I like that I can adjust where it's pointed. Eventually I plan on having a friend print a cover I can put on it so it's not so bright. I'm calling it a mechanical dimmer 😁
So... I got it in my head that I wanted floating shelves with LED under-shelf lights to hold my Blu-Ray collection. I search for a finished product for a while, was really hoping IKEA would have something, but I ended up doing it DIY as per usual.
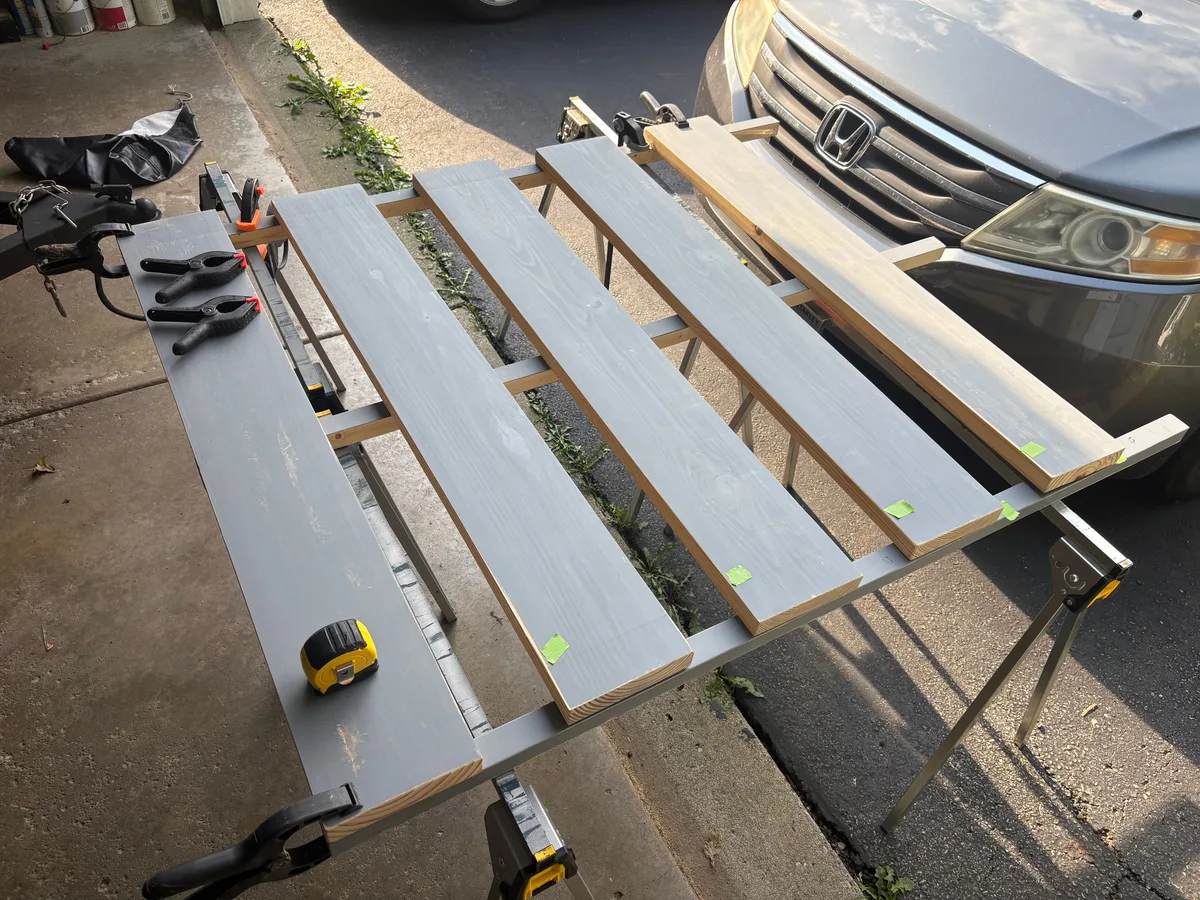
This project started out with 4 pine 2x6 boards which I cut down to (5) 4' long shelf pieces and (3) 5' tall 1.5" x 1.5" mounting pieces
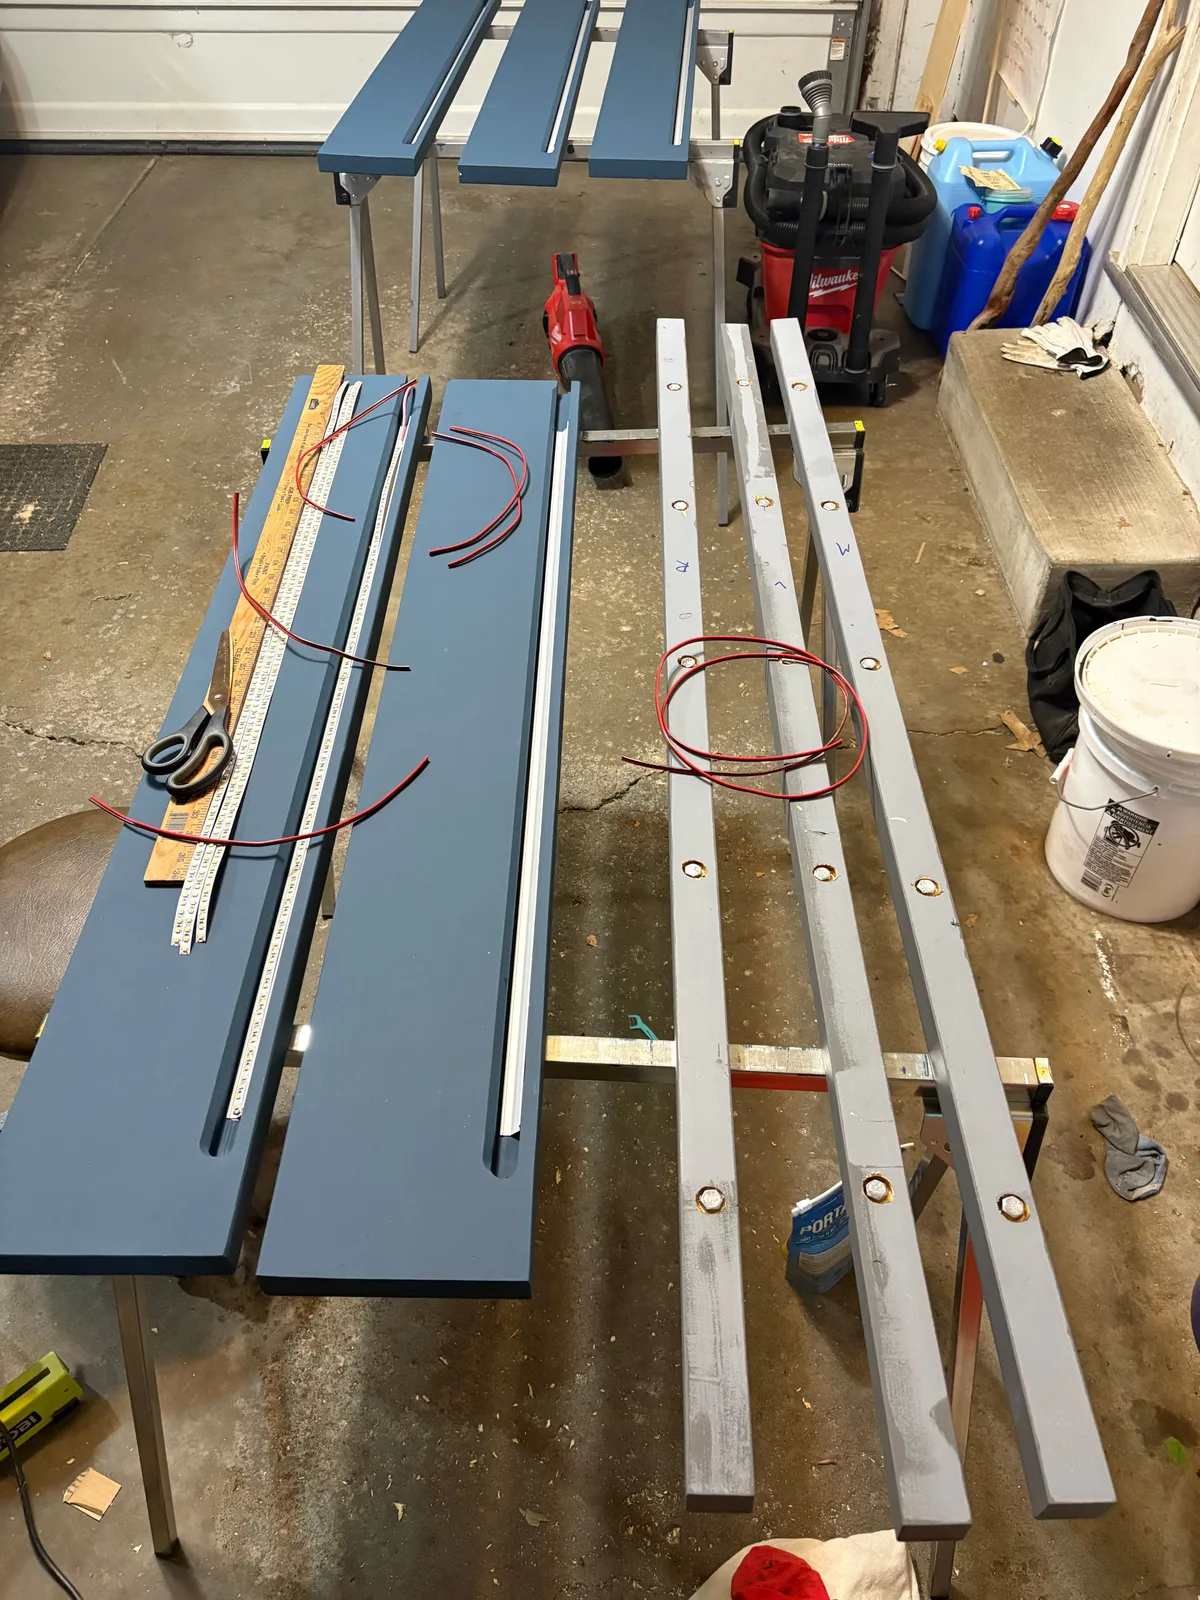
David C. gave me the metal angle brackets with semi-translucent covers and I bought the rest of the LED supplies from the Super Bright LEDs website. Sam helped me cut the channels with a plunge router, and I glued the metal angle brackets in with epoxy.
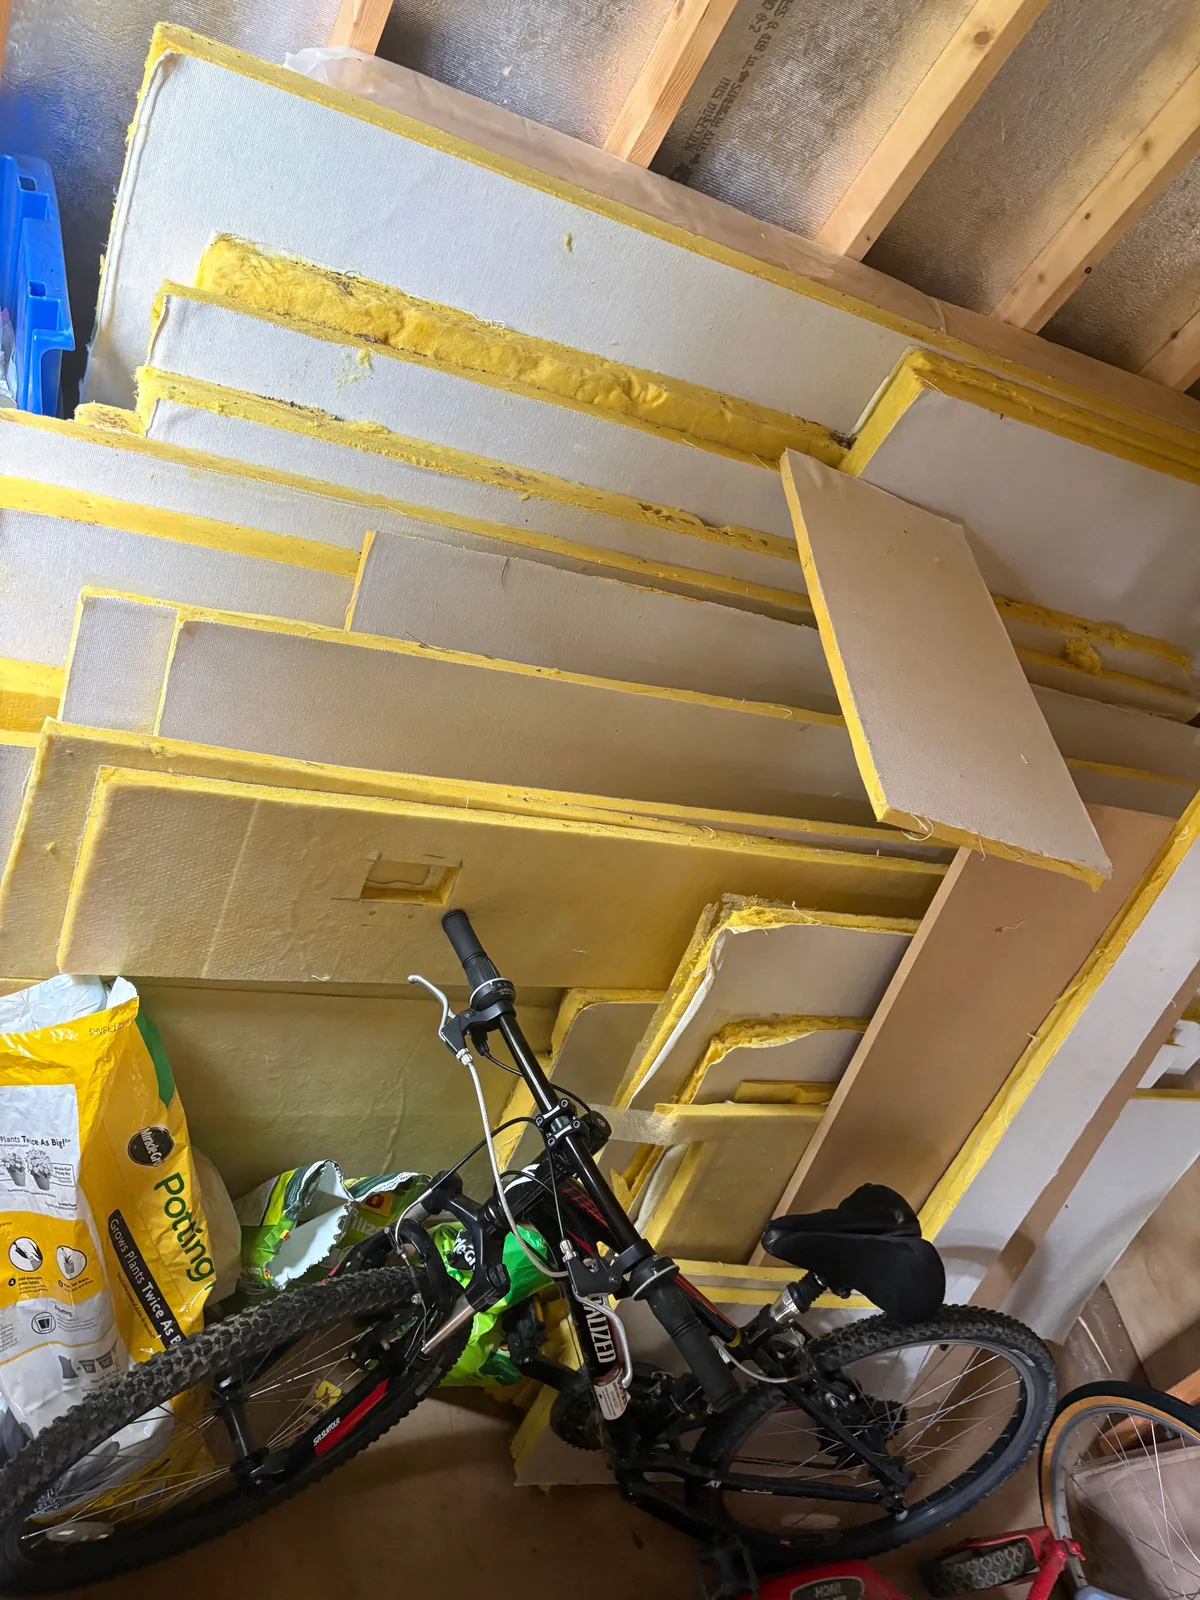
In between the mounting pieces there would be a gap, and my brain defaults to putting acoustic treatment in every place I can, so I decided to build acoustic panels which would fit behind the shelves. I bought a bunch of this rigid fiberglass insulation from someone who was clearing it out of the house they had recently bought. I went halfsies with David M. We went and picked it up together and it filled an entire 4x8 U-haul trailer.
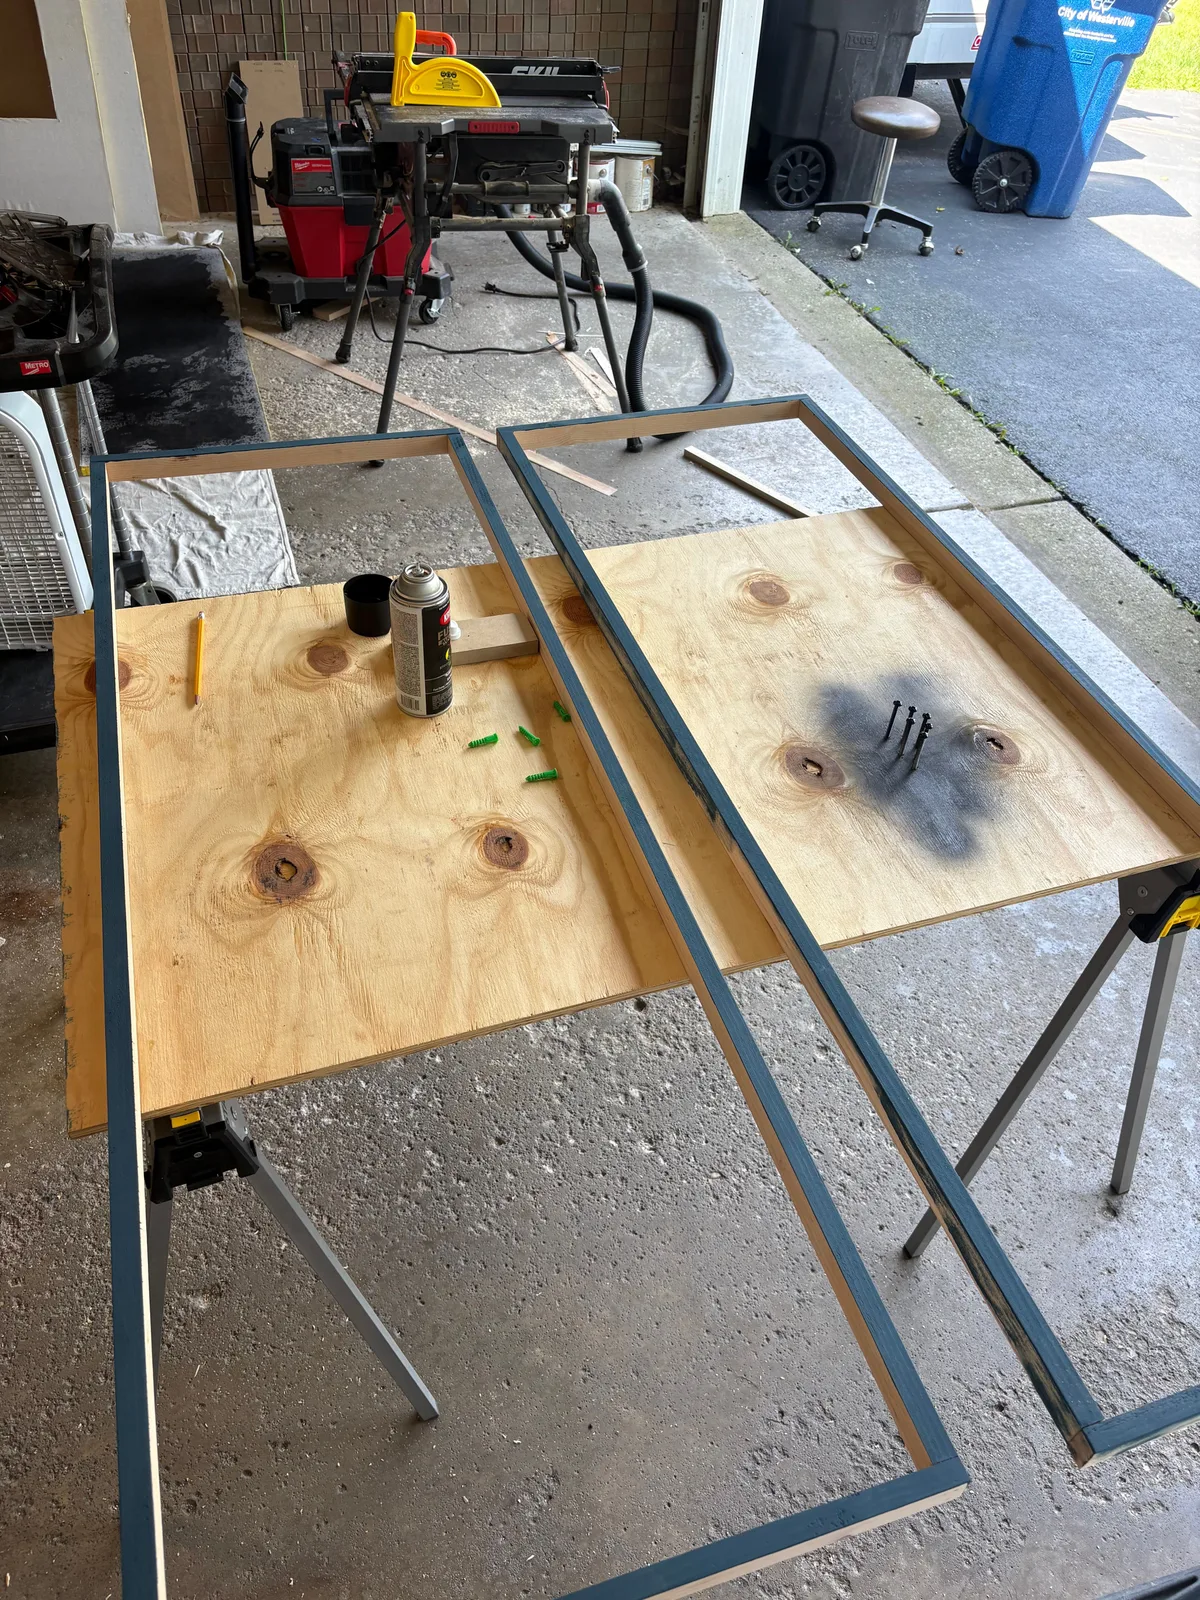
I built these skinny frames out of scrap wood.
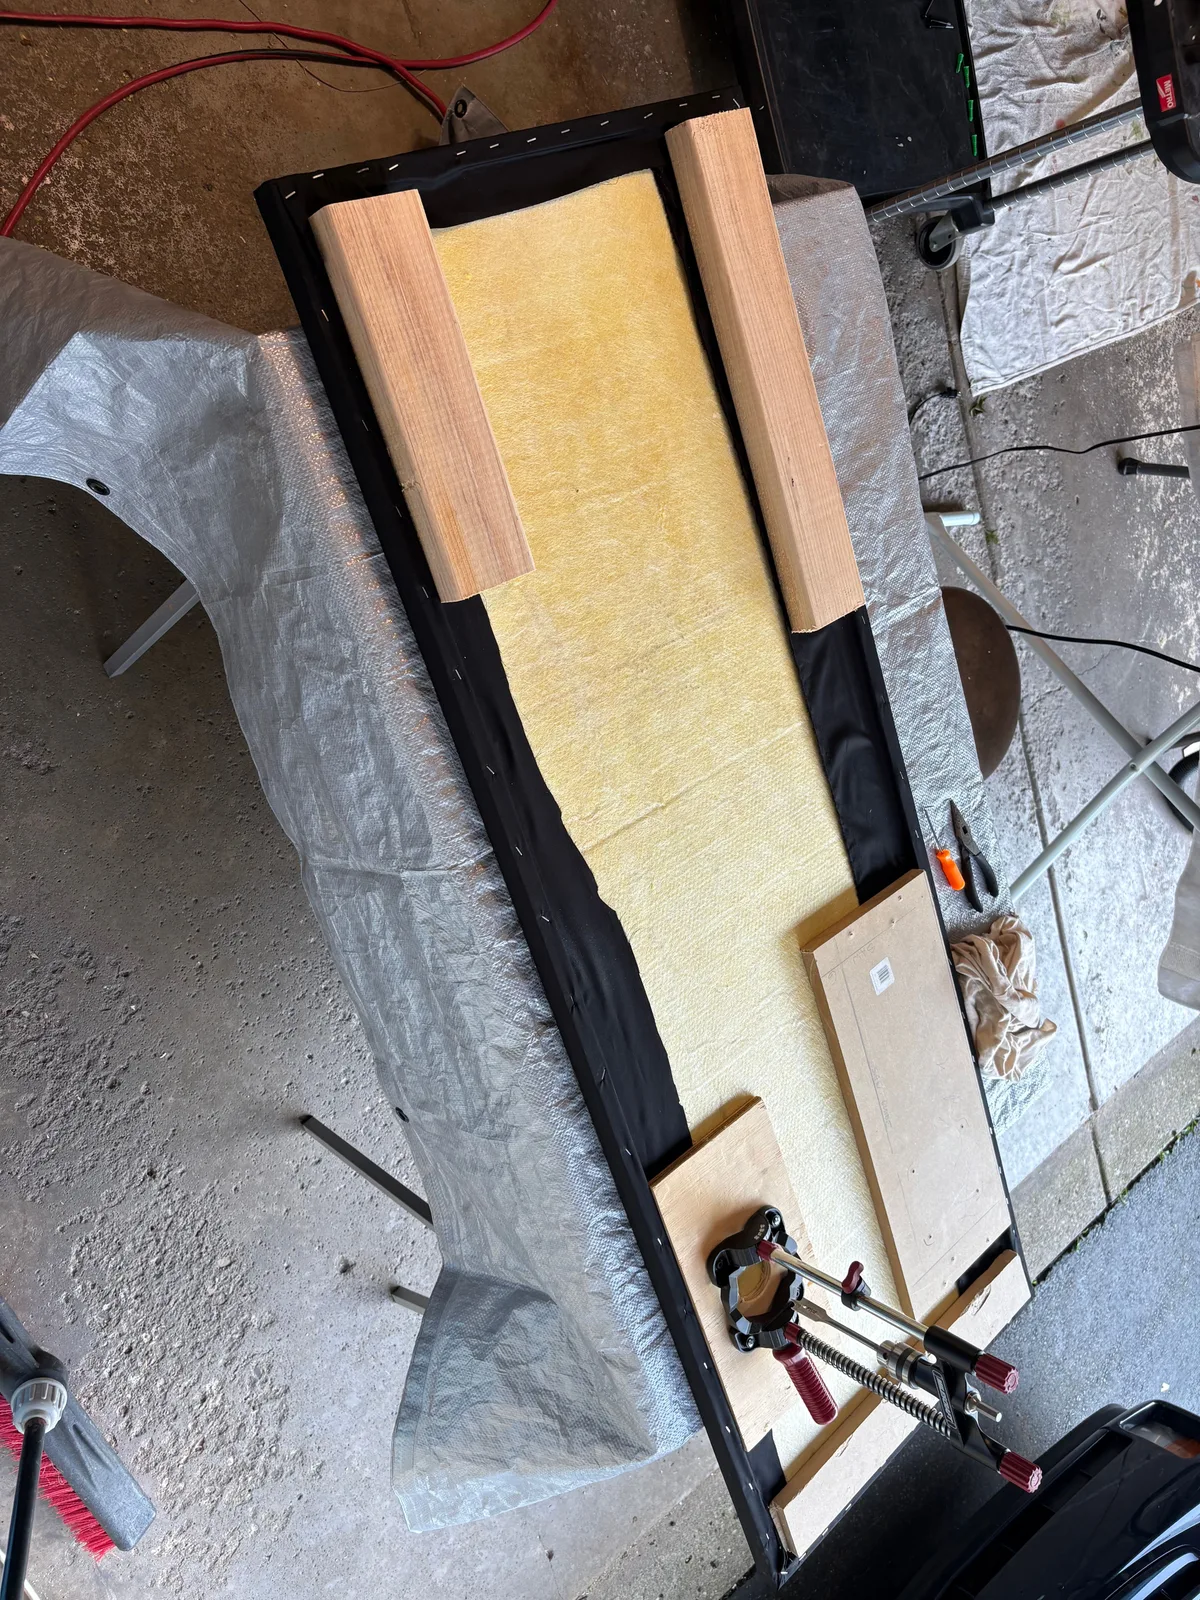
The insulation was placed inside the wood frame, and then I stretched black cotton broadcloth around it and stapled it and glued it down.
I was afraid the light colored insulation would show through the cotton broadcloth so I used fabric ink to try to darken the front material. I also did this as an experiment to see if I could use ink later when I'll be installing a lot of this insulation behind my speakers. It didn't work as well as I was hoping.
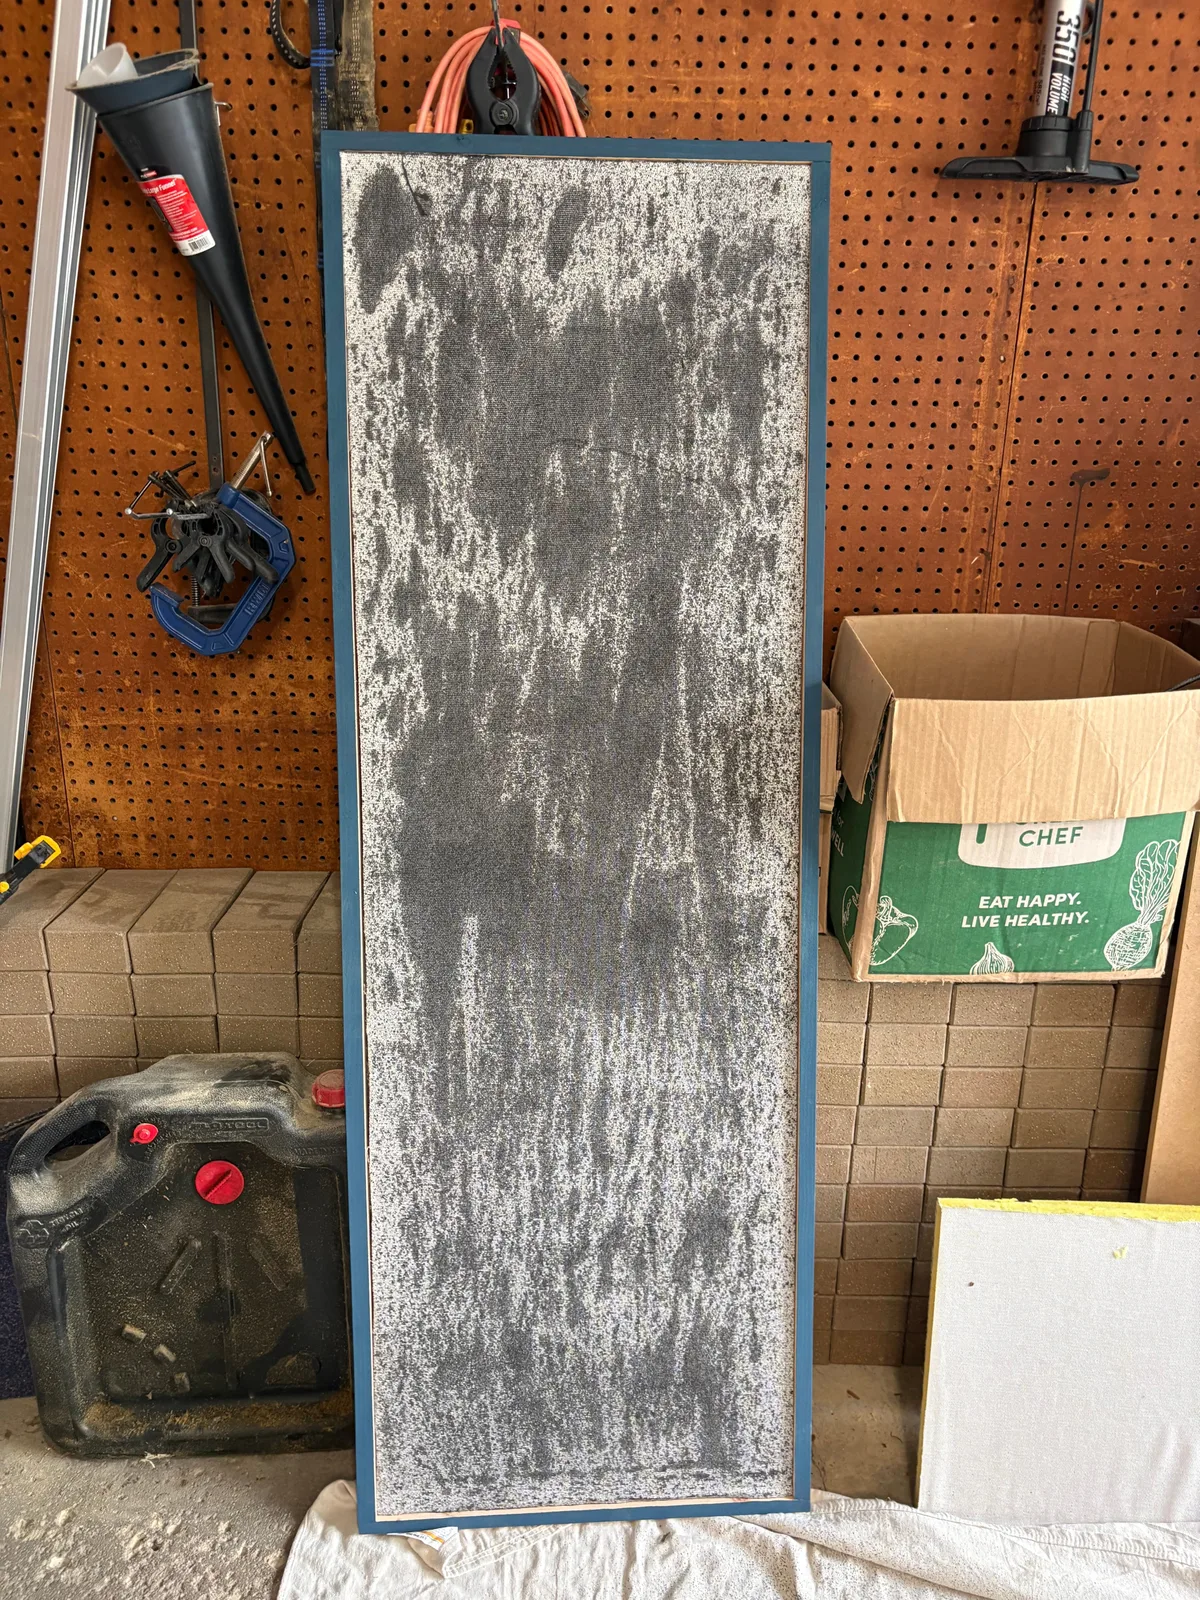
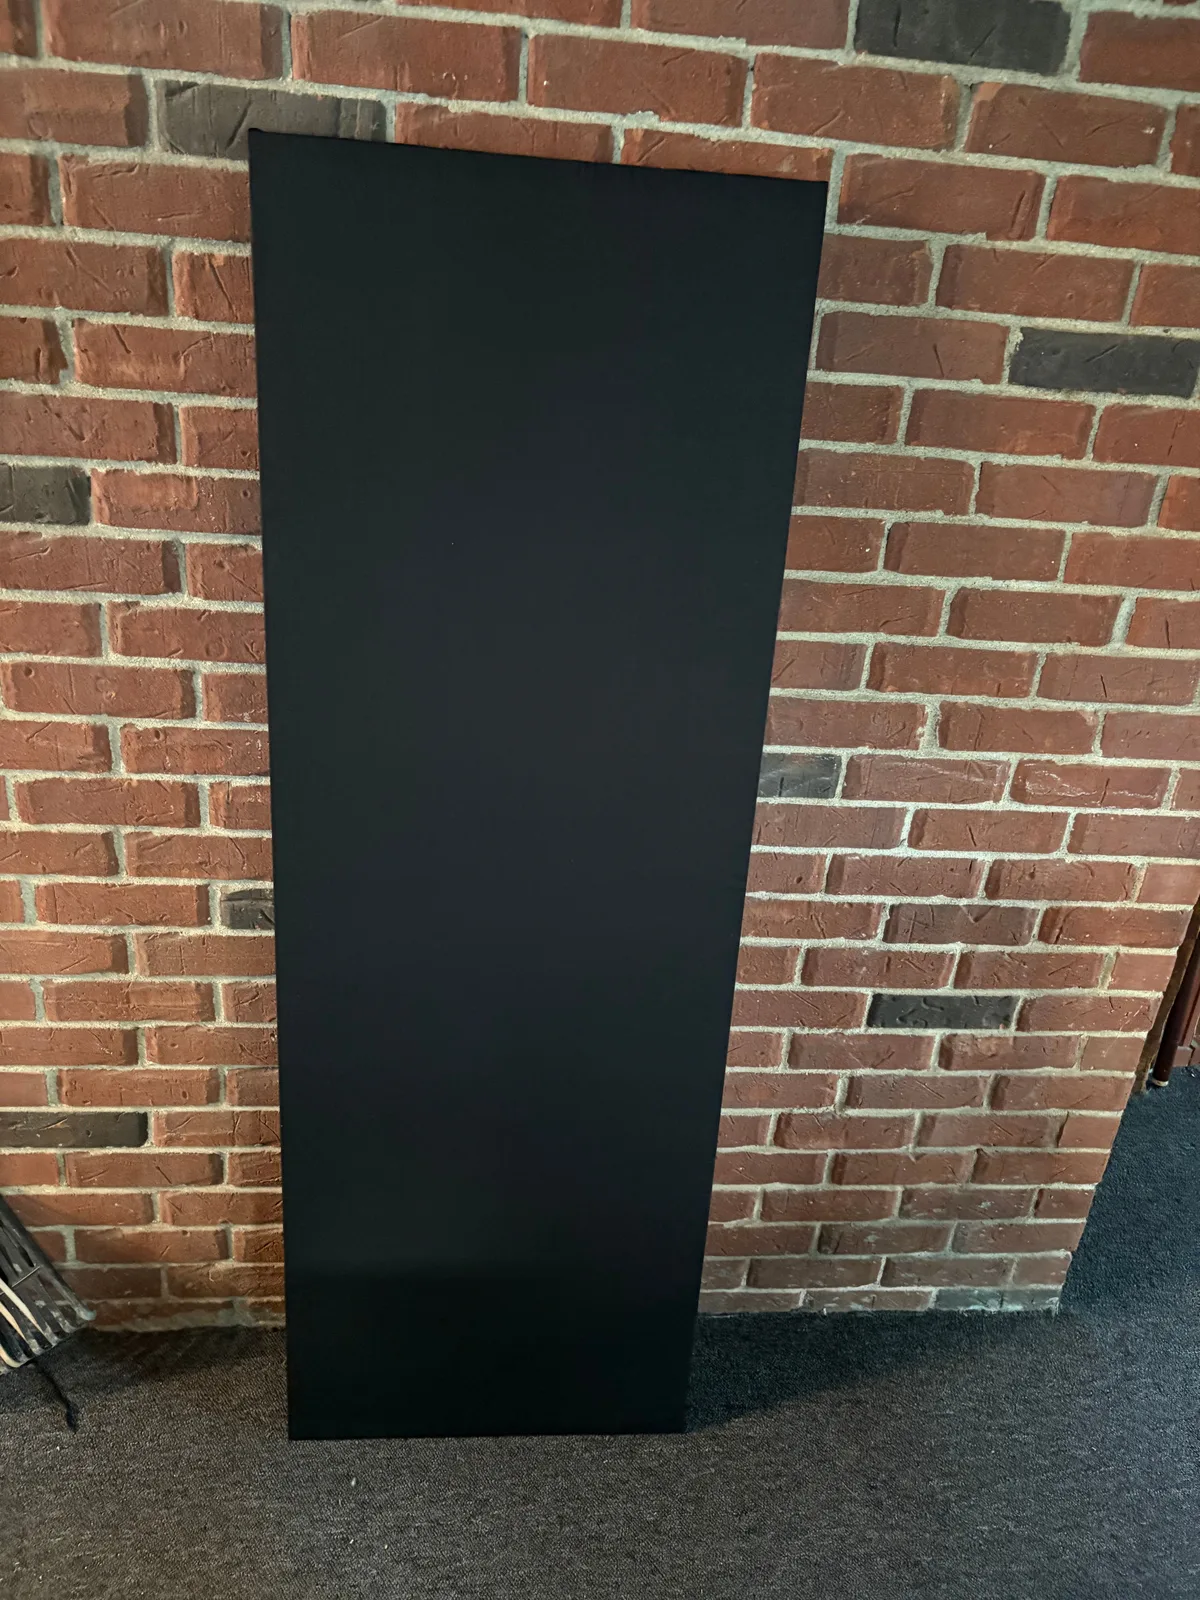
I thought they looked kinda cool like that, and considered hanging them with wrapping them, but they're also very pretty after they were wrapped. If the splotchy design had turned out better, maybe I would have.
This test-fit gave me a lot of confidence that this project was going to fit together properly.
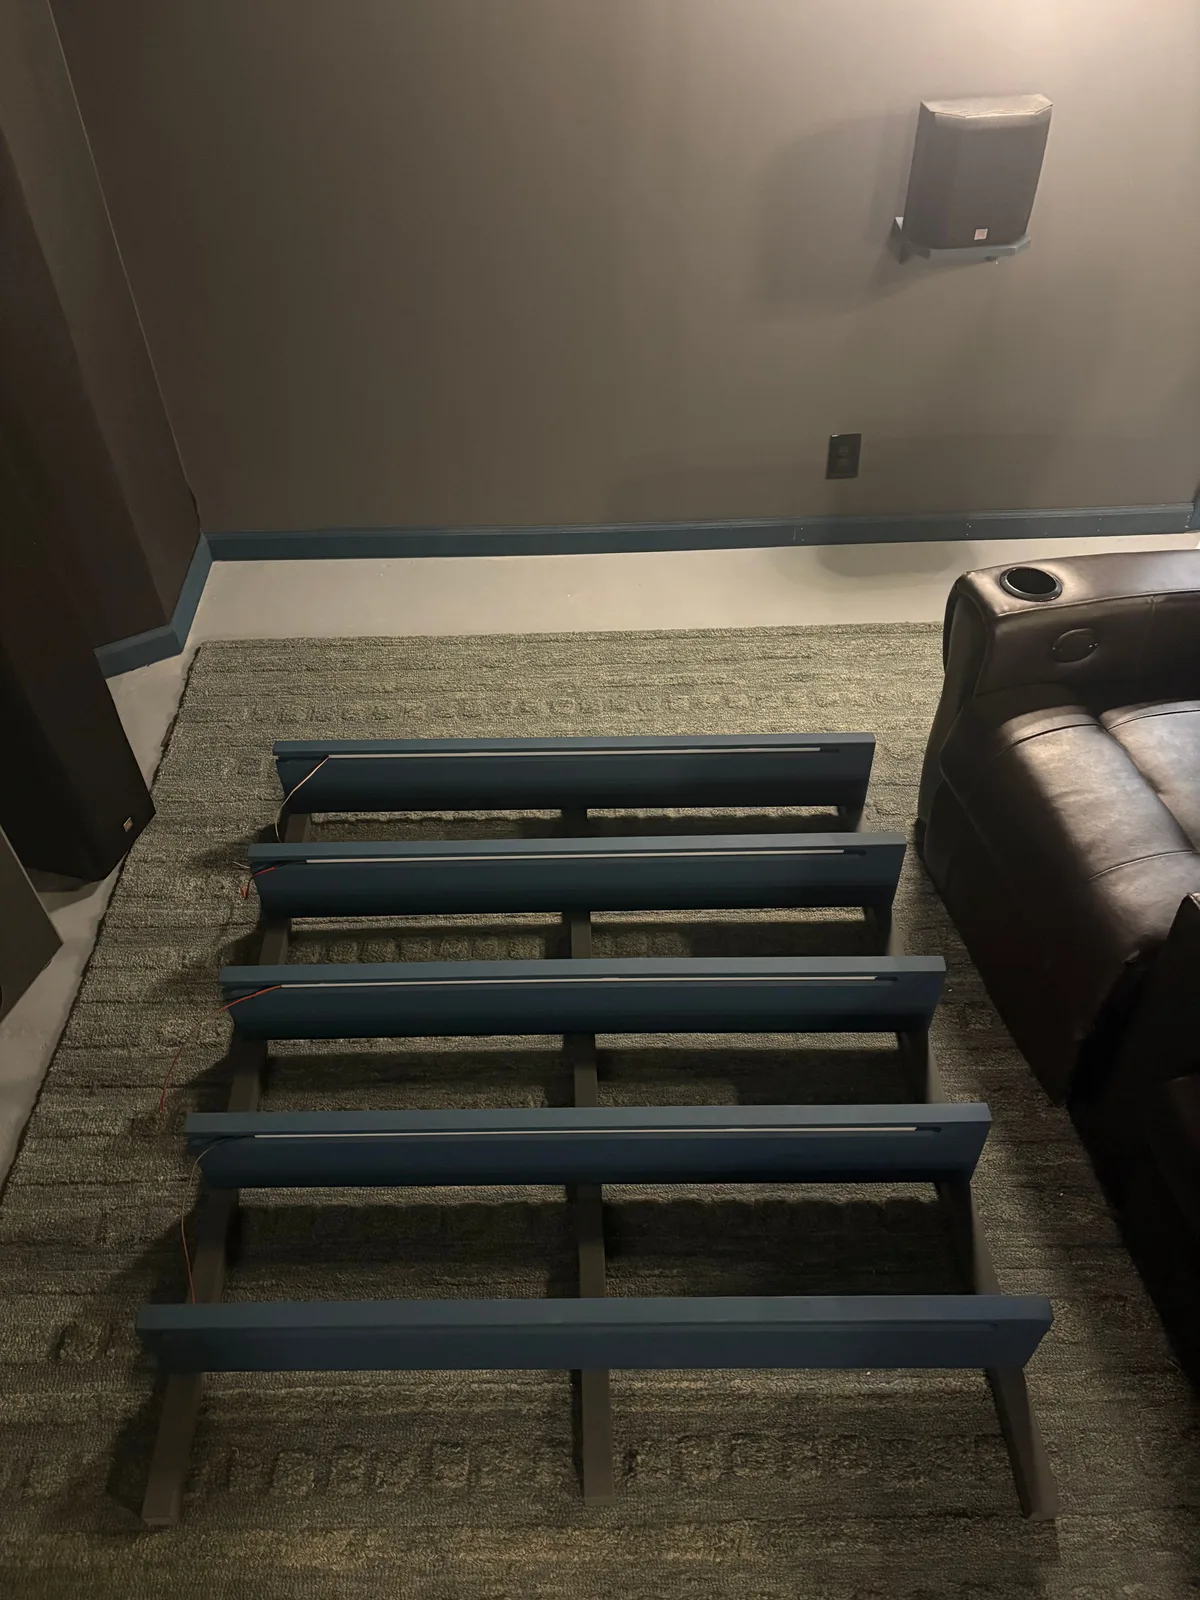
But honestly, in the end, I was still surprised how well it fit together. Though the front of the shelves do droop a little bit. I have a fix planned. I just need to get it done.
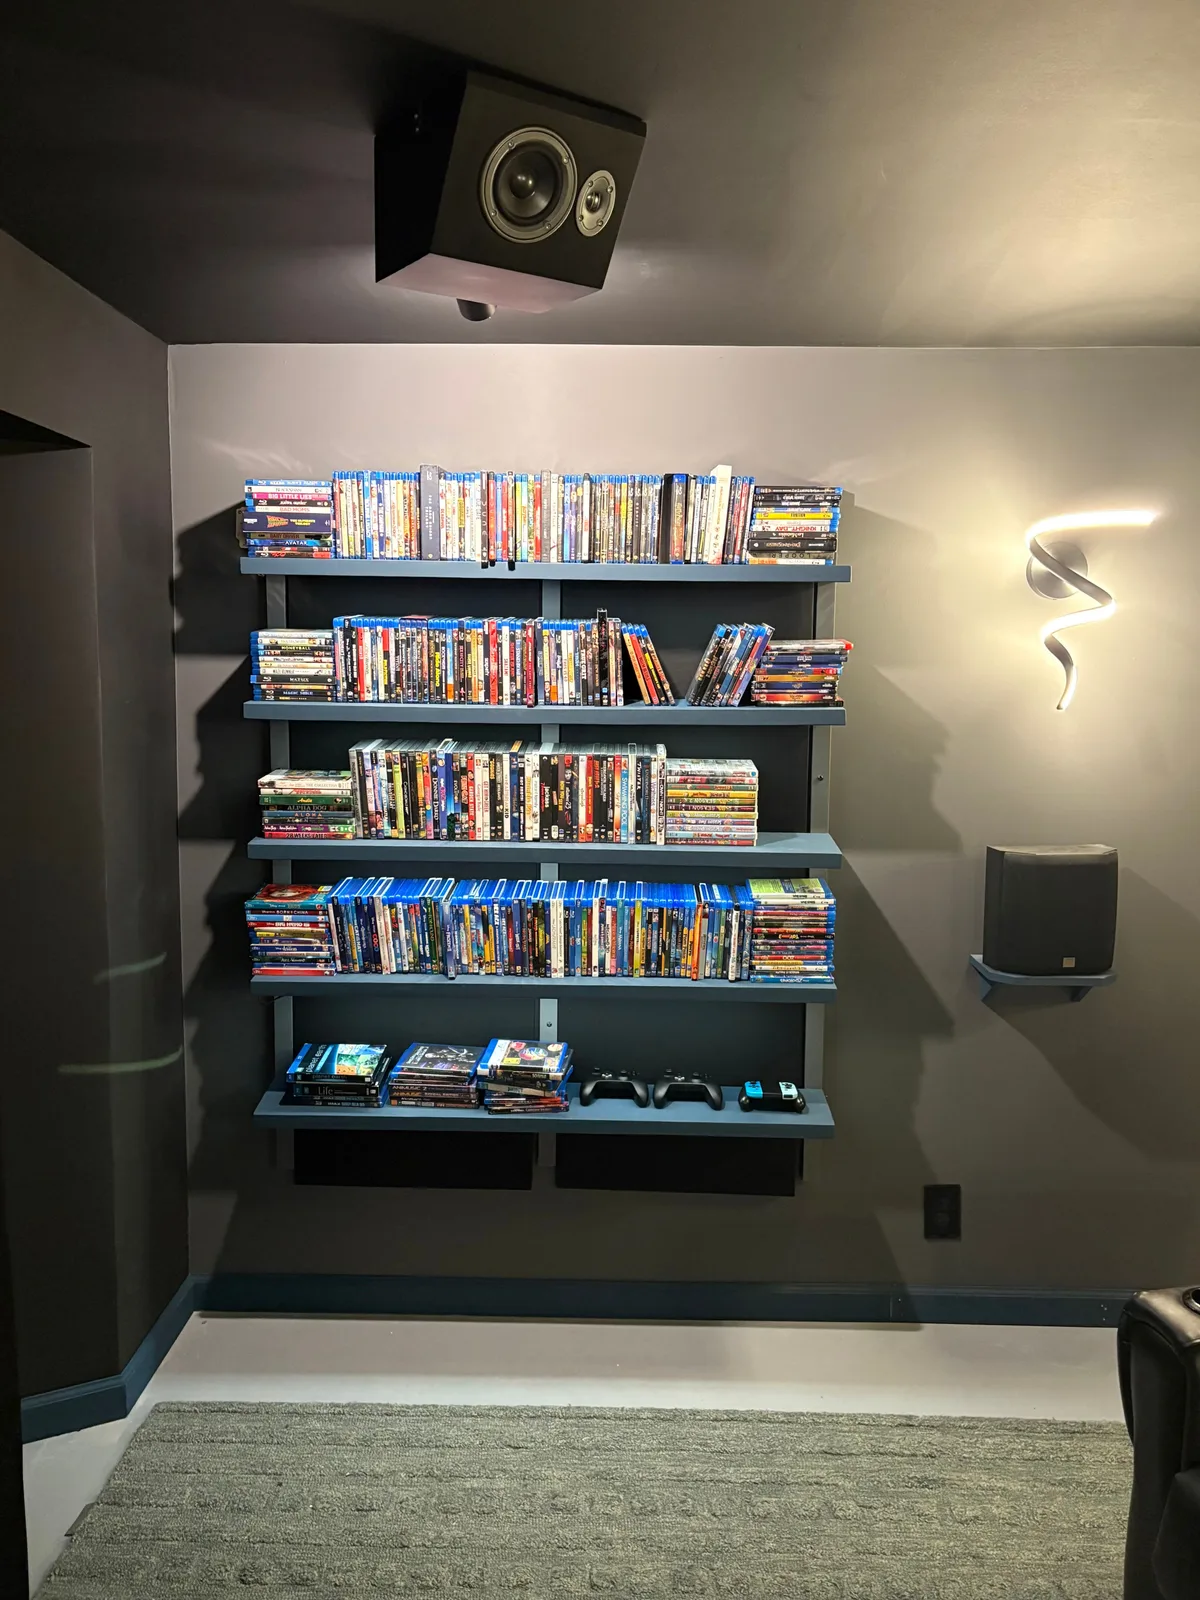
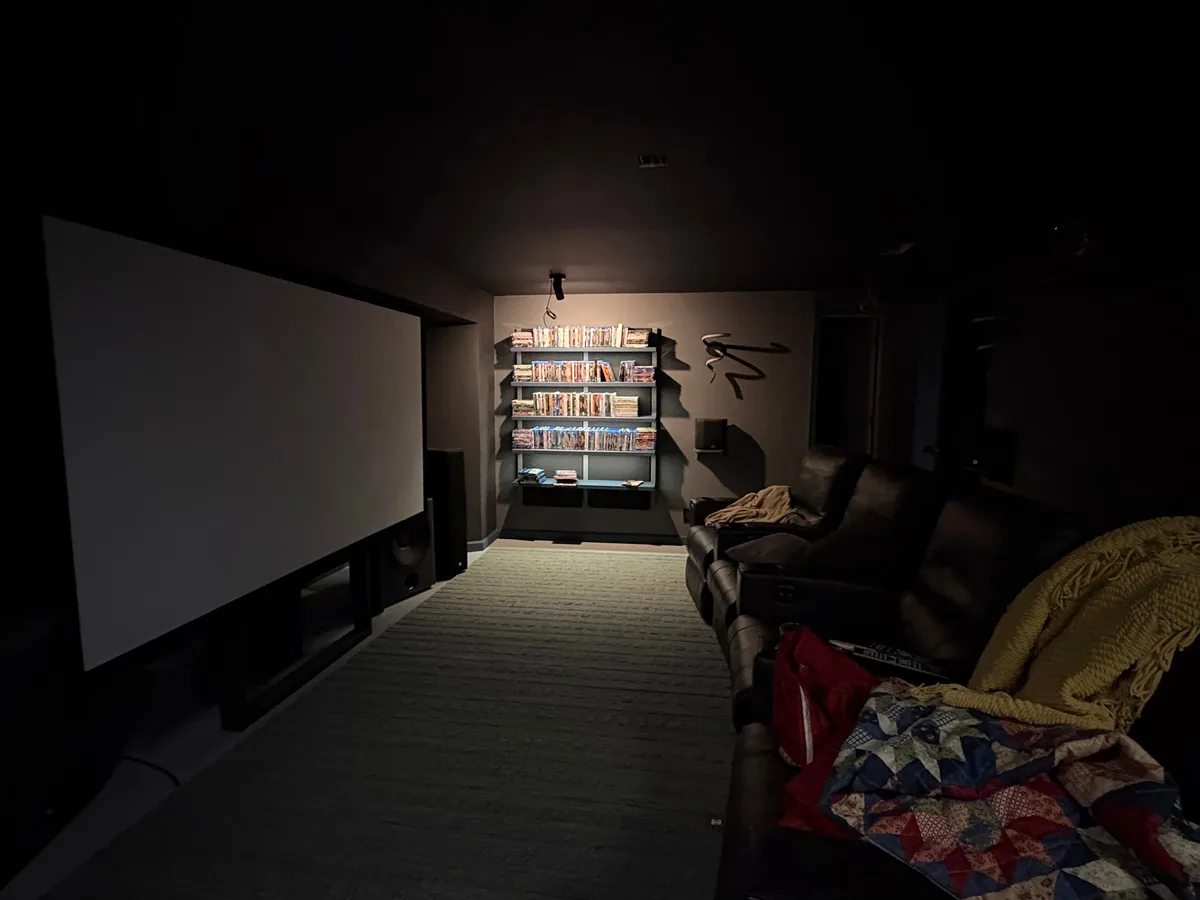
Now I have mood lighting options.
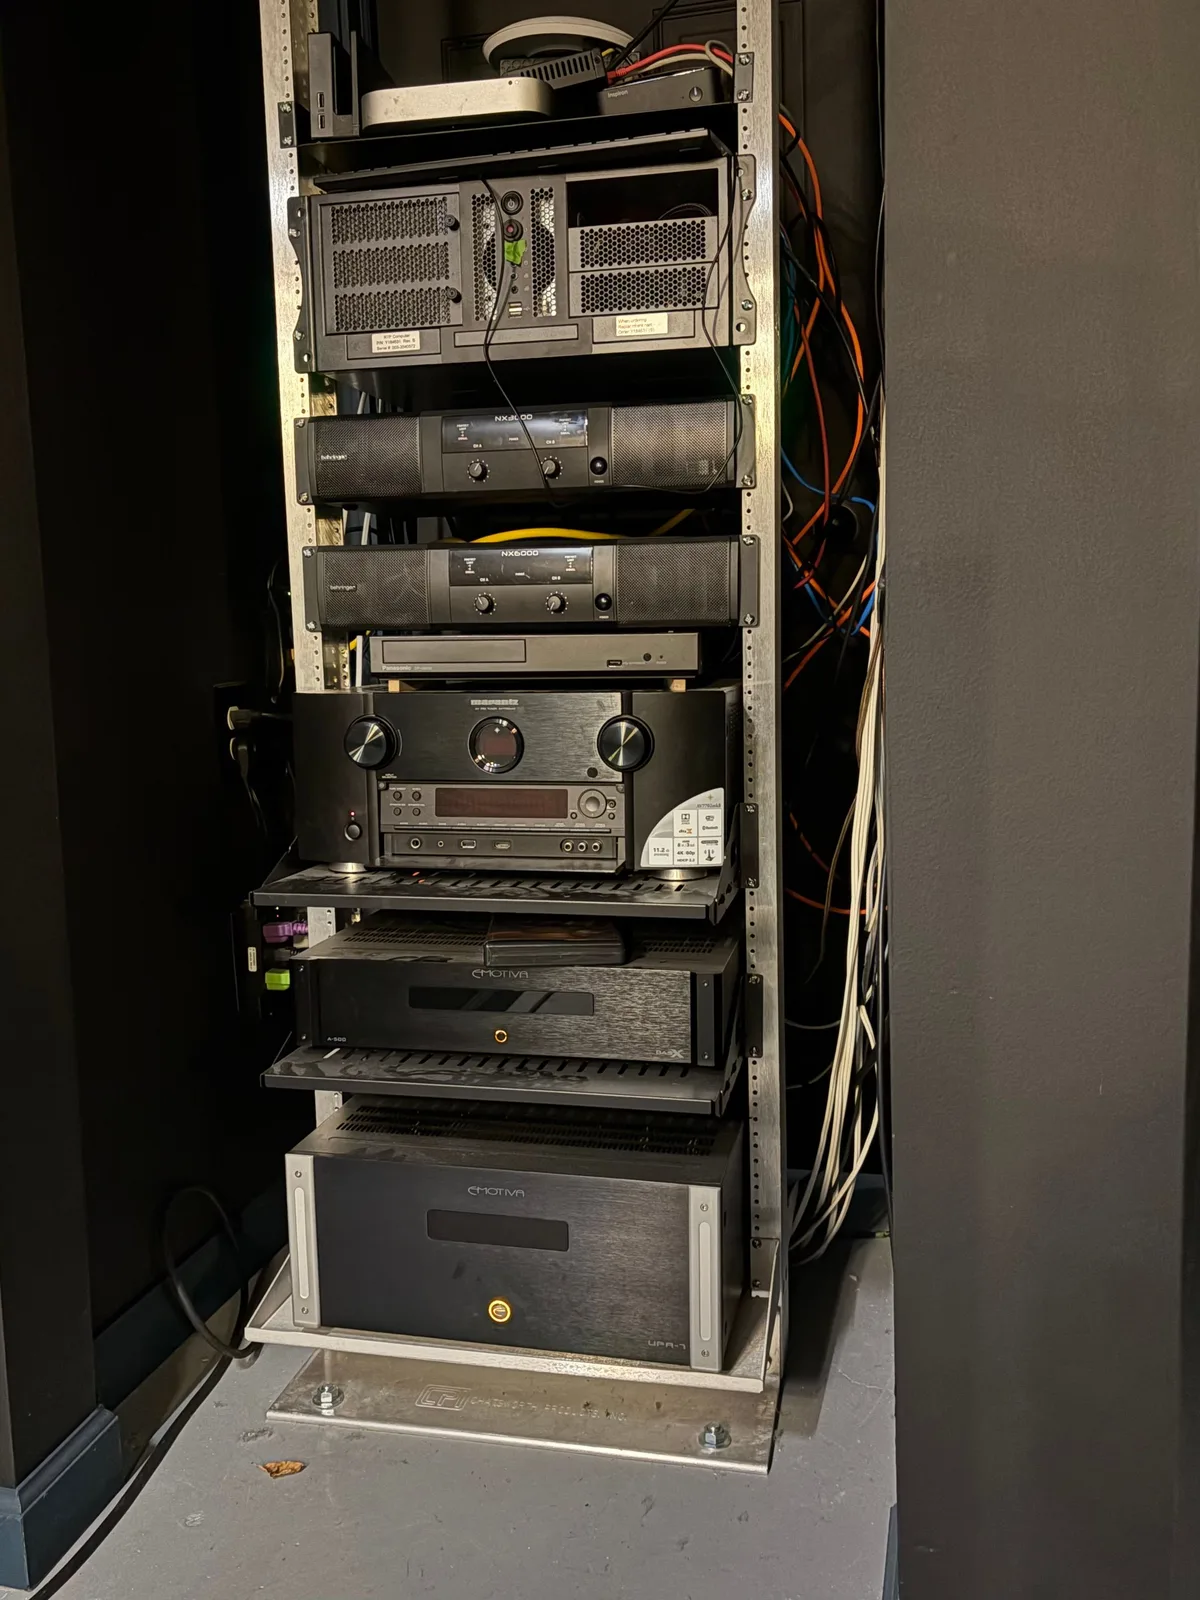
At some point in-between these two projects I totally overhauled my home network with Ubiquiti router & access points and I setup a 2010 Mac Mini as a Home Assistant server. The only picture I have from that work is the now over-full gear rack. I need to buy a couple more shelves.
Here begins a project I've looked forward to for just about 10 years (when I was building the theater at my previous house) -- Atmos speakers. Immediately I knew that I just wanted to re-box a couple pairs of JBL E10 so that they'd fit nicely on the ceiling.
The way I approached it was I taped a cardboard box to the ceiling where I wanted the speaker to be, and then I taped a long piece of string to the side of the box. I taped the other end of the string to a board which was straddling the center two seats. I used the angle of that string to inform me what the angle of the front baffle should be. And then I made these two cardboard models. One for fronts and one for rears, as they had different angles.
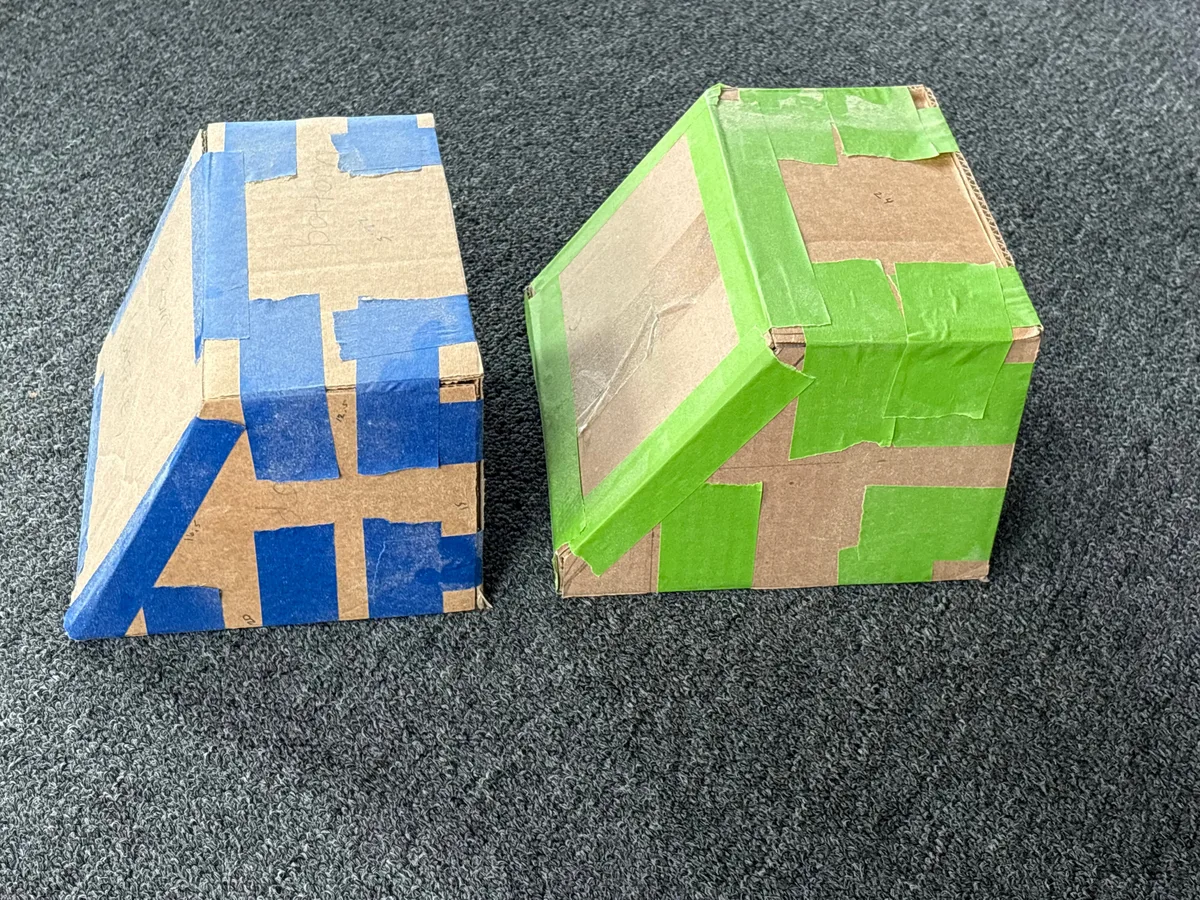
Those boxes actually represent the internal volume, so I had to add the width of the boards to the overall cut sheet. I almost started cutting without adding that extra, and I'm glad I caught myself. Here I'm laying out the cuts, trying to economical with how I'm using the wood I have.
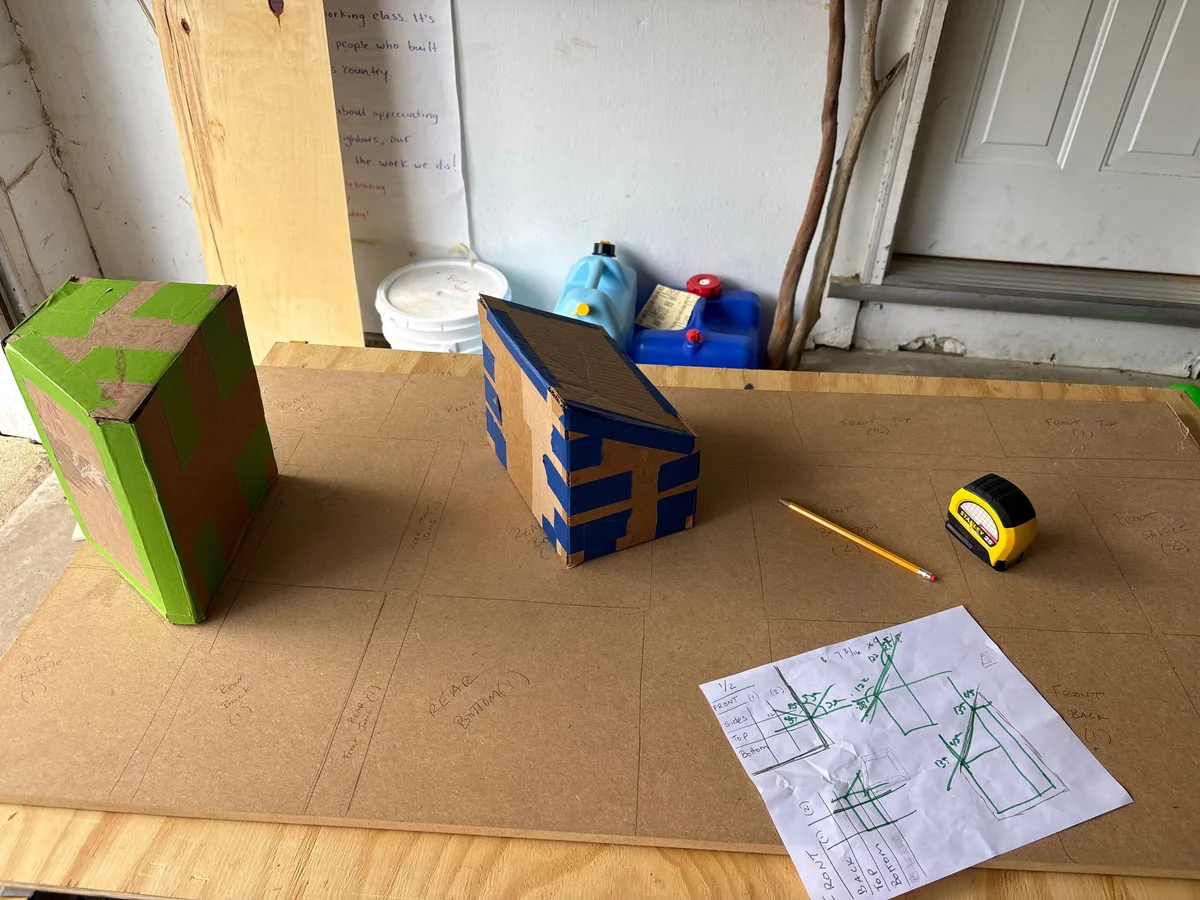
I got the rough shapes cut out, and then I started feeling a little stumped by how to cut out all the angles I need. Since the baffle was at an angle, the four adjoining sides had to angle as well. Mapping that all out had my brain feeling like gravy a couple times, so I phoned a friend... a couple times.
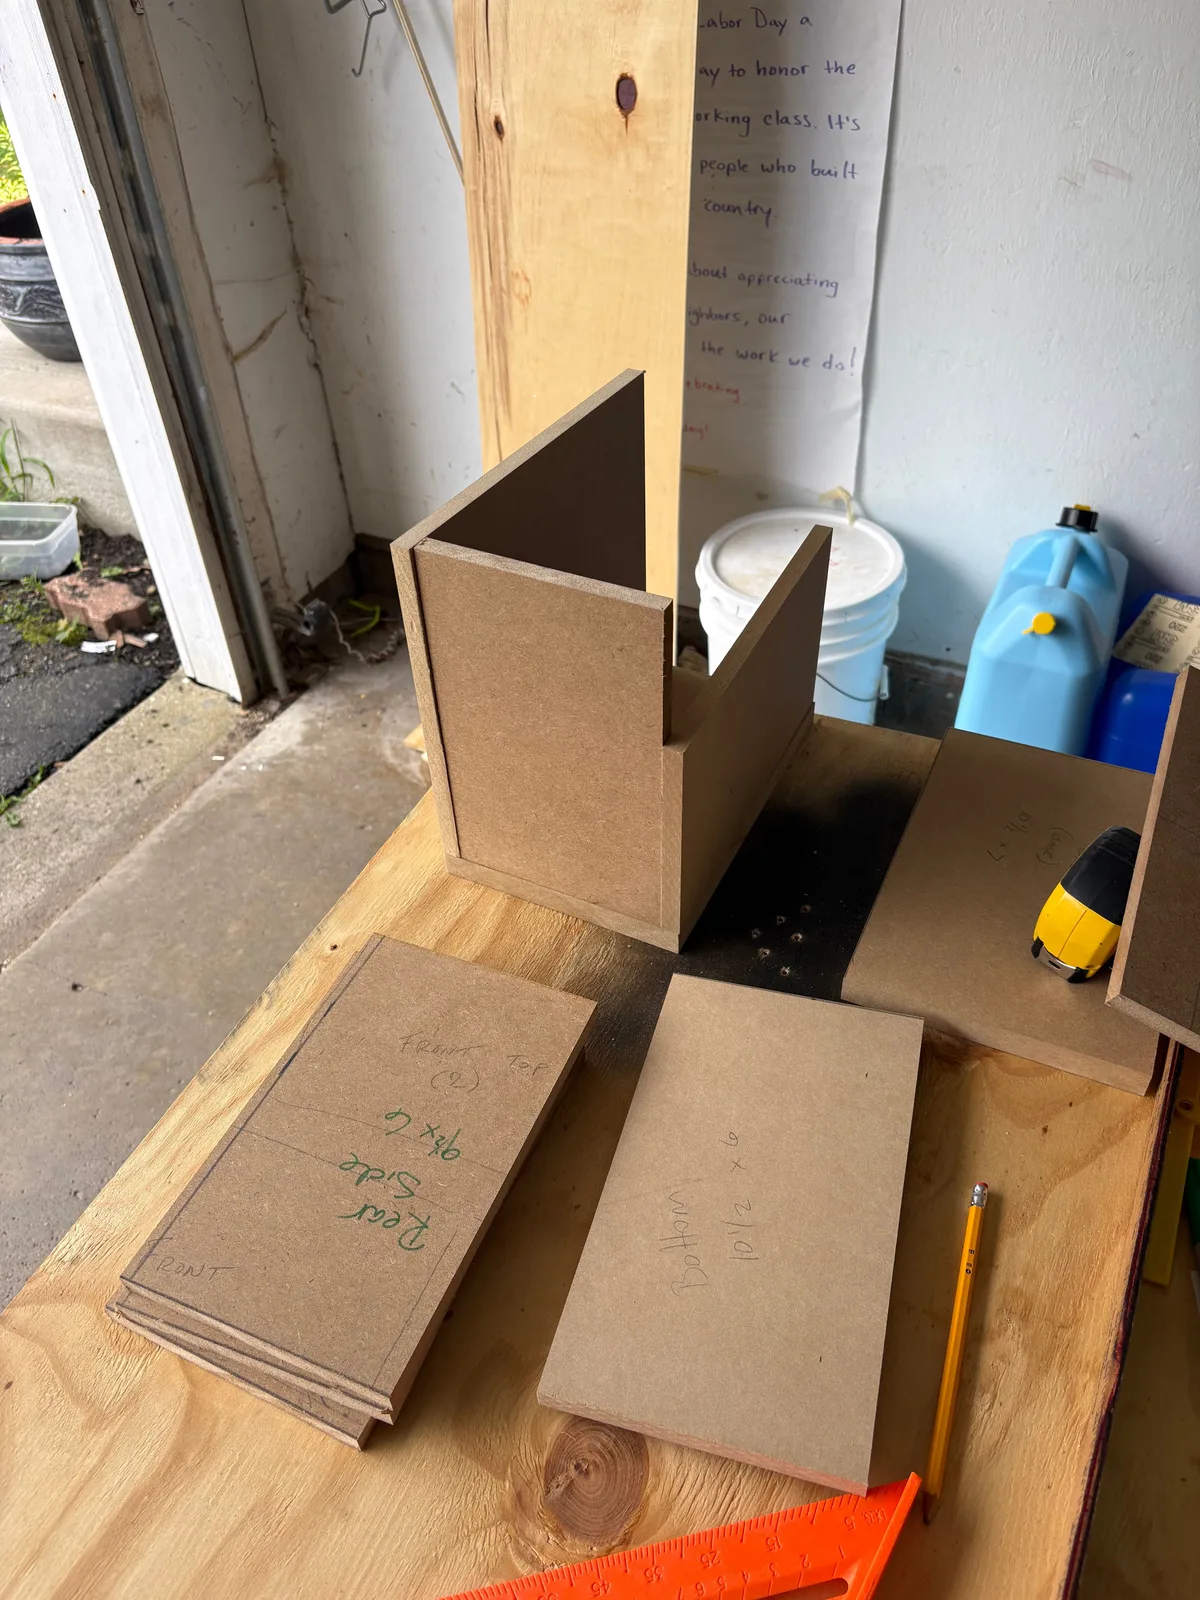
Ultimately David M ended up helping me cut the angles. It made both of us scratch our heads a couple times throughout this process.
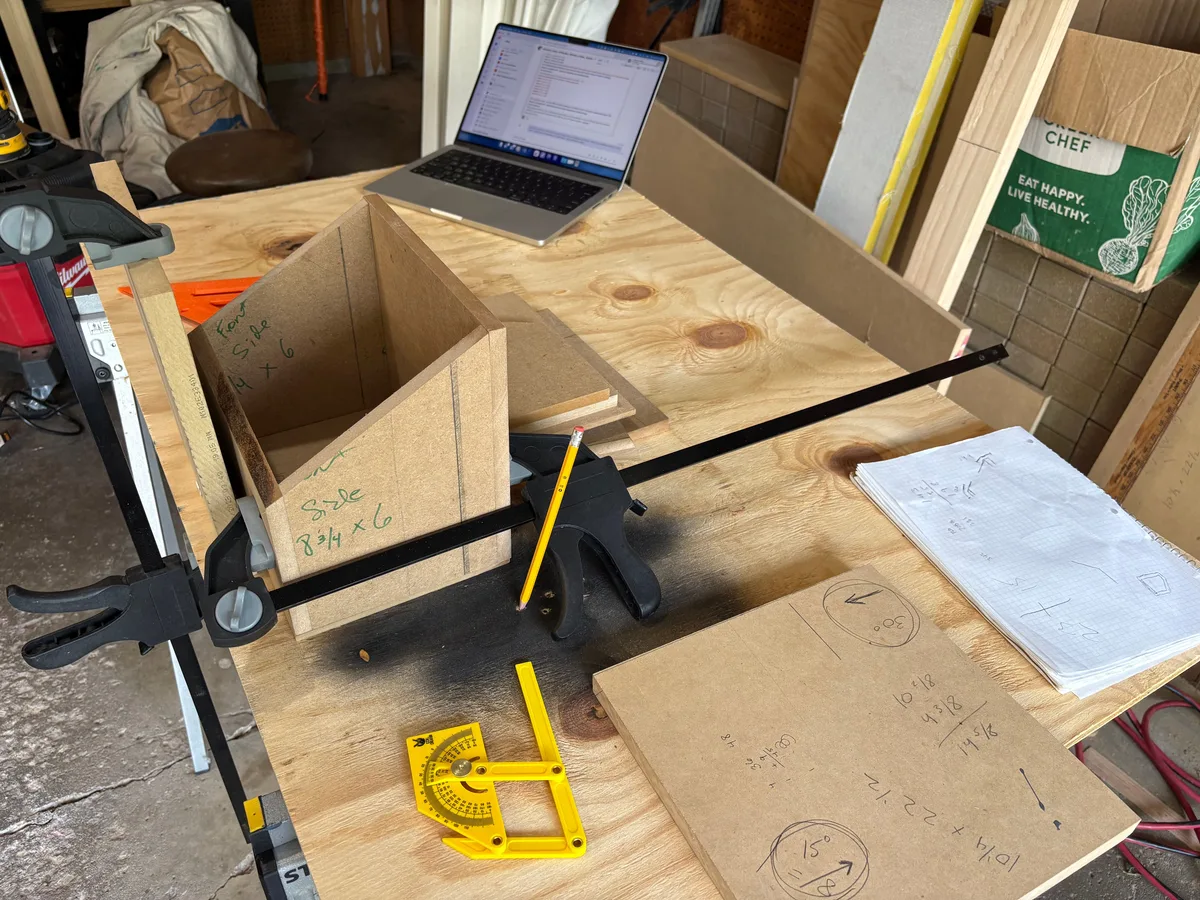
It wasn't until I saw the shape I needed to cut out for the tweeter that I realized that I really needed some help. Thankfully my brother-in-law, Kyle, has a CNC router and the smarts to run it.
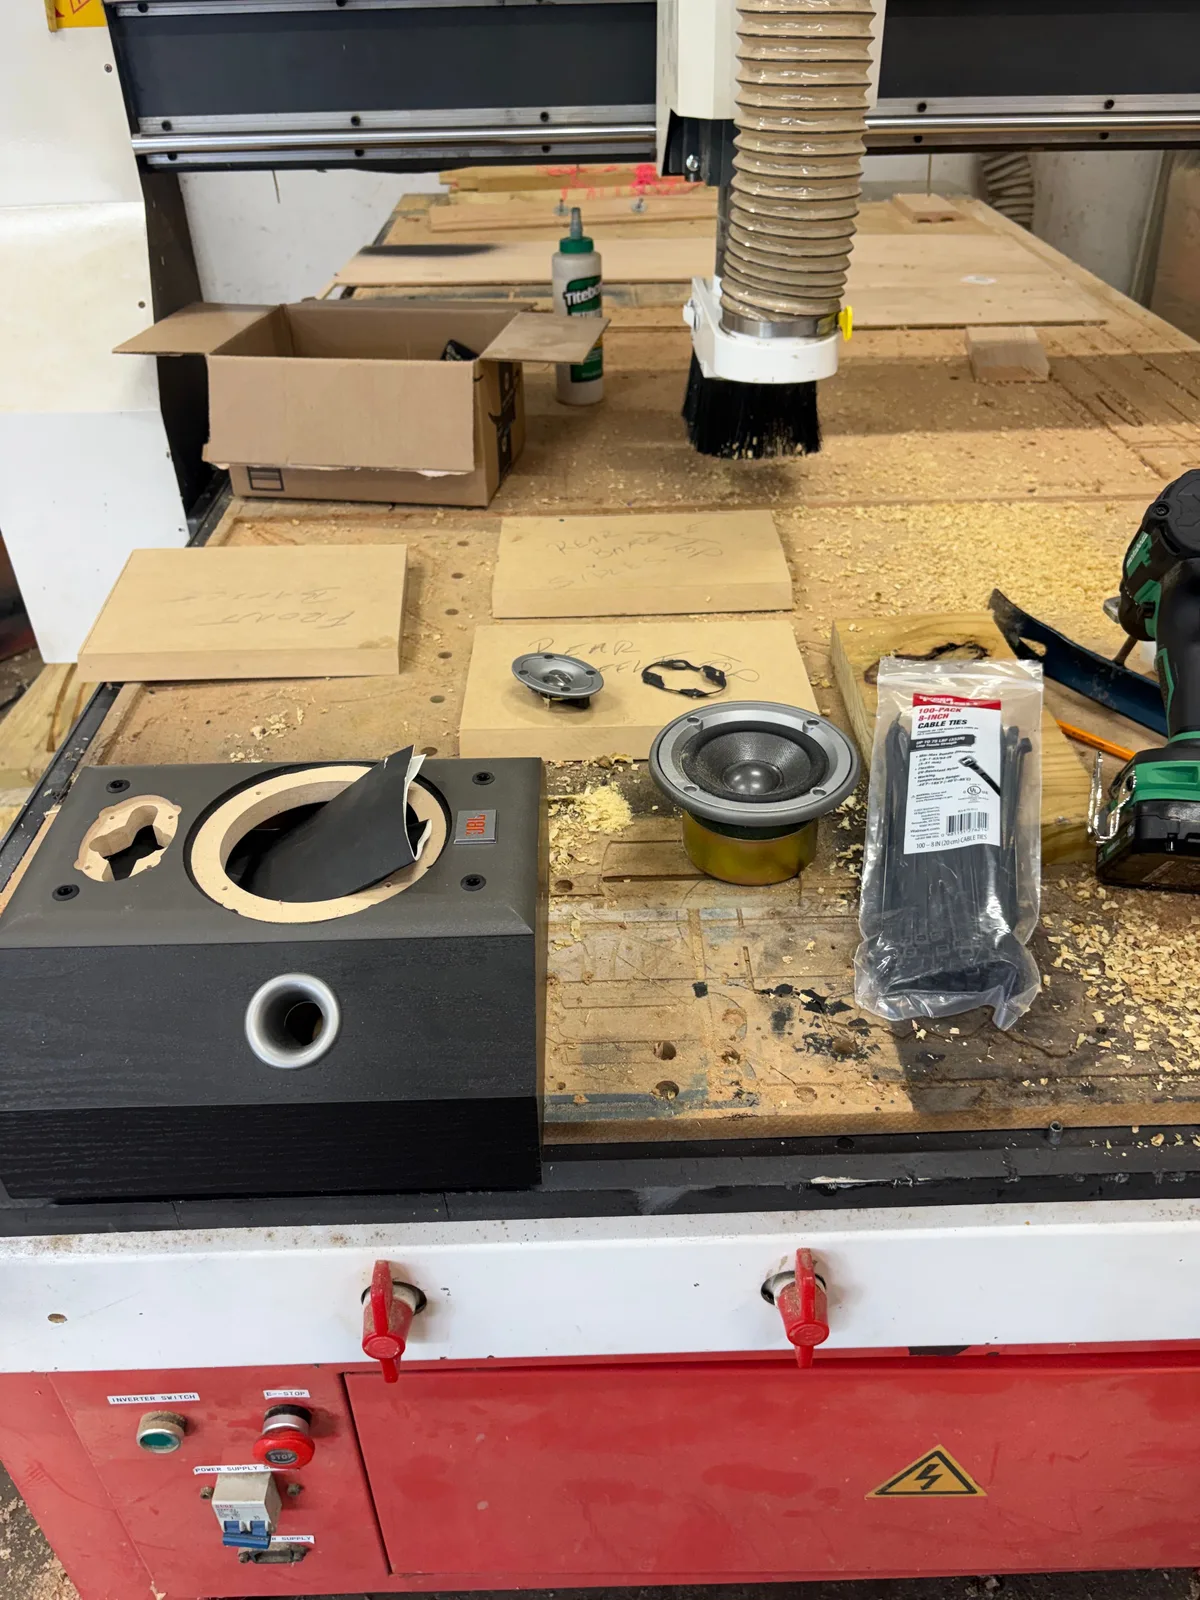
I understand the premise of what he did...
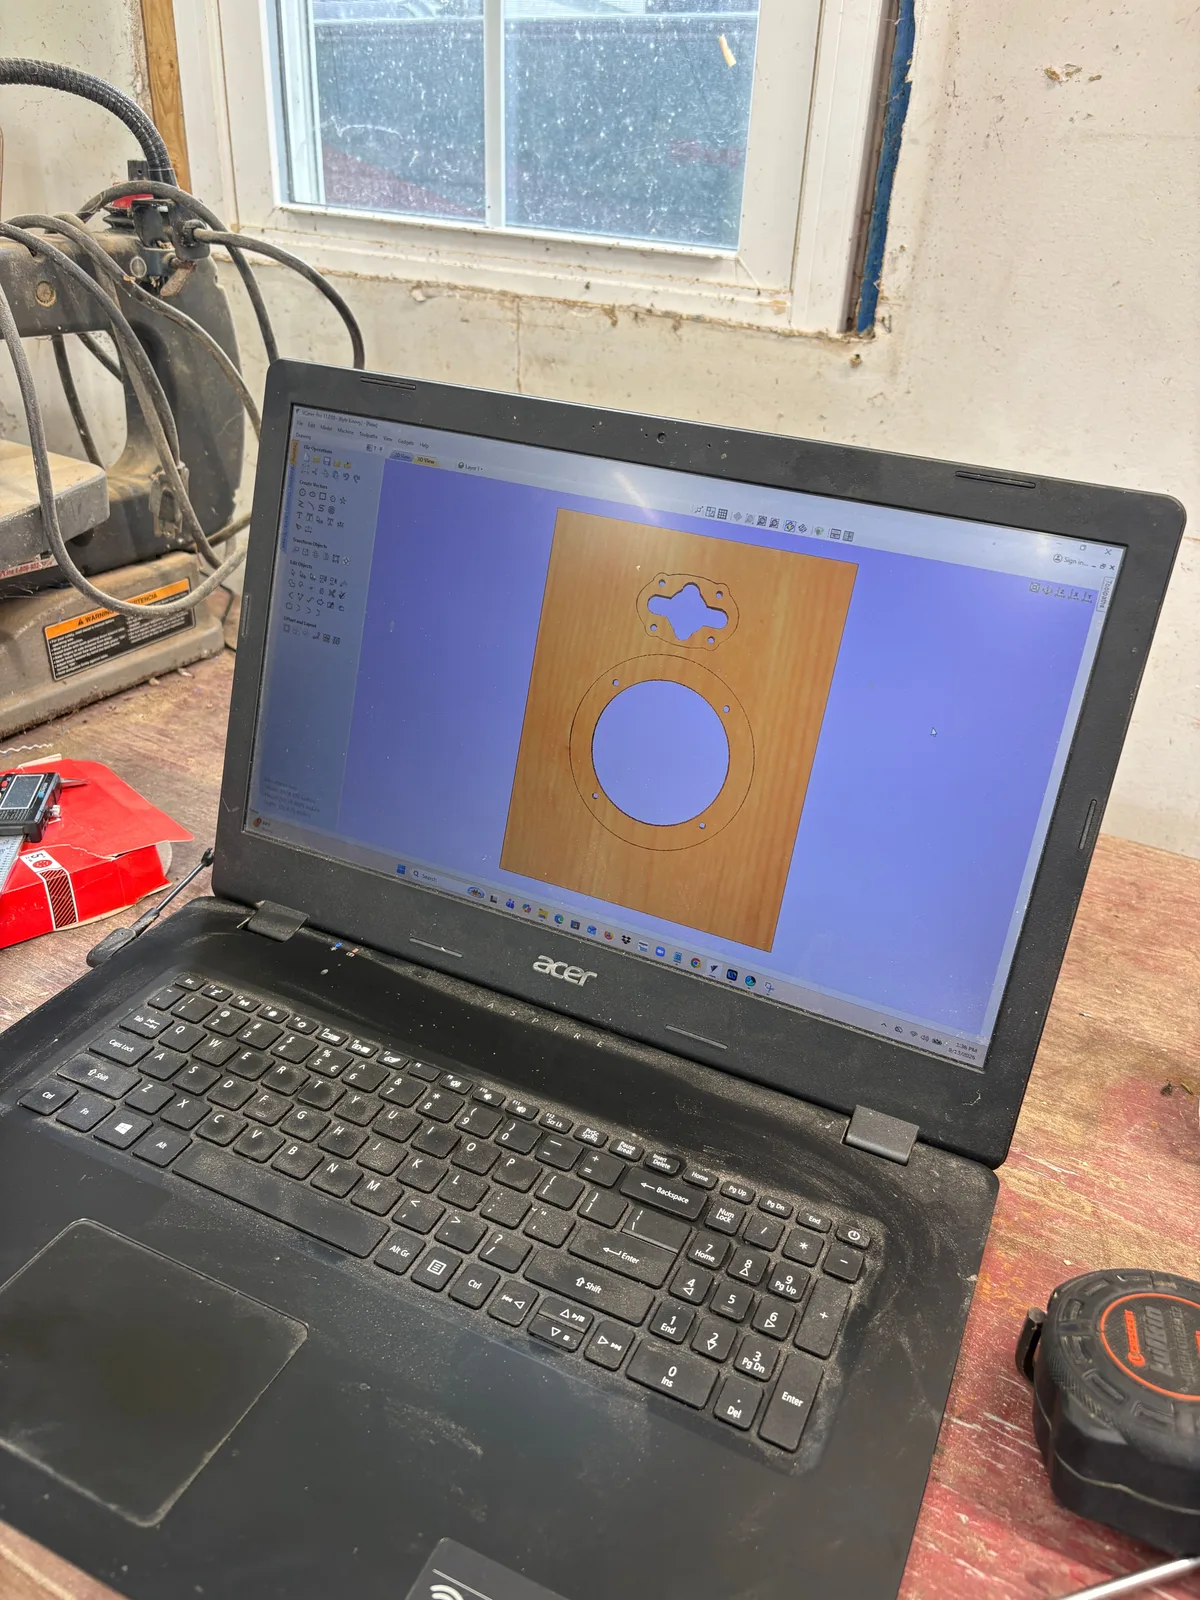
But I wouldn't be able to do it unless he explained it to me like I'm 5.
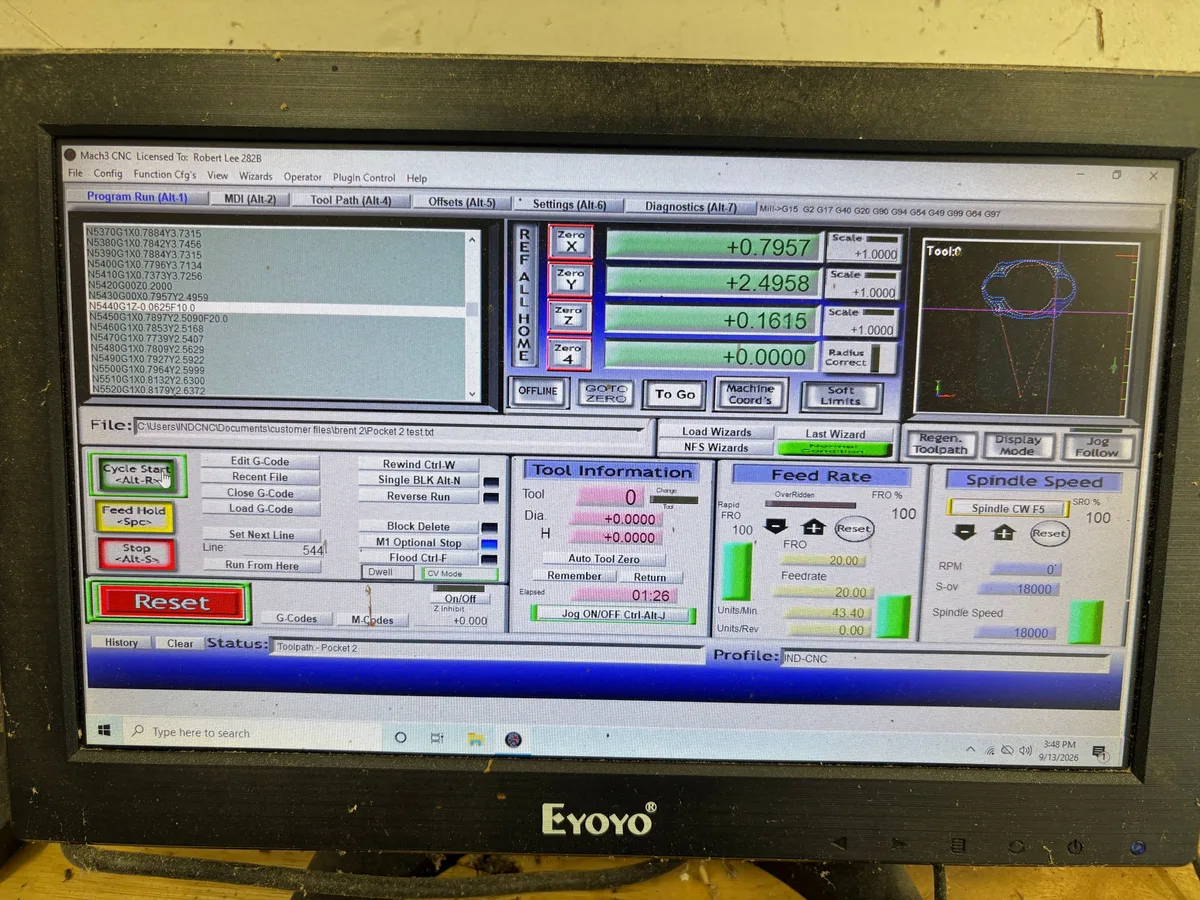
We made a few test cuts to get the design dialed in.
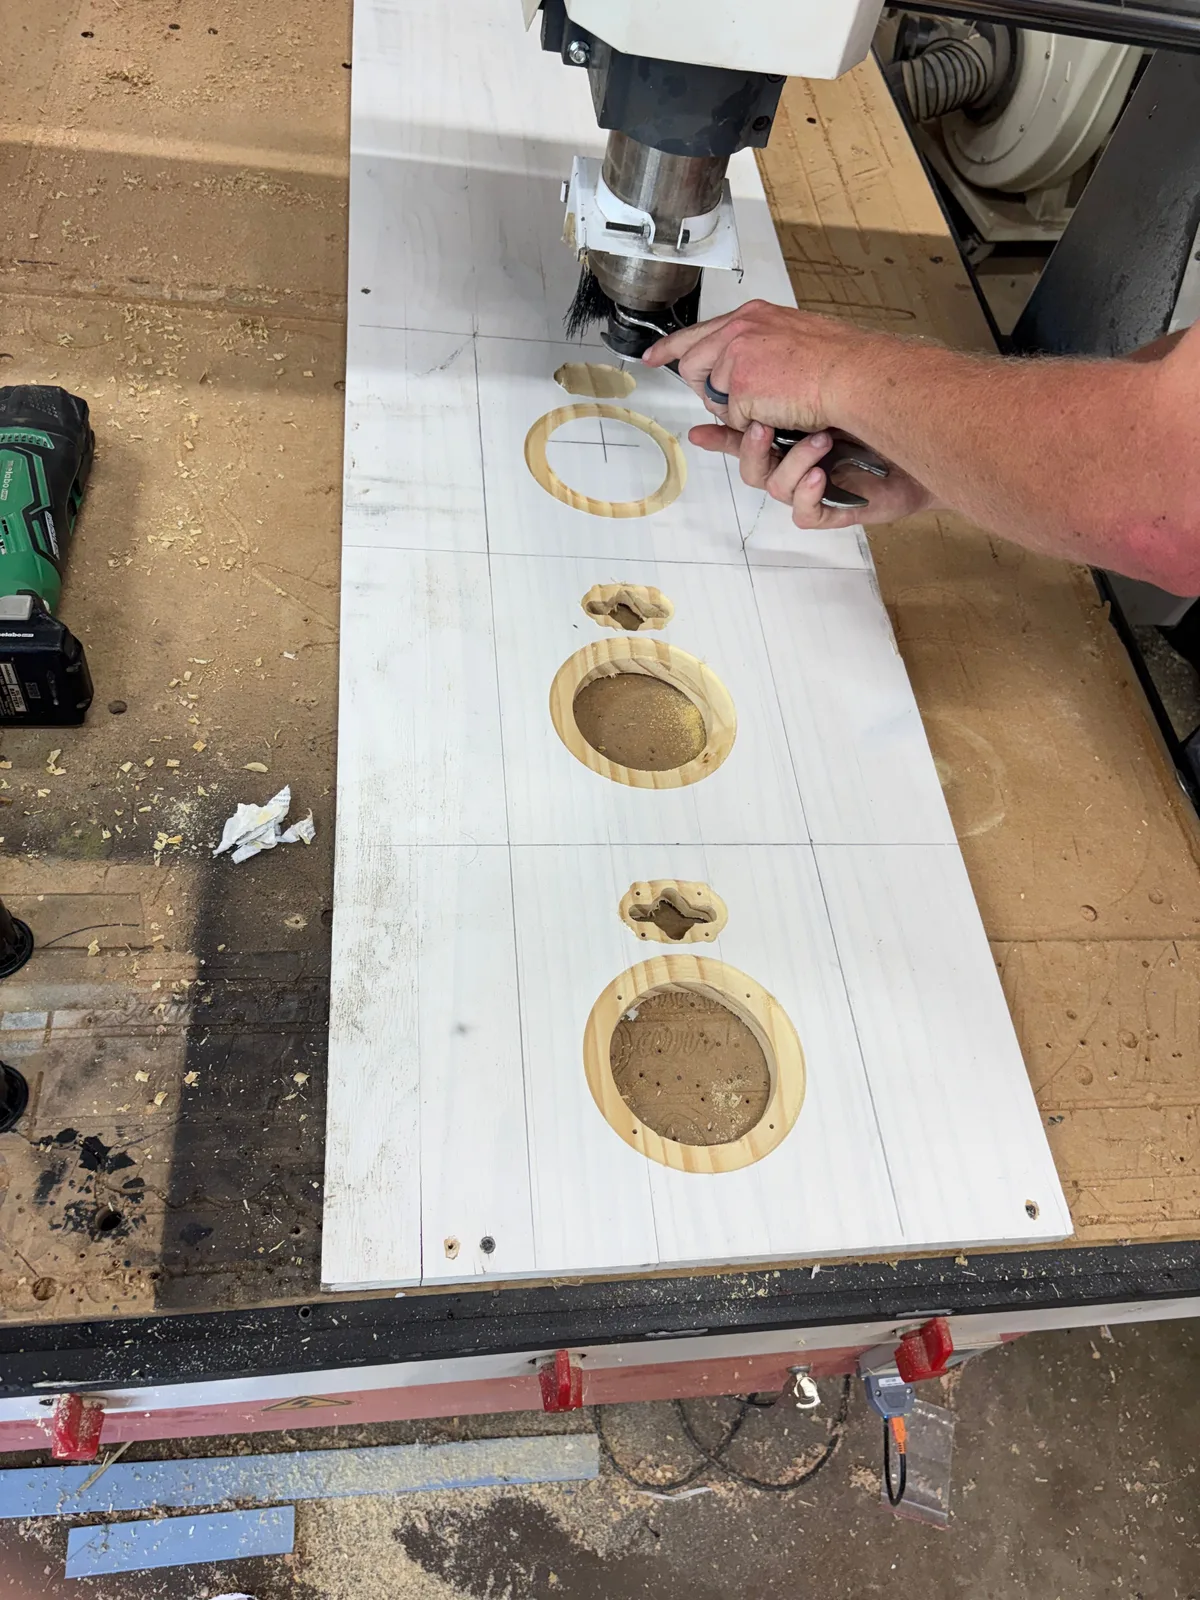
I cut a few more holes for the crossover and the ports. I glued in some recycled denim insulation, and then I glued the boxes together. At this point I just have that final piece on two boxes to cut and glue.
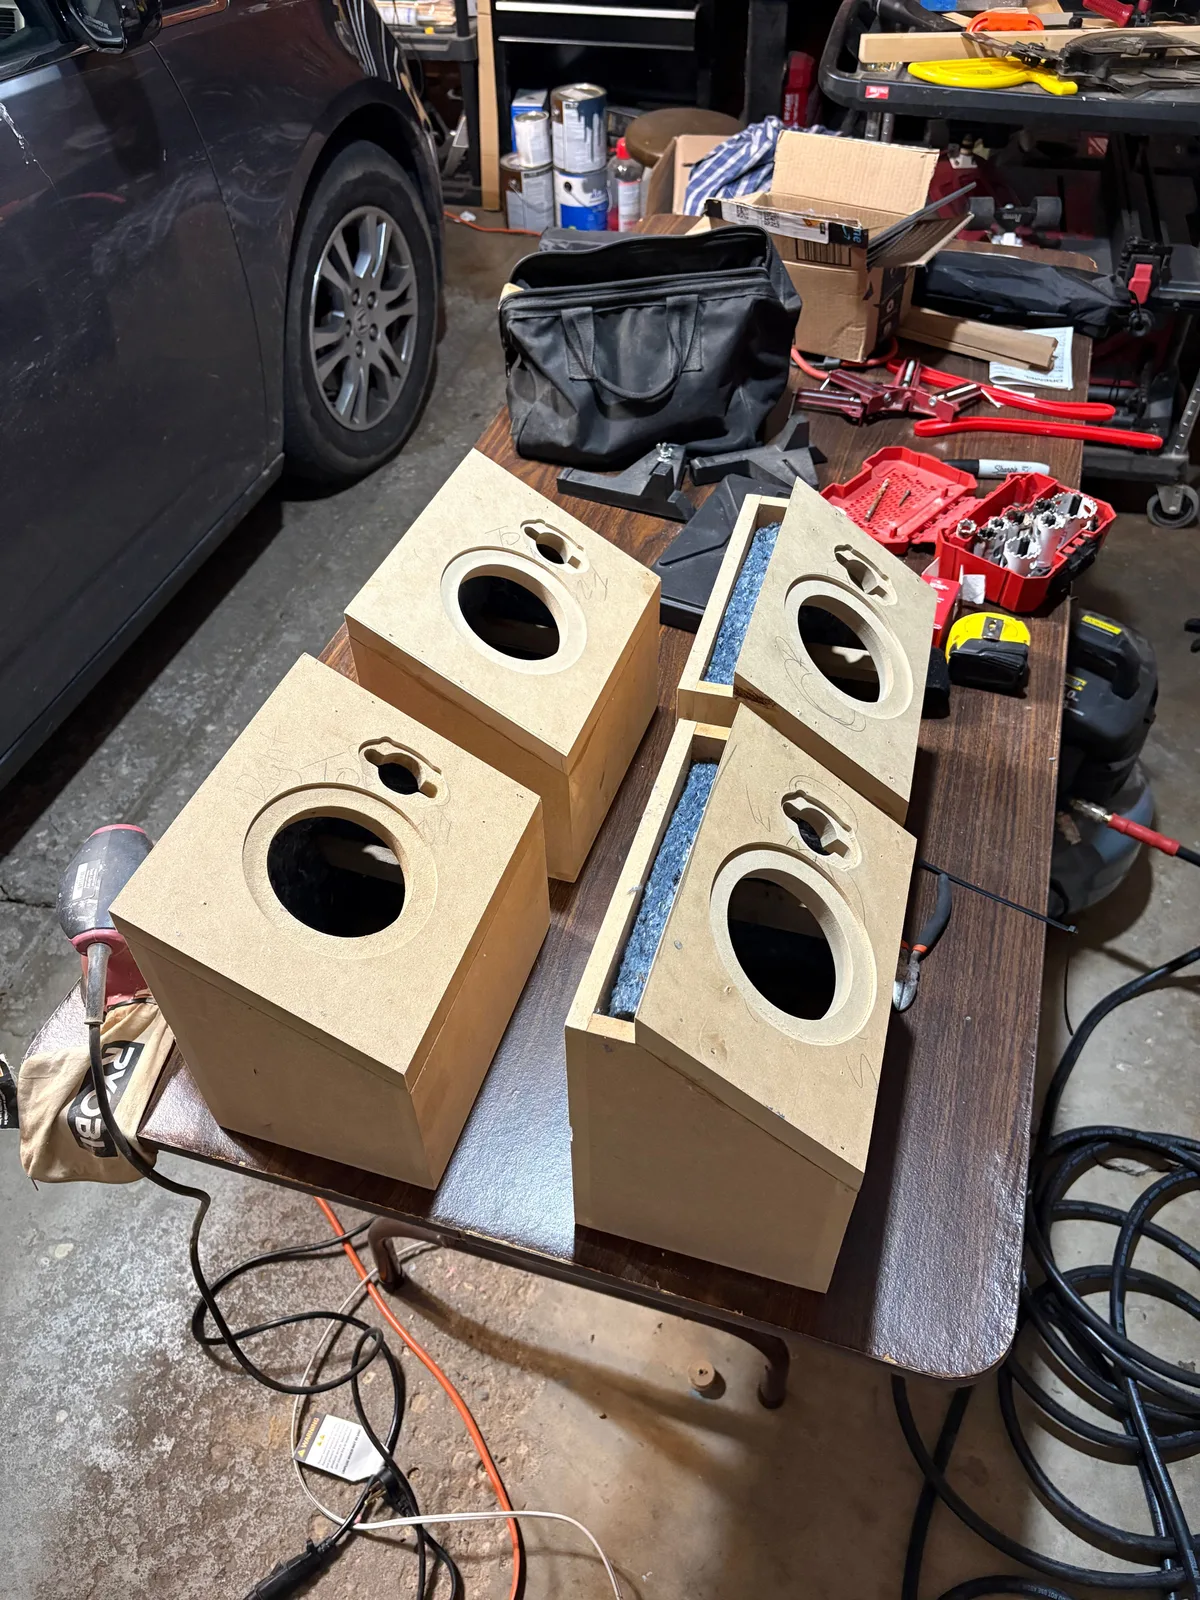
Sand. Fill. Sand. Fill. Sand.
Used the leftover primer from the basement.
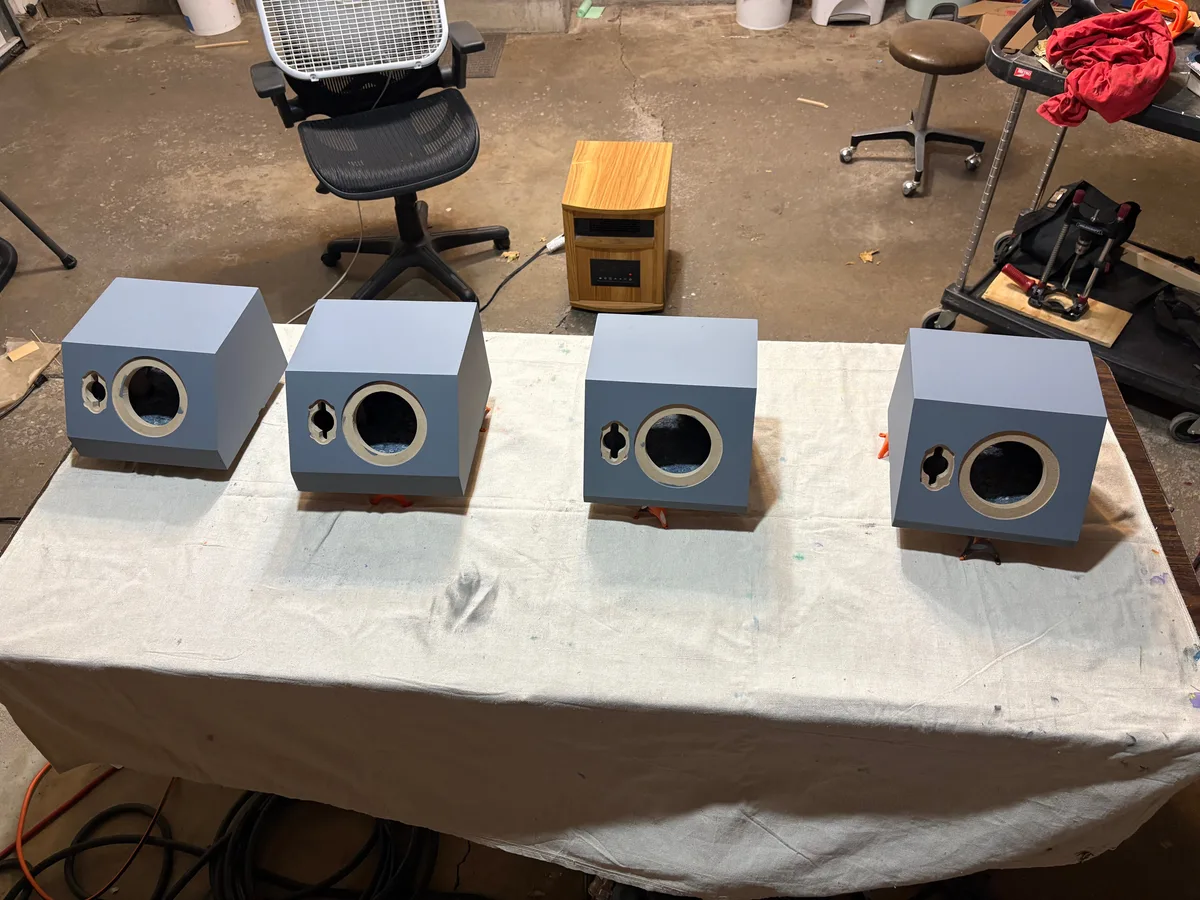
[ Sand. Cheesecloth. Paint. ] * 4
But decided to use spray paint. I used cheap stuff for first 2 coats, and then used Rustoleum for the final 2 coats.
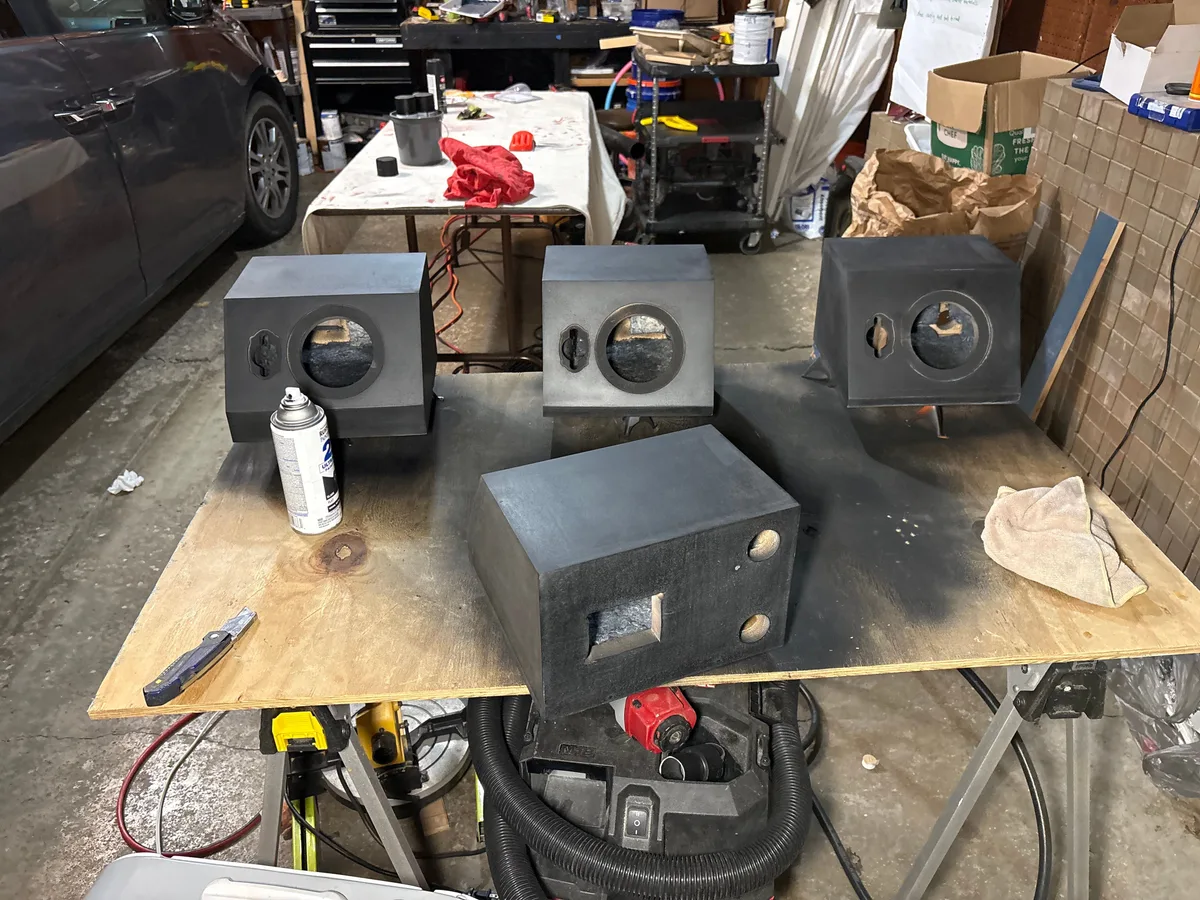
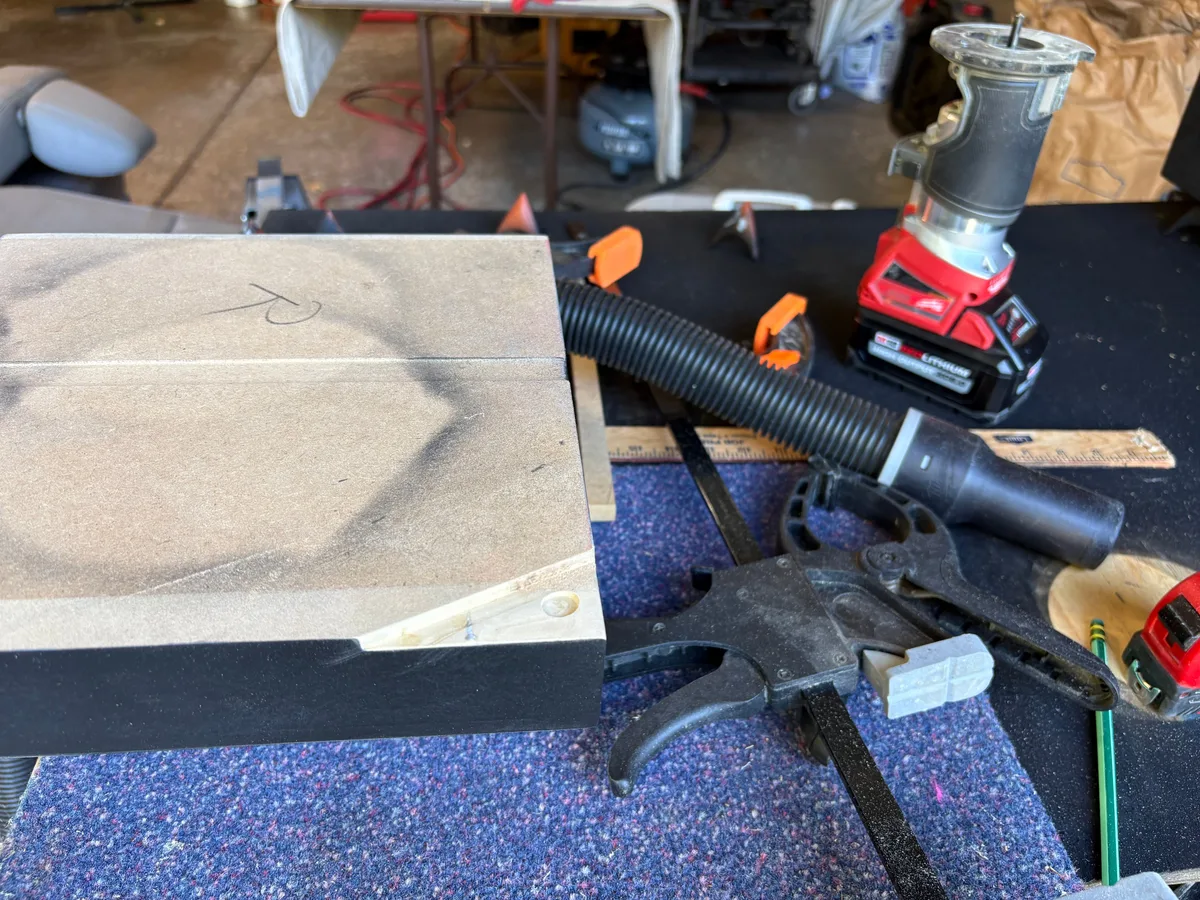
I was ready to start installing them when I discovered that I would need to cut this weird shape out of one of the corners of one of the speakers. Thankfully Vince loaned me his M18 router and I was able to get it sorted quick.
The speakers are mounted in the theater.
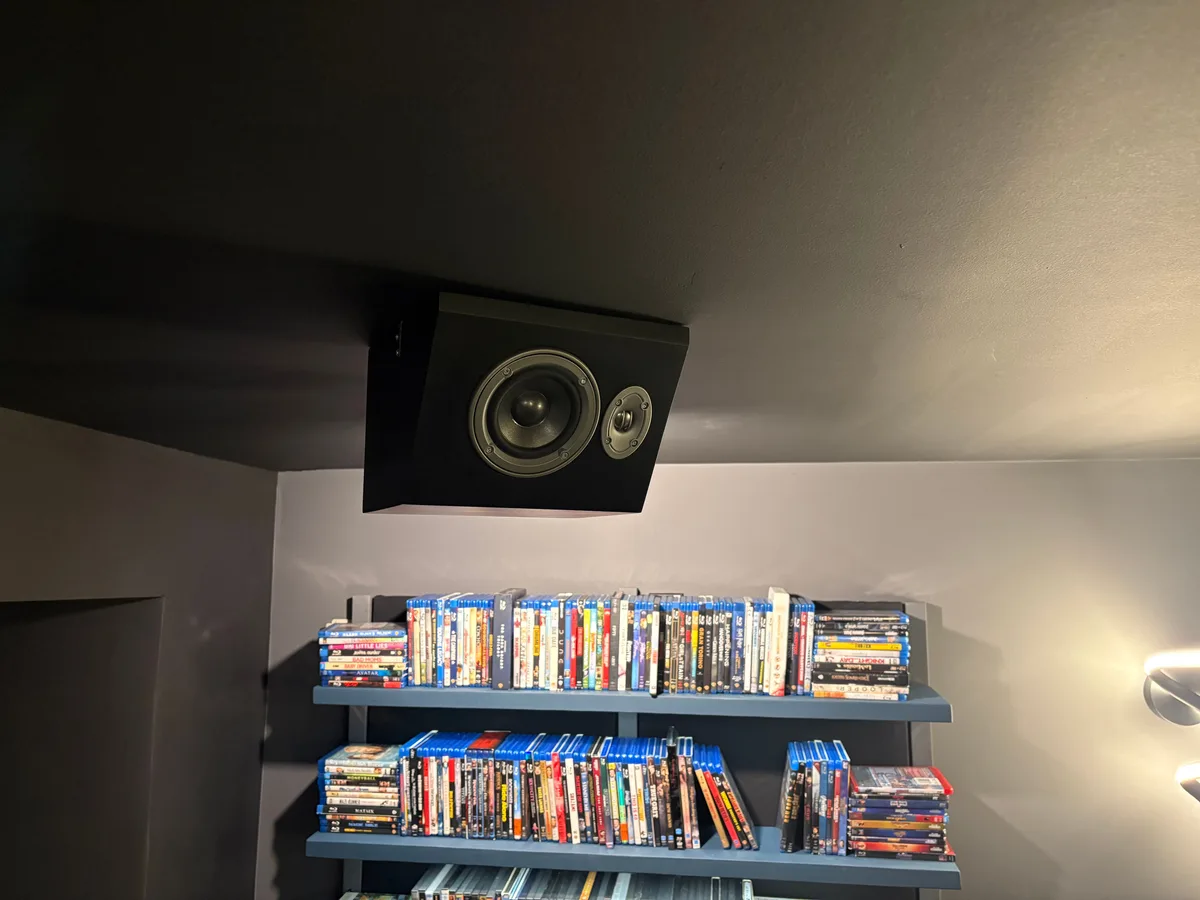
Front right Atmos speaker in front of the light for the Blu-Ray shelf.
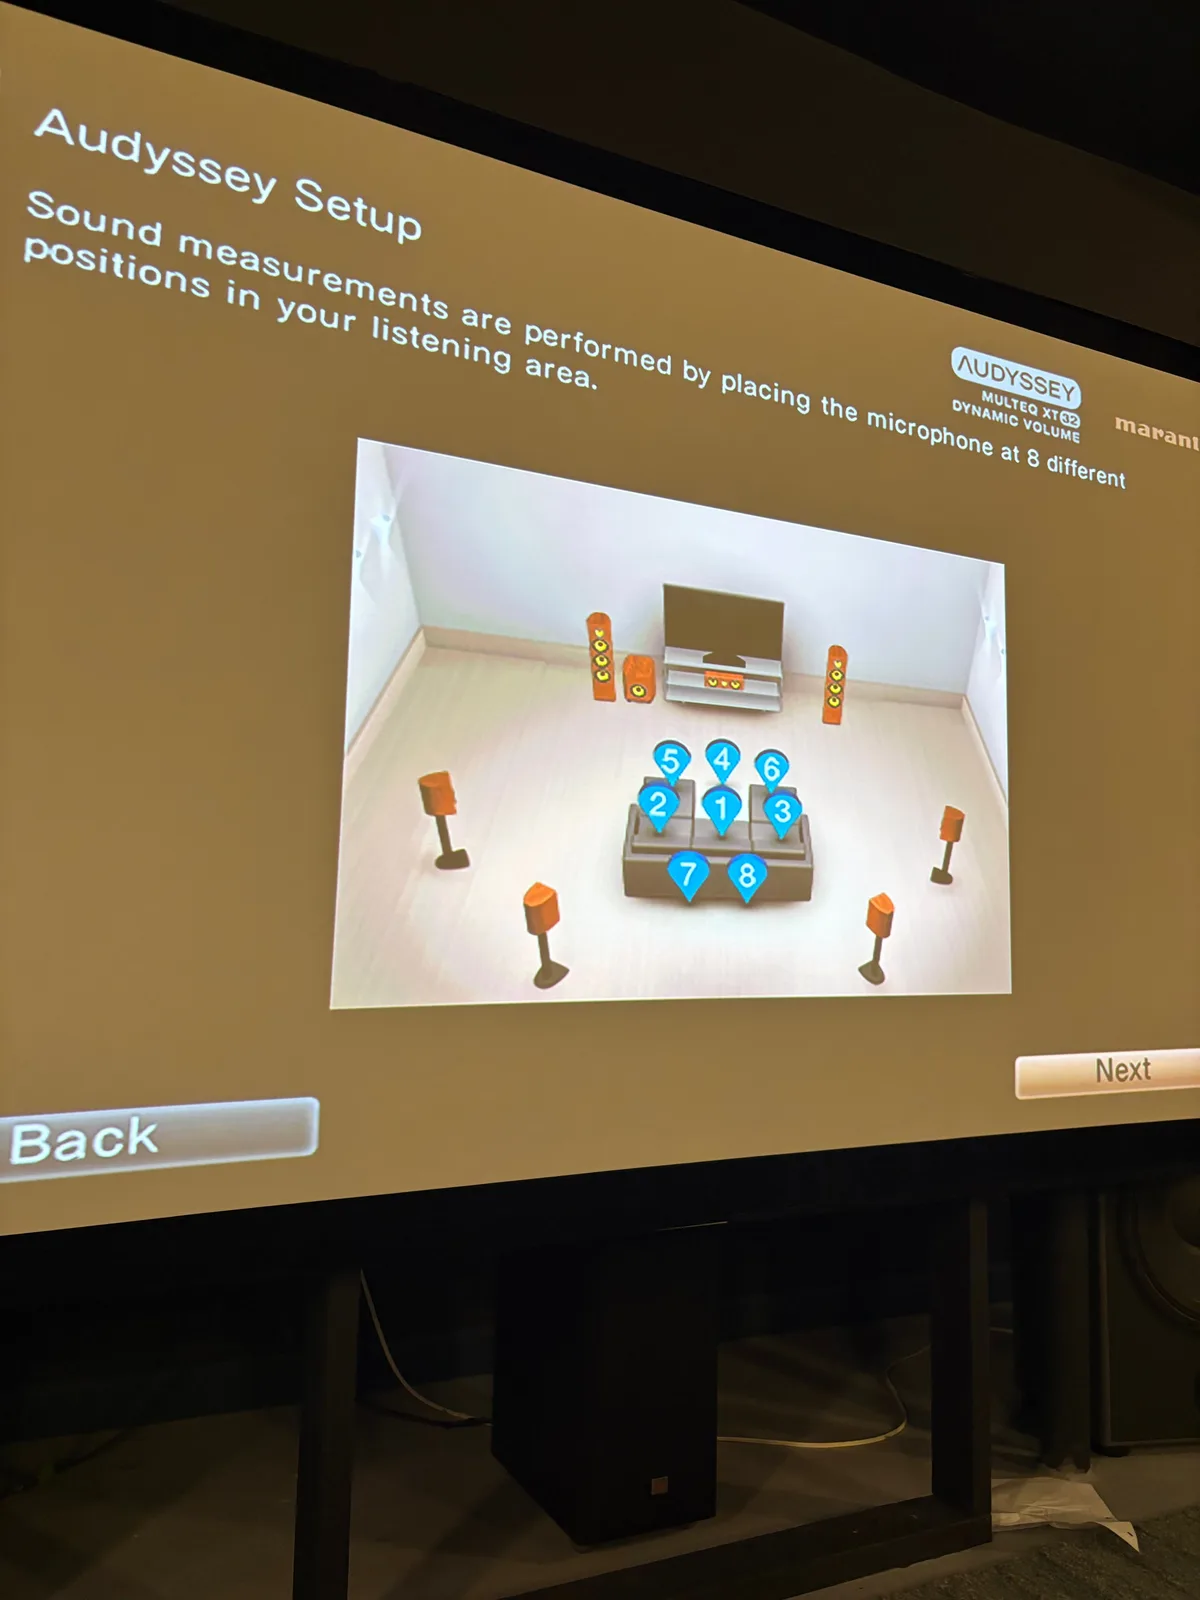
I almost have enough speakers now.
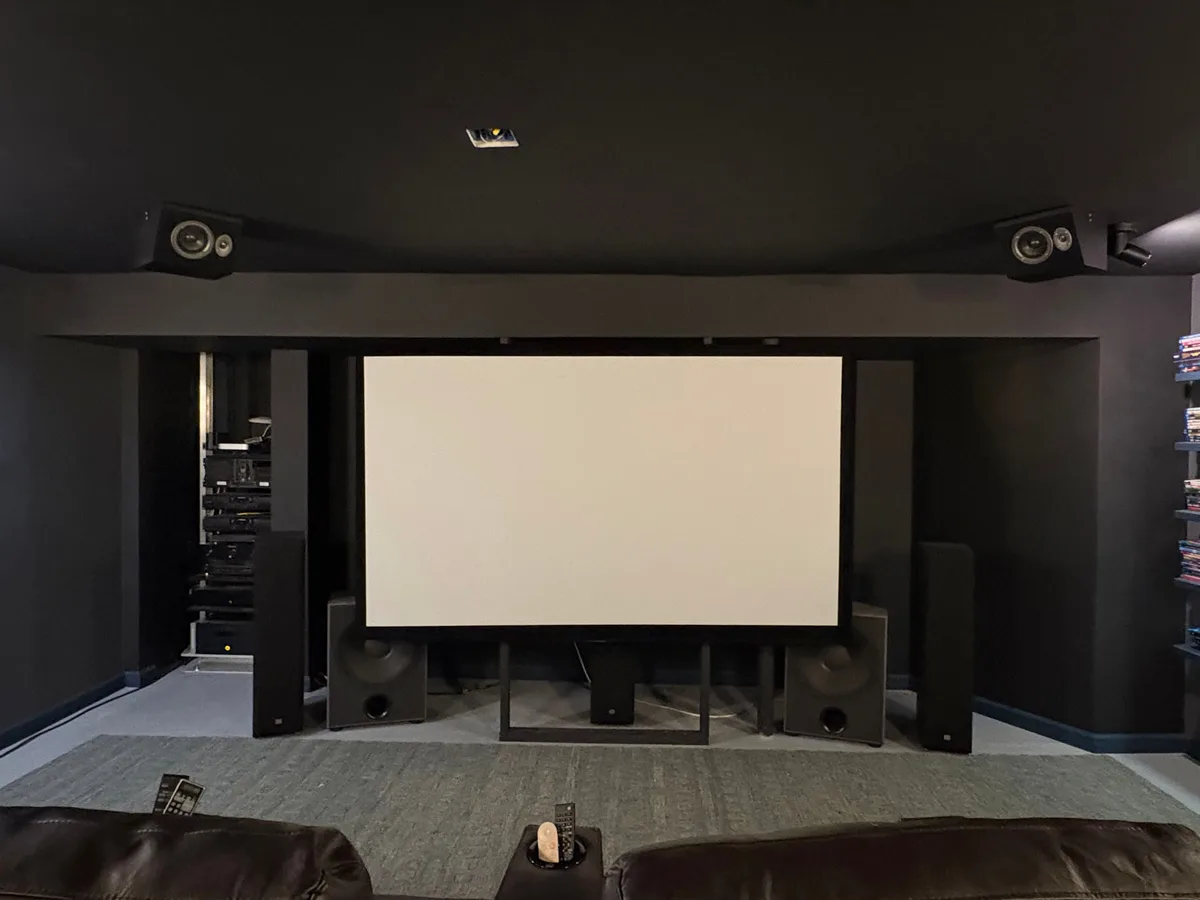
Phase 6 part 1 complete. 7 projects outstanding.